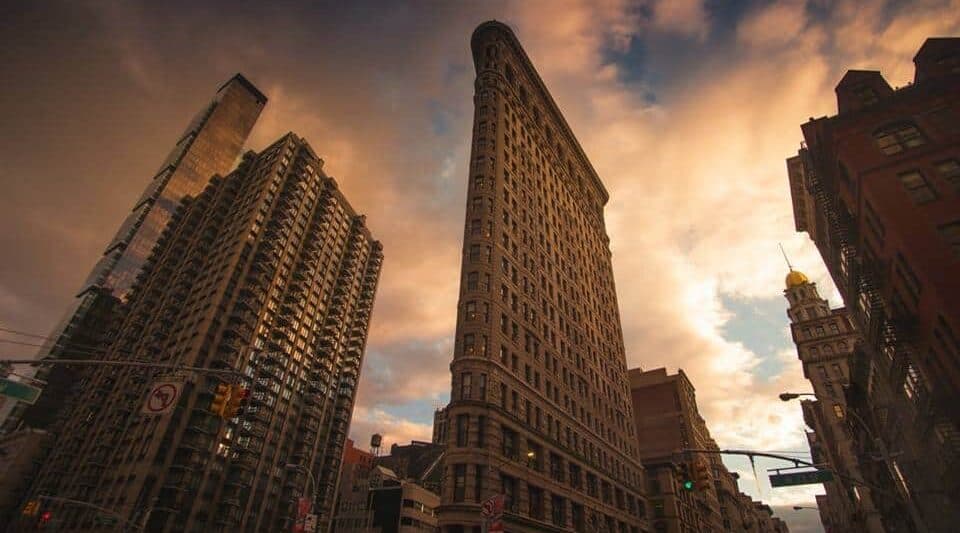
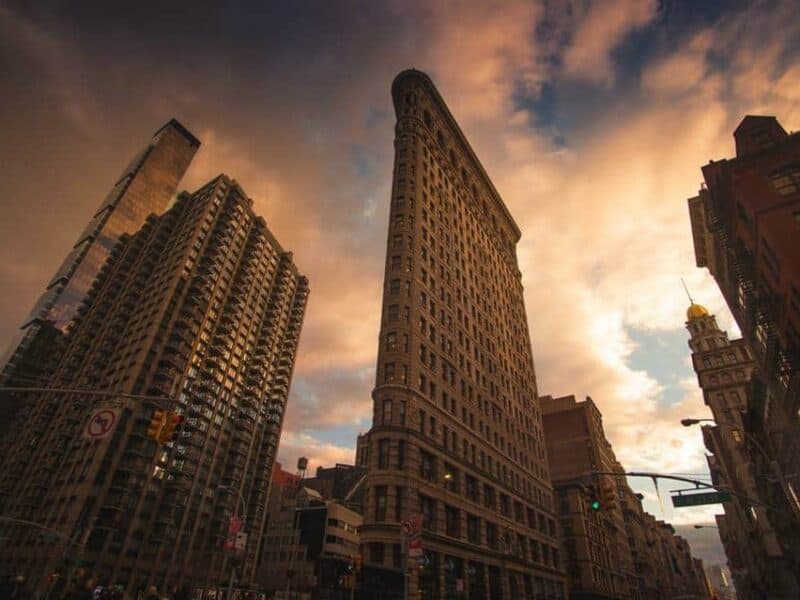
-These Lightroom Presets that integrate beautifully with a wide variety of styles and color tones
-You can install all of our presets directly on your phone by using the free Adobe Create Cloud and following this tutorial
-Works on both RAW and JPG images
-Each preset may require exposure adjustment depending on how your picture was shot. We have worked very hard to ensure that all of our collections work on a large range of images, however, you may have to adjust the settings to suit your needs.
-Works with Lightroom 4 and above
-Lightroom Presets will be sent via download link once the preset collection has been purchased
-We encourage you to contact us and email your images created with our presets for your chance to be featured on our website!
How To Install Presets in Lightroom 4,5, 6, and Creative Cloud:
#1: Go into Lightroom and click on Edit at the top (next to File) on a PC, then Preferences. On a Mac, go to Lightroom (in top‐left corner) then Preferences on a Mac
#2: Go down to Preferences and click on it
#3: There will be a new screen that pulls up. There will be six tabs at the top; click on Presets which will be the second tab over
#4: Click on the box titled “Show Lightroom Presets Folder.
#5: Double click on Lightroom
#6: Double click on Develop Presets
#7: Drag or move/paste your new presets folder into the folder
#8: Restart Lightroom and your presets should be in their own category!

