Are you thinking about hiking Mount Tamalpais? The iconic Mount Tamalpais in Marin County, California is a hiker’s heaven and a photographer’s paradise. Especially on social media, the mountain is best recognized as a place to capture dreamy images of fog rolling through the trees. You have probably seen photos from people hiking Mount Tamalpais on Instagram and even if you don’t want to take photos, hiking Mount Tamalpais is still a rewarding experience!
With an elevation of 2,571 ft (or 783.6m), you can see stunning views of the ocean and the city, and have the opportunity to encounter various wildlife native to the area. In addition, you can do various activities such as camping, biking, horseback riding, and hang gliding. There are many Mount Tamalpais hikes for all skill levels so whether you are a beginning hiker or a pro
This is a beginner’s guide to hiking Mount Tamalpais: what to know and bring beforehand, and which trails to take!
This is a guest post by Amaris Woo
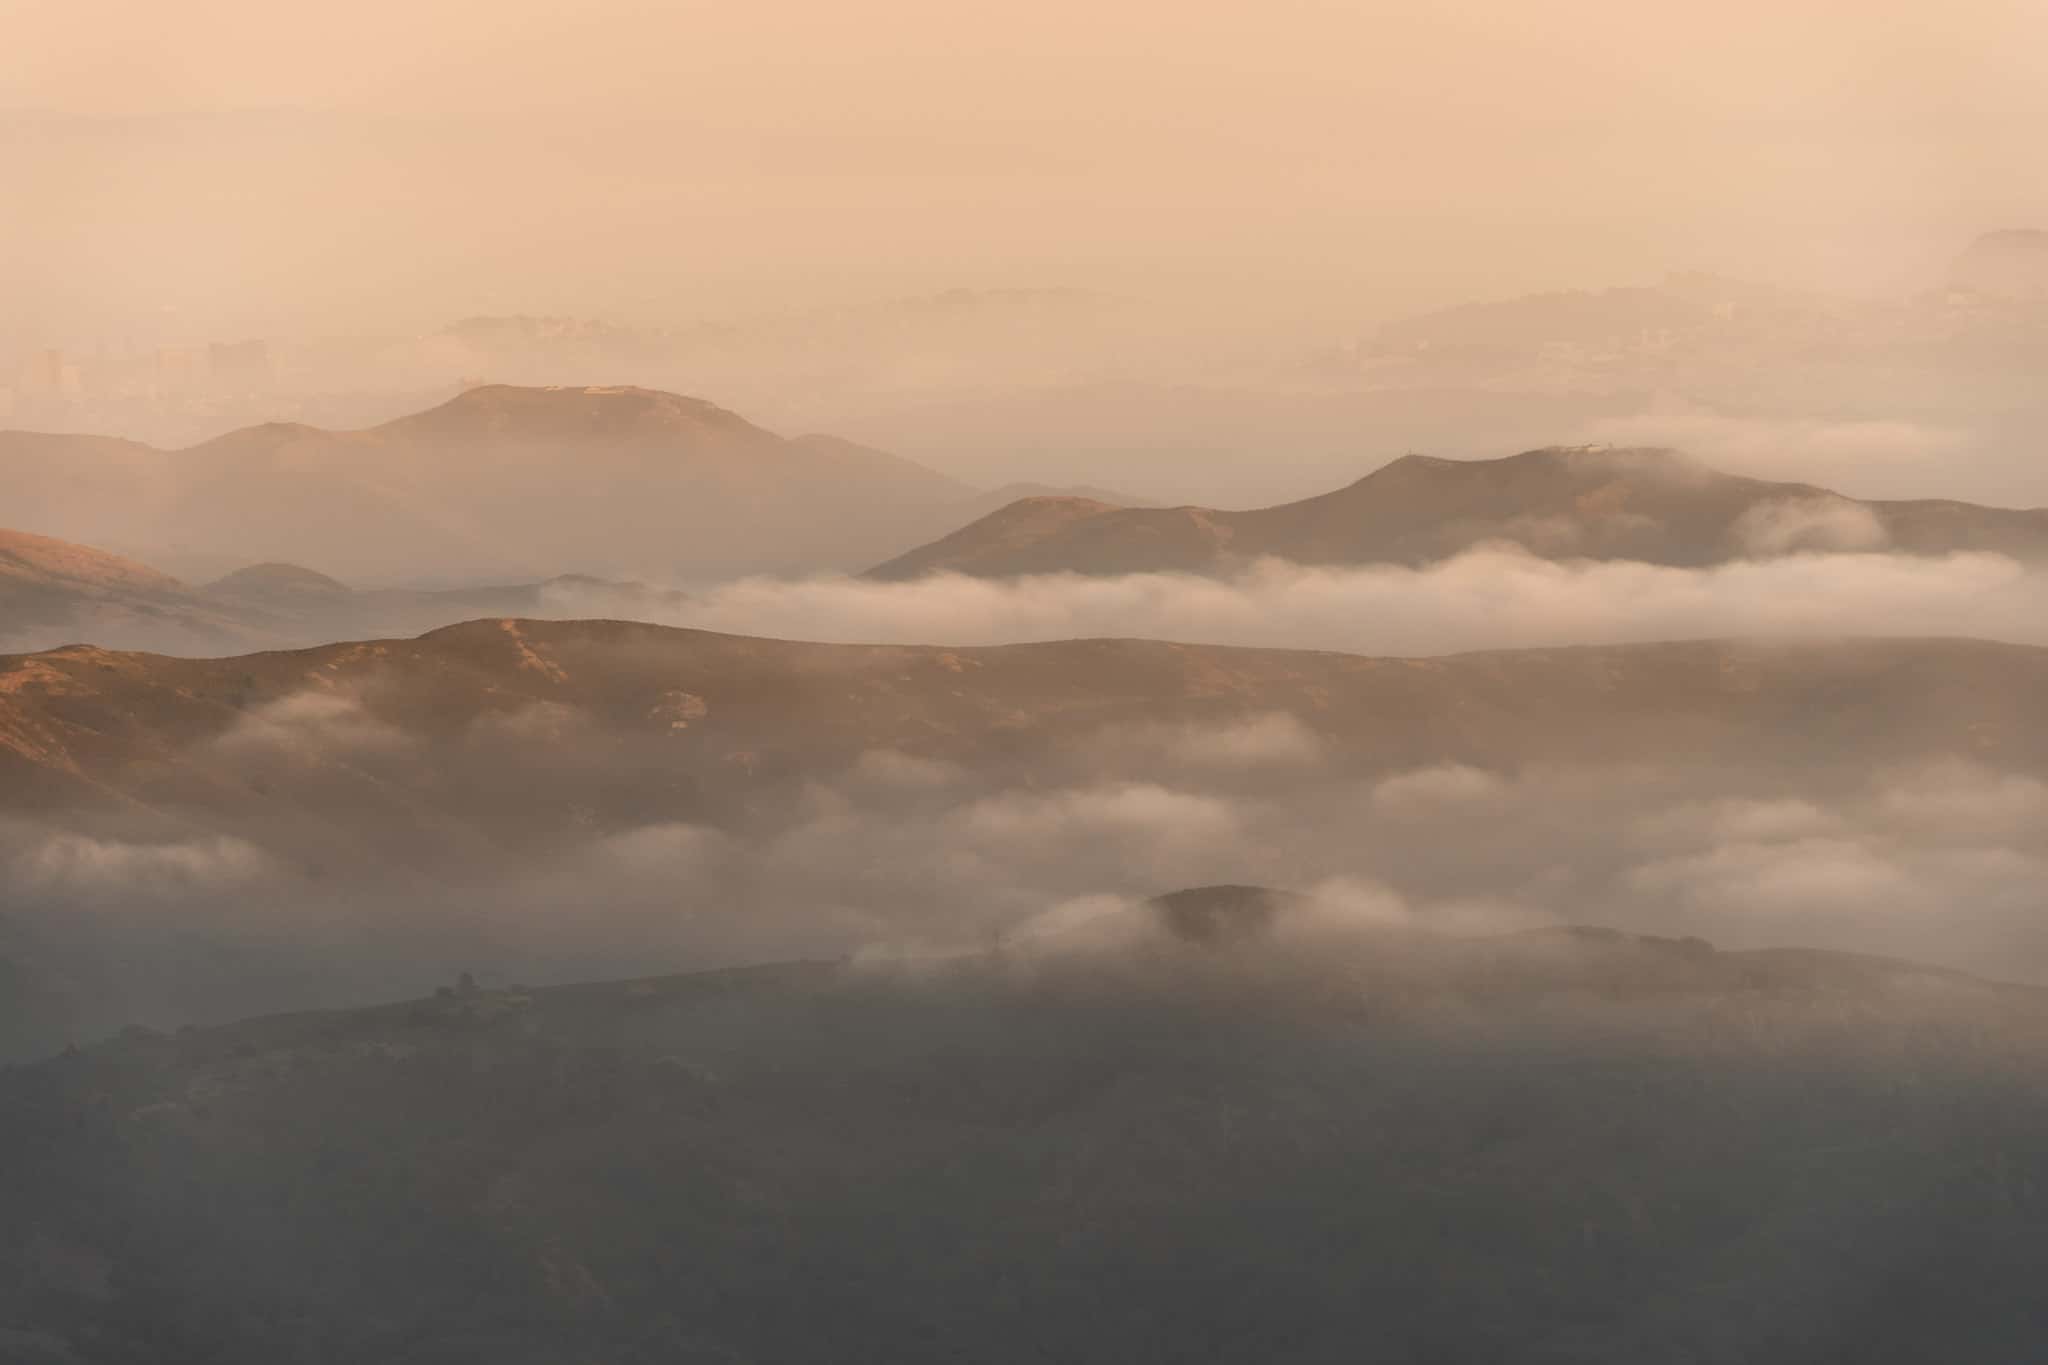
The Ultimate Guide To Hiking Mount Tamalpais
Things To Know Before Hiking Mount Tamalpais
Opening Hours For Hiking Mount Tamalpais
The Mount Tamalpais park opens at 7:00AM and closes at or right after sunset. If you are sticking around, especially high up on East Peak, you may find yourself blocked by a gate on the way down and may have to pay a fine, so give yourself adequate time to drive down if you are doing any of the longer Mount Tamalpais hikes or if you arrive late.
There is no entrance fee to the park but there are a few parking lots, such as the parking lot on East Peak, that cost $8 in cash so if you are planning on hiking Mount Tamalpais make sure you don’t forget your cash!
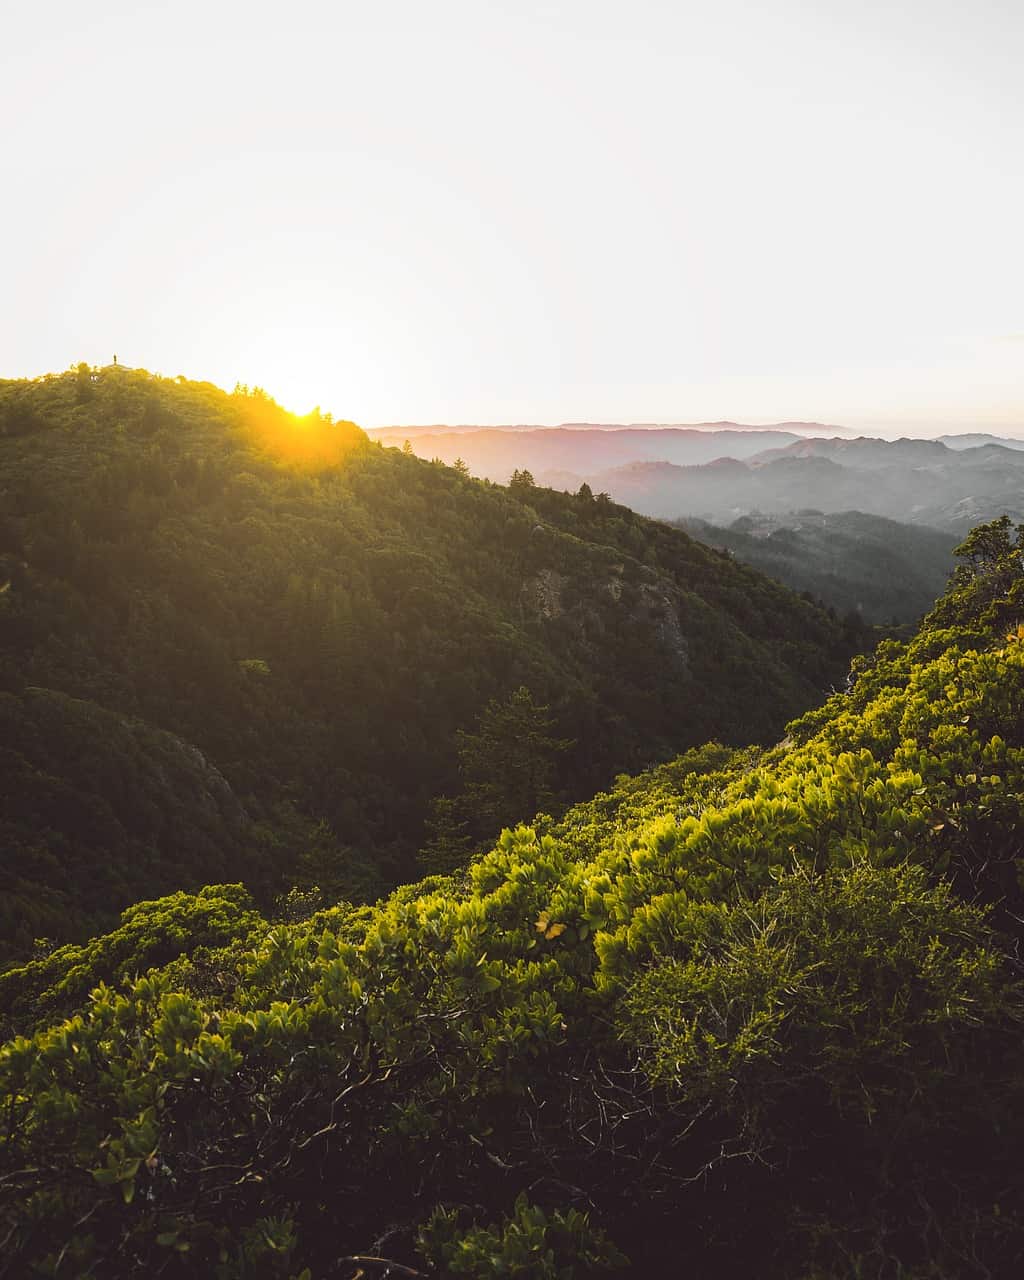
Phone Reception At Mount Tamalpais
There is phone reception in the area but it depends on both your location on Mount Tamalpais and your service provider. You may want to consider downloading an offline map or printing out one beforehand. The Pantoll Ranger Station also provides maps. If you are hiking Mount Tamalpais it is always a good idea to tell friends or family or the ranger station where you are going to be. Even if you are doing one of the easier Mount Tamalpais hikes, it is a good rule of thumb to update someone each and every time you hike for safety!
Driving Up Mount Tamalpais
Although this is one of the best places to visit near San Francisco, there are no street lights on the mountain but the headlights on your car will suffice if you happen to be coming down the winding roads after sunset.
As for the road during the day, you may encounter numerous bikers making their way up and down the mountain along the side of the road. The road is curvy and goes on like that for half an hour or more depending on where you stop. When driving up to the location to start your Mount Tamalpais hike, be very careful of the bikers and respect their right to be on the road with you too!
The area has the most visitors in the summer, but that should not be of any detriment if you are planning on hiking Mount Tamalpais. During two trips I made in the summer, none of the parking lots were full. Furthermore, there were many areas on the Mount Tamalpais hiking trails where I remember no one else in sight. Both times I went hiking on Mount Tamalpais were on Saturday.
Make sure to brush up on your Hiking Etiquette before starting off!
Fog At Mount Tamalpais
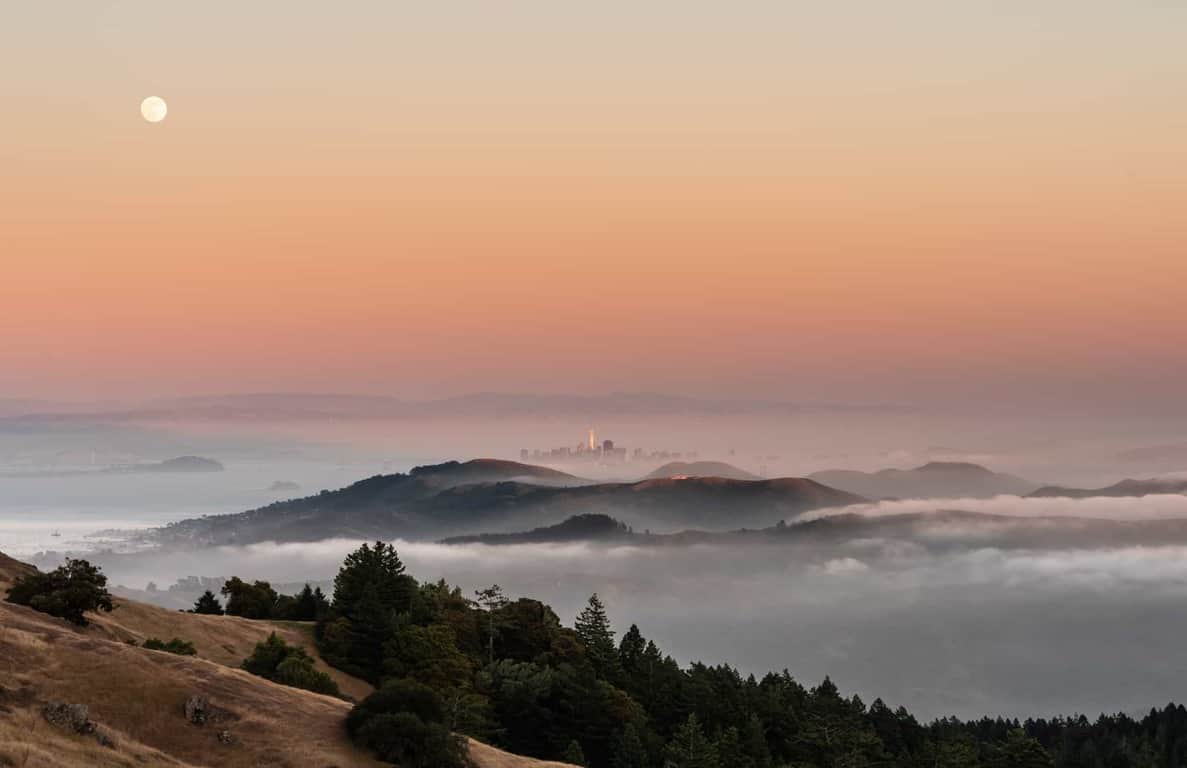
The fog there is legendary, so don’t miss your chance to photograph it. You will not see it every morning or evening, but there is a greater chance in the summer! Fun fact: The locals call the fog, Karl! This is one of the reasons many people choose to hike Mount Tamalpais and it is easy to see why! The fog, aka Karl, blankets the ground below and you have a birds eye view from above the fog!
Items to bring On Your Mount Tamalpais Hike
I highly recommend bringing water, healthy snacks, and athletic shoes when hiking Mount Tamalpais. You are basically going to want to bring your normal Day Hiking Essentials! Of course, we recommend some sturdy hiking shoes! You don’t need to break the bank, there are plenty of Cheap Hiking Boots that are nice yet affordable.
Sunscreen, a hat, and anything else you would bring to a hike will serve you well when choosing any of the Mount Tamalpais hikes. During the colder seasons, it can be a bit chilly around sunset, so wear layers, long pants and bring a light jacket. It is also good to bring a quality travel daypack if you are going to be doing any major hiking or spending a long time!
Bug spray is not a bad idea as well as it may get buggy while hiking Mount Tamalpais. Although I had not run into many bugs overall, some mosquitoes were bugging me in small areas off a trail so if you don’t want them to ruin your Mount Tamalpais hike, pack some spray just in case!
For photographers, bring an extra battery and SD card along with the rest of your camera gear when hiking Mount Tamalpais because you will absolutely love this place! For convenience, pack your gear in a bag (ideally a camera backpack) for safety as some of the Mount Tamalpais hikes can be on the longer side! If you don’t have a specific camera bag, a regular backpack should suffice when hiking Mount Tamalpais.
You may want to bring a wide angle lens to capture the vast landscape and a zoom lens to highlight details in the cityscape or wildlife during your Mount Tamalpais hike. You will be able to see landmarks such as the Golden Gate Bridge and the Transamerica Pyramid. The views are unforgettable and it is no wonder that Mount Tamalpais is a photographers paradise!
Also, bring a tripod and a camera remote if you would like to capture long exposures of the foggy days. You know those epic photos of the fog all smooth and silky? That can only be captured with a tripod and long exposure so if you dream of these photos when hiking Mount Tamalpais, make sure to come prepared with a tripod!
Unfortunately, if you have a drone, leave it at home – they are banned here. Some drone shots from people who were hiking Mount Tamalpais can be found online, so if you end up doing so, it is at your own risk.
If you are modeling here or looking to take some pretty photos for Instagram, a long flowy dress and a sun hat would look great against the fog or among the grass and blowing in the breeze! If you are hiking Mount Tamalpais during the colder months, make sure to wear some nice fleece lined leggings under your dress so you don’t freeze to death! Don’t forget comfortable shoes to change into when walking between locations during your Mount Tamalpais hike!
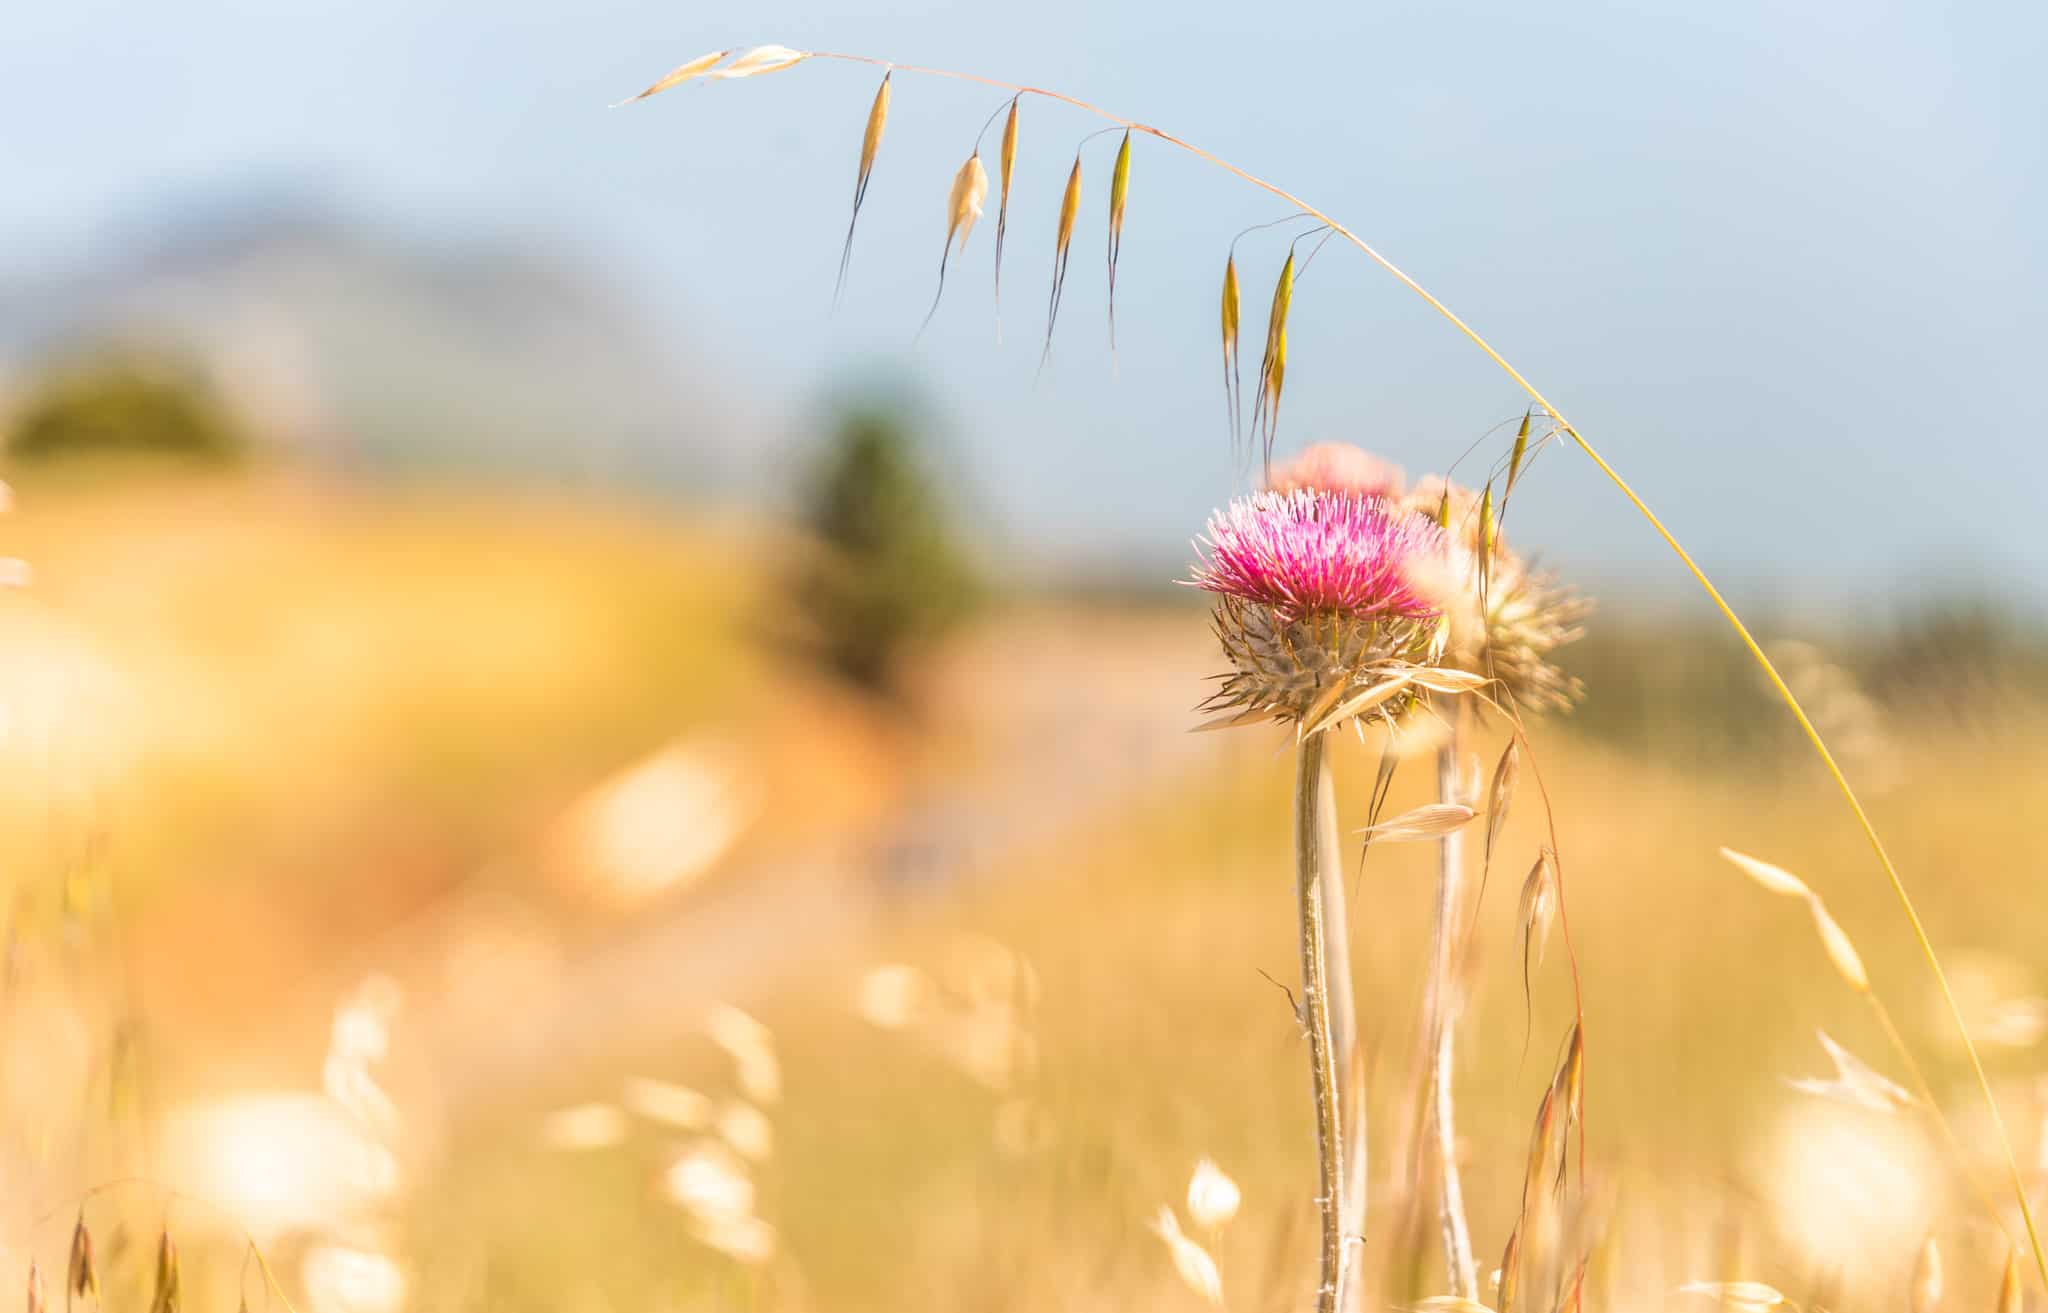
The Best Mount Tamalpais Hiking Trails
There are numerous Mount Tamalpais hiking trails with varying difficulties. I will share a couple of my favorite spots: Trojan Point and East Peak.
These spots are relatively easy to get to, and both have easily accessible restrooms and water fountains close to the area. They make great starting off points for your experience hiking Mount Tamalpais, especially if this is your first time hiking in California!
Hiking Mount Tamalpais’ Trojan Point Trail
If you are looking for one of the best Mount Tamalpais hikes, Trojan Point trail is a winner! To get to Trojan Point, park at the Rock Springs Parking Lot past the ranger station for free and go up the small hill right across from it. It is an easy hike that will give you breathtaking views of the natural landscape and the city. If you are short on time when hiking Mount Tamalpais, Trojan Point trail will be the perfect quick hike for you!
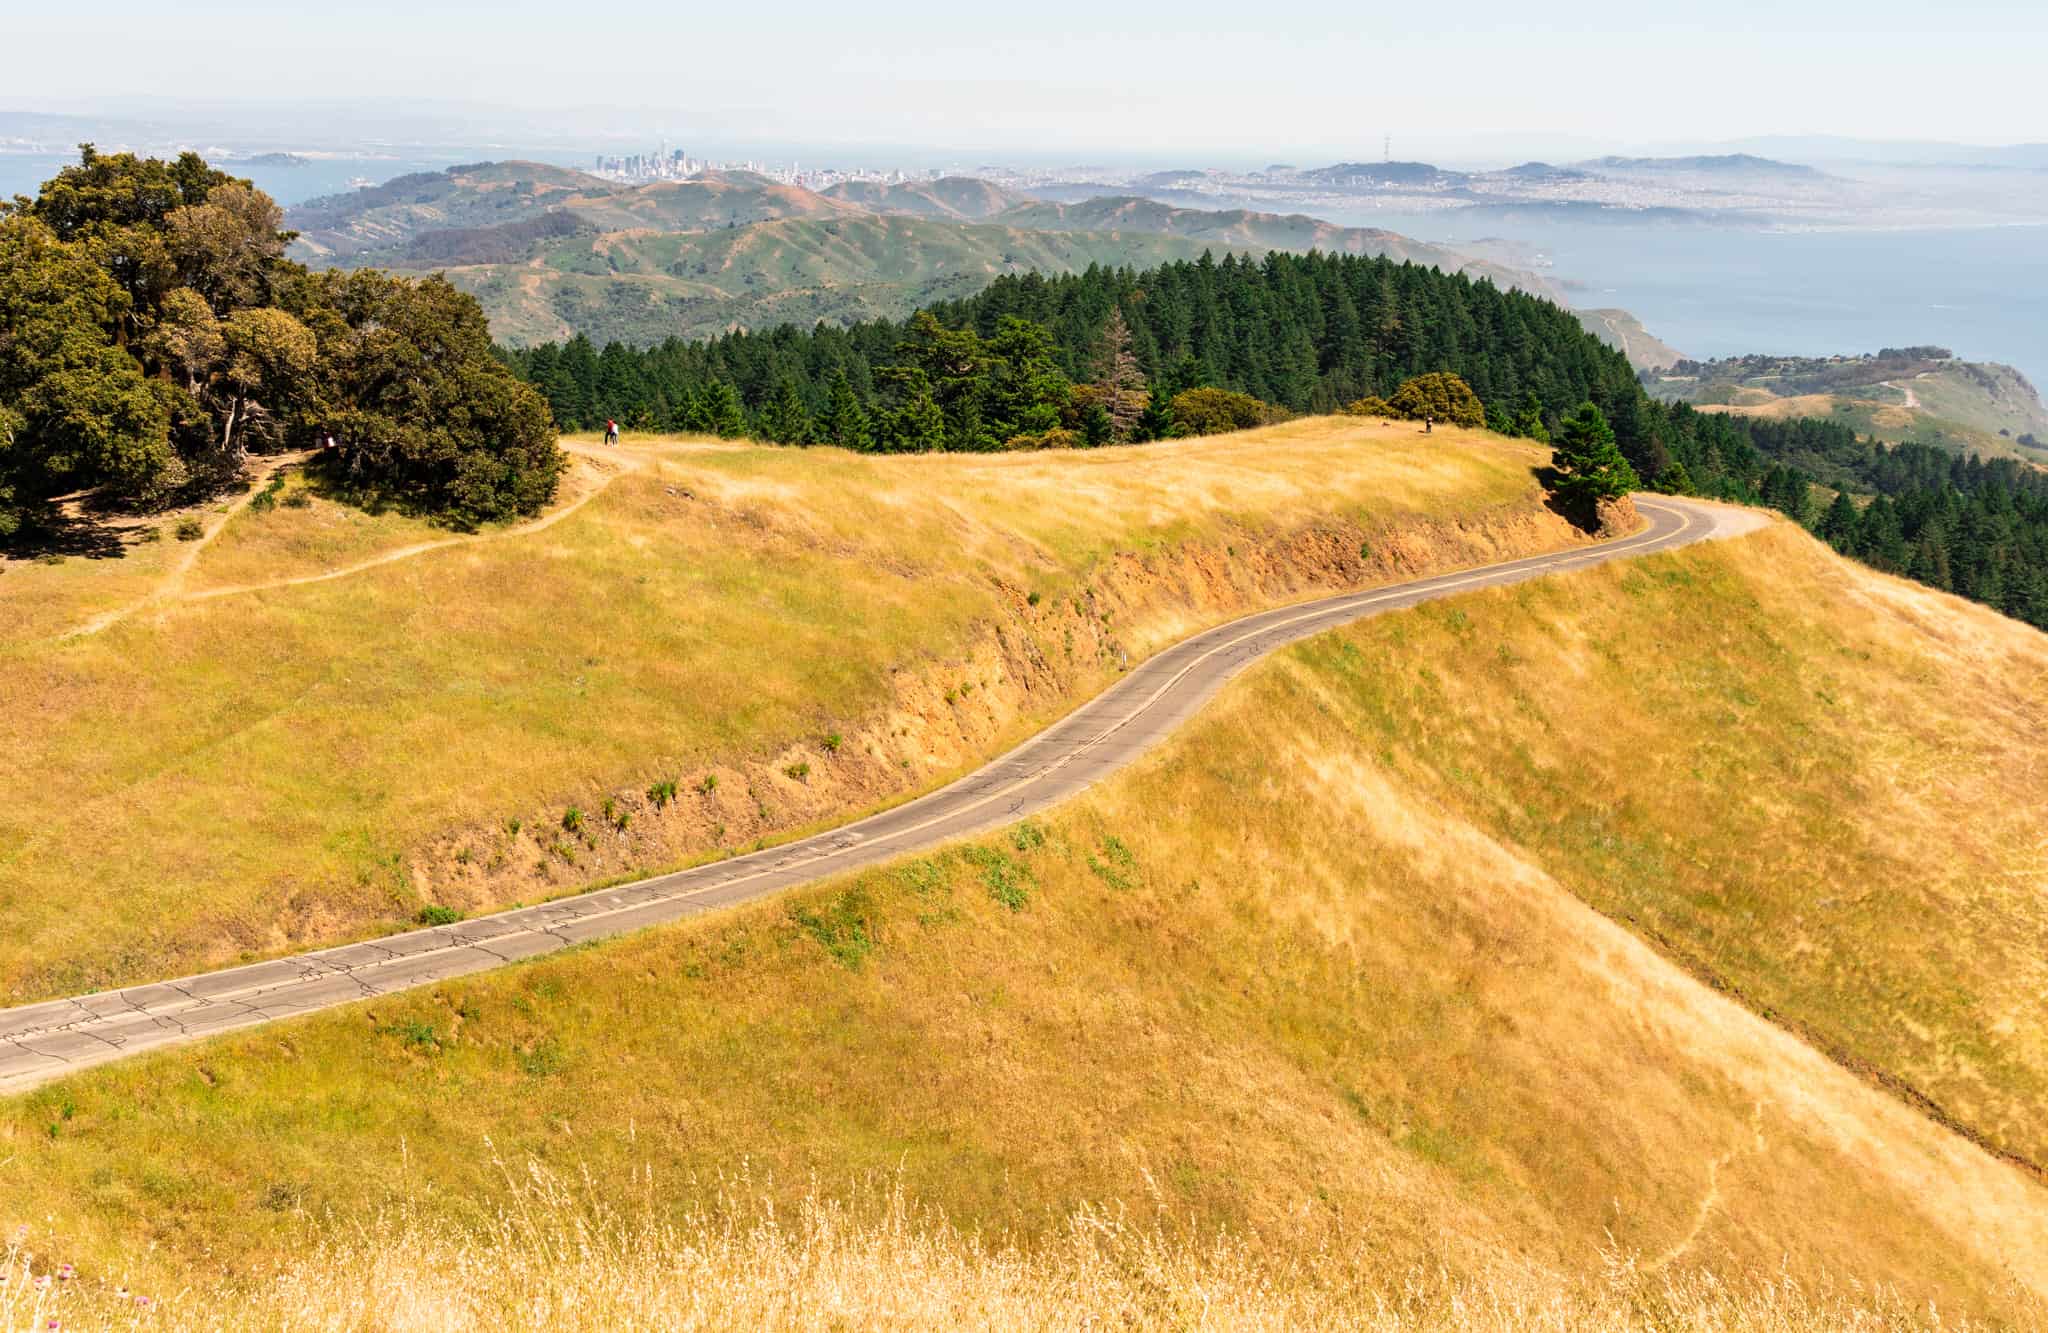
When hiking the Trojan Point Trail on Mount Tamalpais, you will be able to see lots of trees, flowers, tall grass, and friendly creatures such as birds, lizards, and squirrels. In the summer, the hills are golden. This is also the best place out of all the Mount Tamalpais hikes to see the photogenic Pan Toll Road.
Walking up to Trojan Point does not take long but there are more Mount Tamalpais hiking areas adjacent to it. If you feel like having an adventure, try going on those and see what you come across! You will certainly find different angles in capturing Pan Toll Road. As mentioned above, if you want to try exploring lesser known trails when hiking Mount Tamalpais, just make sure you let someone know your plans beforehand!
Fog can be unpredictable when hiking Mount Tamalpais. When I visited in May, I had not been expecting any fog, but it began rolling in right before sunset. The moon was above the endless layers of fog and the sky was a colorful gradient. It really felt like a dreamland. Trojan Point was the perfect place to be to capture the fog when hiking Mount Tamalpais, and this ended up being my favorite sunset ever.
For me, this location was less crowded and more easily accessible than East Peak. During the sunset for example, my friends and I were alone for most of the time besides a couple people passing by. Aside from the lack of a crowd, it may also be a better place to view the sunset because you will not need to worry about the time it takes to get down from East Peak after hiking Mount Tamalpais before the park closes.
Hiking Mount Tamalpais East Peak
East Peak is the highest point you can reach when hiking Mount Tamalpais, and the views are so justifiably rewarding! Here you will need to pay $8 in cash to enter if this is one of the Mount Tamalpais hikes you want to tackle. You will not be given change because you must to put the cash in an envelope. Before you begin these Mount Tamalpais hiking trails, you also can check out the gift shop which has souvenirs and snacks and recharge at the picnic tables before heading up.
If you want to avoid paying the fee and/or want to get more hiking in, you can start from Mountain Inn and make your way up. This path will be about 12.2 miles roundtrip. You can also park at Bootjack Campground (also $8) and hike to East Peak for 10 miles roundtrip. All of these are options when hiking Mount Tamalpais depending on what level of difficulty you are looking to get in!
Both the Verna Dunshee Loop Trail and the Plank Walk Trail on Mount Tamalpais are available to hike here. I recommend doing both, but go for Plank Walk Trail if you are short on time. In total, they are just 1.2 miles, and most people tend to start with Verna Dunshee Trail. If you are looking for Mount Tamalpais hikes that are a bit easier, these are perfect!
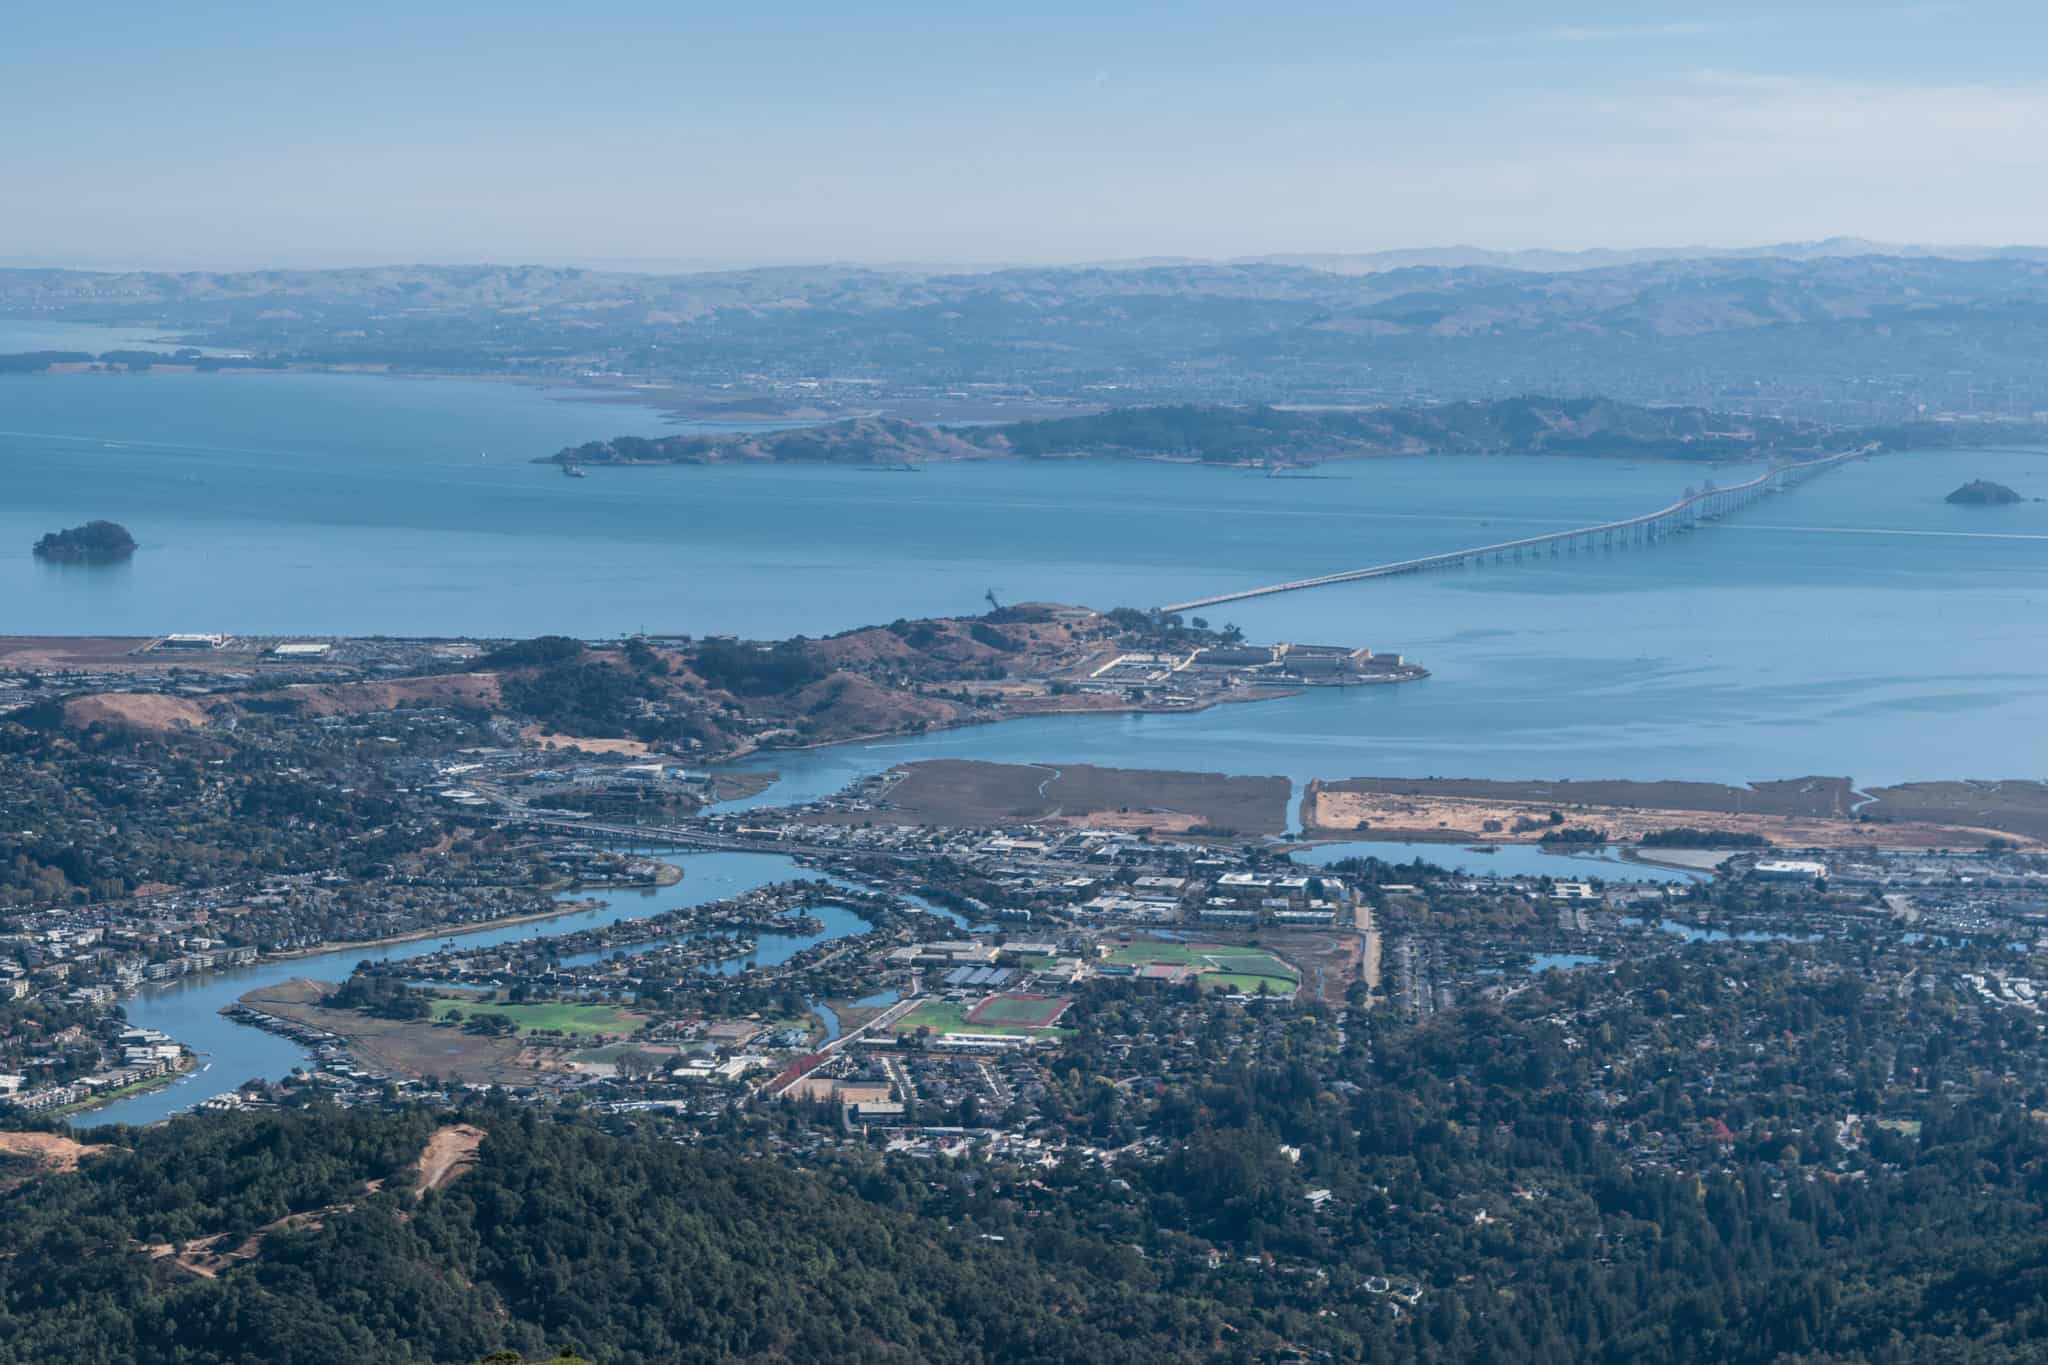
Verna Dunshee Loop Trail goes around the perimeter of the peak. It is the longer path and you gain elevation slowly. It is also wheelchair-accessible, and there are benches where you can rest. The trail leads to an overlook where you can see the vast cityscape and ocean. When you are ready, you may continue on to loop back to the beginning and take the other trail to a steeper Mount Tamalpais hike.
Plank Walk Trail on Mount Tamalpais is a bit shorter but you gain elevation quicker. There are some rocky and slightly tricky areas but it is still a safe and relatively easy hike overall. Near the end, you have to climb over some rocks, so be wary if this is one of the Mount Tamalpais hikes you choose to do!
The Plank Walk Trail leads to the summit where you will see the iconic fire lookout. A volunteer may be there watching for signs of smoke on the mountain. When hiking Mount Tamalpais you may not expect to see a working fire lookout, so it is pretty cool to stumble across, especially if it is staffed! You may also find some shapely boulders, including a heart-shaped one. This is a perfect place to soak in the views and take lots of photos. You will be able to see San Francisco, East Bay, Mount Diablo, and much more.
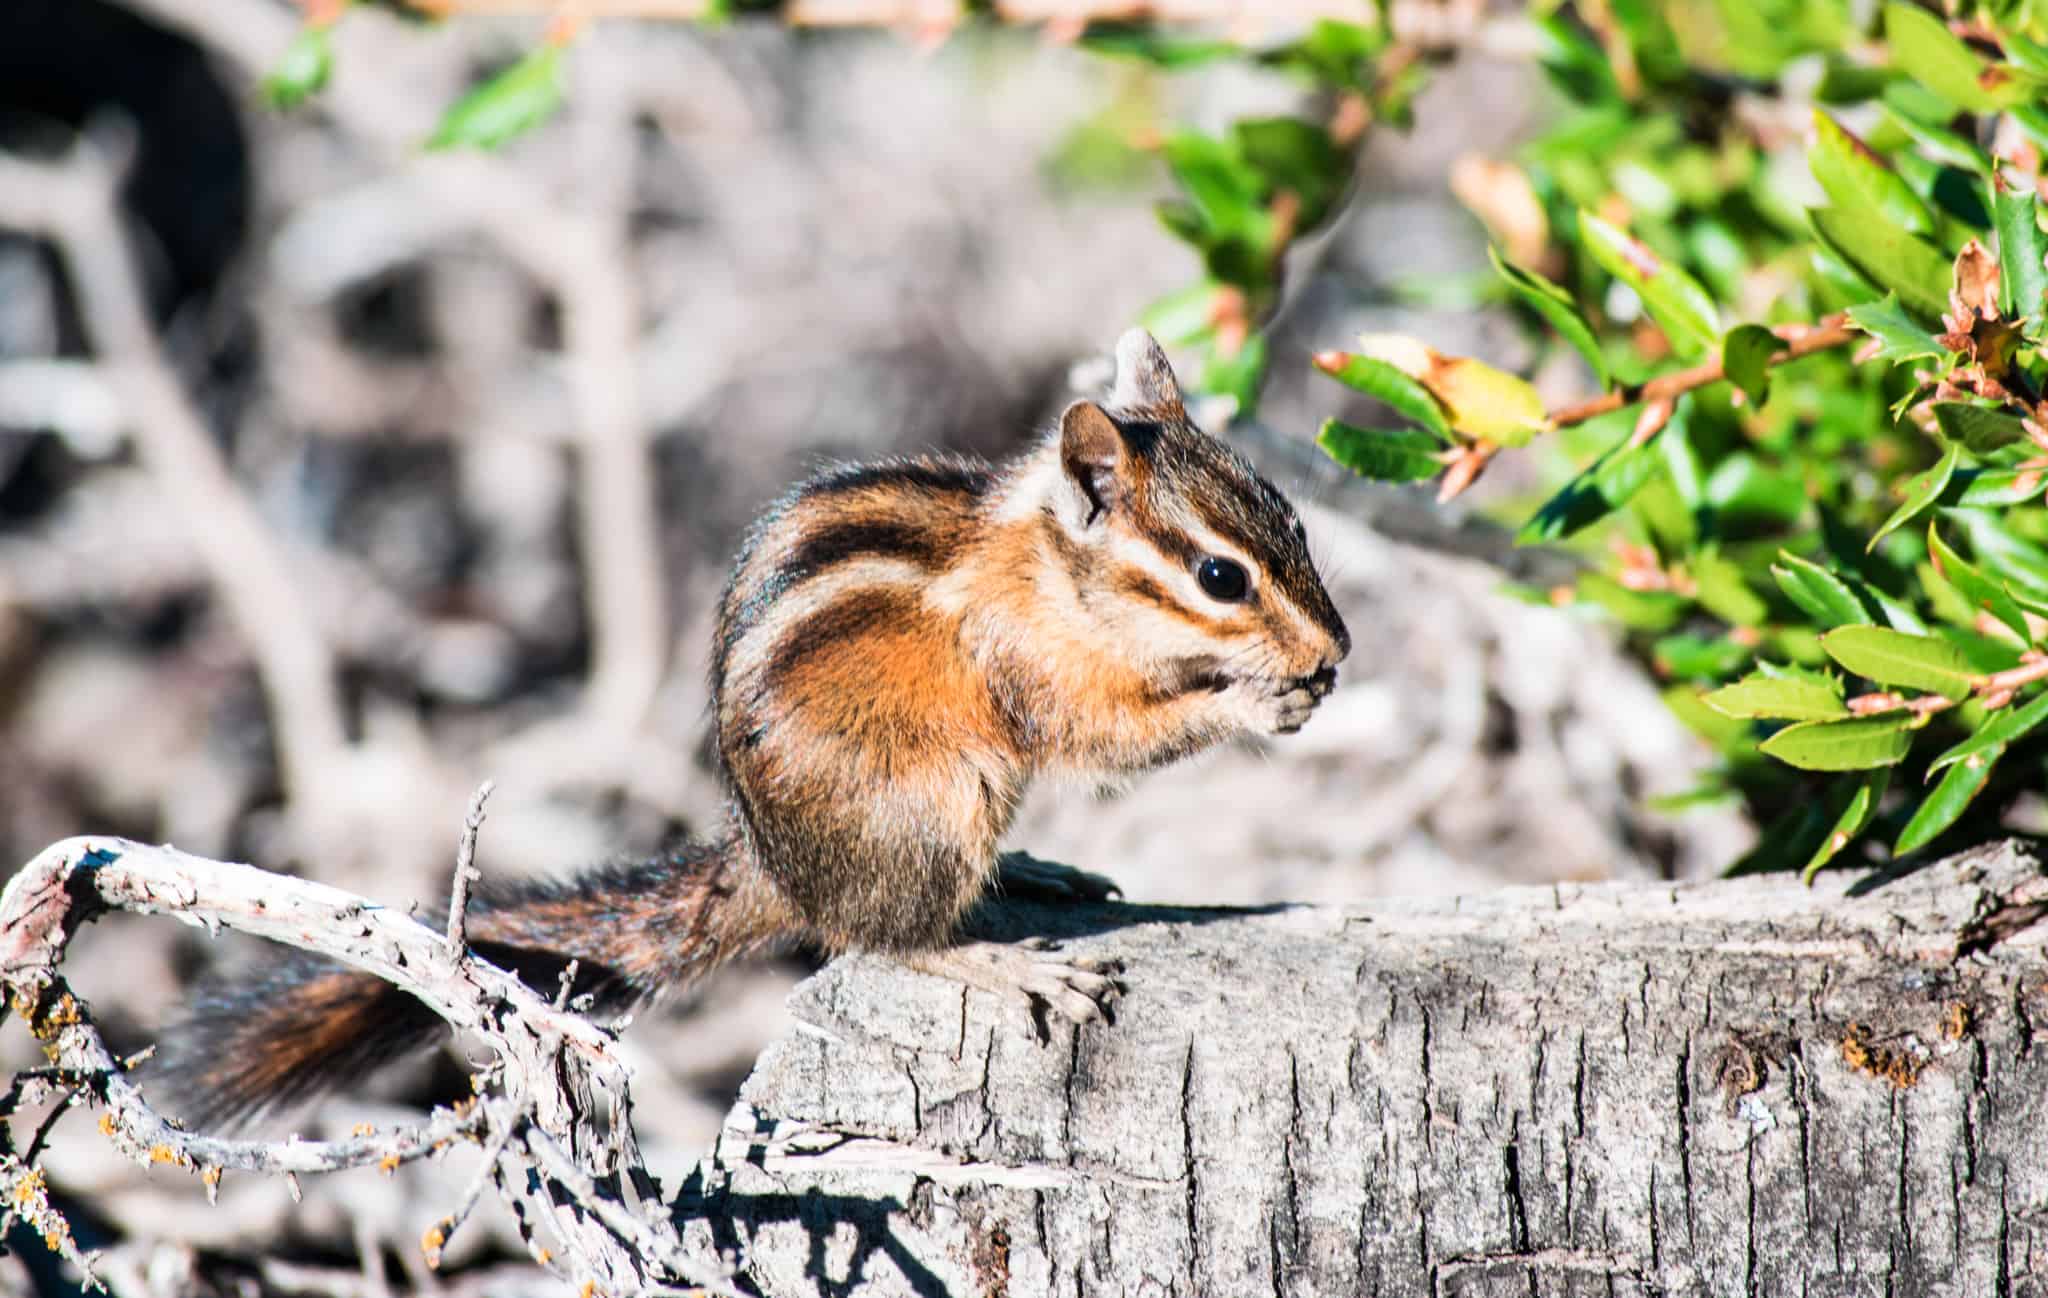
Make sure to watch your bags and especially your food because curious chipmunks are always looking for snacks around the fire lookout area! They are super photogenic, so have your zoom lens ready.
Next time you are in the Marin County area in Northern California, be sure to not miss hiking Mount Tamalpais! Enjoy your time and remember: “Take only pictures, leave only footprints.” Have you ever hiked Mount Tamalpais? What was your favorite tip or thing to do? Tell me in the comments!
Author Bio: Amaris Woo is a photographer from the San Francisco Bay Area. She primarily shoots cityscapes, landscapes, and concert photography. She also has a lifelong mission to spread Taiwan’s beauty to the world through photography and film. You can check out more of her work on her Instagram and website!

 Driving On The Emerald Isle: Europcar Ireland Review