If you’re feeling adventurous, and are seeking out the best Grand Canyon hikes, you’ve come to the right place. Hiking in and around the park is one of the best ways to see all the beauty that the Grand Canyon has to offer.
This stunning National Park is considered to be one of the 7 Natural Wonders of the World, and as you make your way through the park you’ll understand why. Pictures don’t do the Grand Canyon justice. It takes standing there, and looking out into the vast space beyond, to understand the full scale of this majestic landscape.
Hiking the Grand Canyon trails can be an activity for anyone from seasoned, fit backpackers to families with small children. Know your personal limit though, and don’t attempt any hikes that will push you too far. Regardless of the length or difficulty level of the hike, it’s crucial that you head into it fully prepared.
Find out ahead of time whether your trail has water along the way, periodically spaced bathrooms, and whether it’s shaded at all or entirely exposed. Particularly in the summer as temperatures rise, it’s best to start your hikes in the early morning to avoid the unrelenting sun. Our guide is designed to help you choose the best Grand Canyon hikes for you, and make sure you’re fully prepared to tackle them.
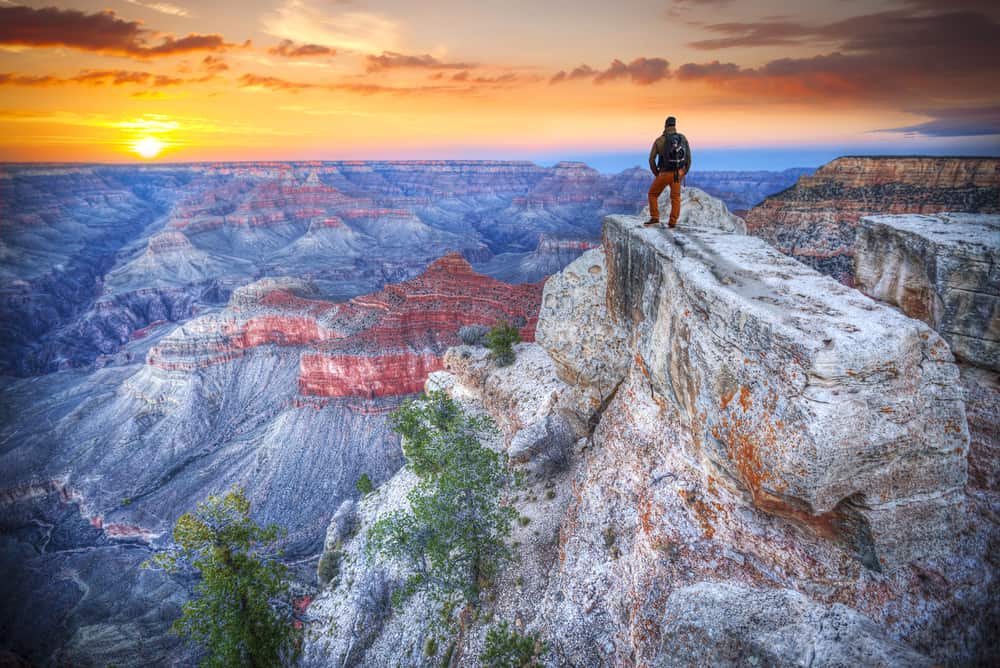
8 Breathtaking Grand Canyon Hikes In And Around The Canyon
The Grand Canyon’s South Rim Is The Most Popular Side Of The Canyon
Out of the roughly 4.5 million visitors flocking to the Grand Canyon each year, the majority head to the South Rim to get their fix of mesmerizing canyon views. If the Grand Canyon is on your USA Bucket List, this is the place to start!
The South Rim is open for visitors to enjoy all year round, 24-hours a day. There are an abundance of spectacular, unobscured views on the South Rim. As you hop from one designated viewpoint to the next, you’ll never be underwhelmed.
The South Rim is filled to the brim with hikers, backpackers, rafters, mule-riders, and casual day tourists that hang out at the rim and visitors centers. Though you’ll be sharing the space with many other people, it is well worth it for the unforgettable experiences you’re bound to have.
The South Rim trails are incredibly popular, and we hope you’ll try out a few and bask in the beauty of the canyon yourself.
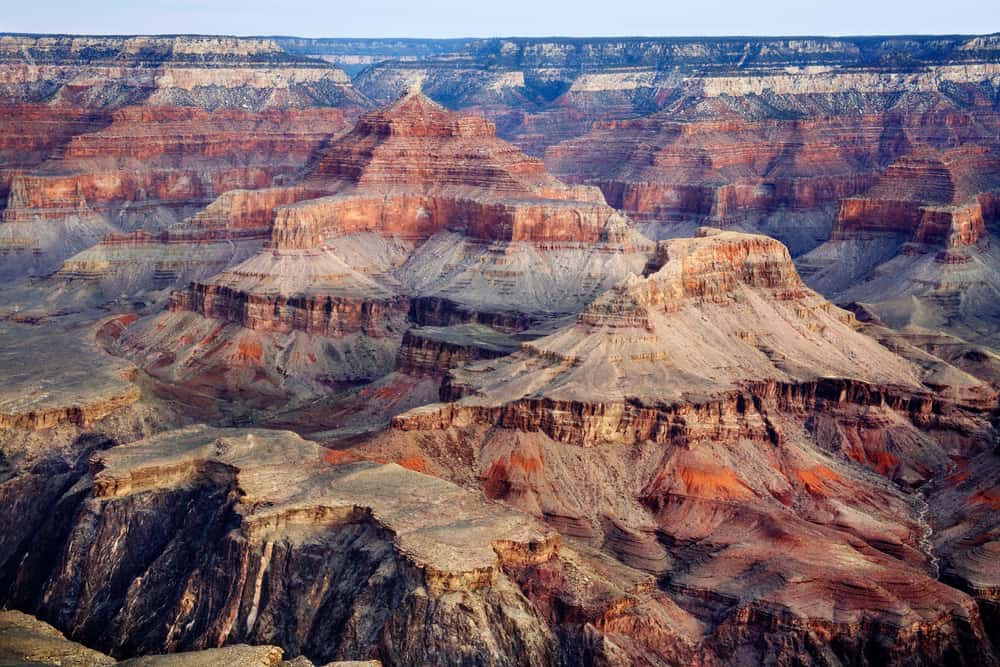
The Rim Trail Has Some Of The Most Spectacular Grand Canyon Views
If you’re looking for easy to moderate Grand Canyon hikes with exceptional views, the Rim Trail should definitely be on your list. This 13 mile (one way) trail takes you from the South Kaibab Trailhead all the way west to Hermits Rest. Don’t let the length of the hike scare you away. The beauty of the Rim Trail is that you can choose to walk the full 13 miles (5-7 hours one way), or you can walk any portion of the small sections that make up the greater trail. The hike is lined with marked viewpoints, leading you to the most spectacular views of the canyon. The trail is divided into 15 different points. Many of these points are shuttle bus stops which is convenient for people looking to only hike portions of the trail. These also mark points of interest where you might want to take a moment to appreciate nature’s work.
As you head west, the stops (and the distance in miles between stops) include South Kaibab Trailhead (.8), Pipe Creek Vista (1.4), Mather Point (.7), Yavapai Point (.7), Park Headquarters Junction (1.2), Village Route Transfer (.7), Trailview Overlook (.7), Maricopa Point (.5), Powell Point (.3), Hopi Point (.8), Mohave Point (1.1), The Abyss (.9), Monument Creek Vista (1.7), Pima Point (1.1), and finally Hermit’s Rest. It’s important that you bring plenty of water with you, particularly on hot summer days. There’s water available in the Grand Canyon Village and at Hermit’s Rest when you end your hike, but the trail as a whole has very little to no access to water.
Much of the 13 mile trail is paved, and from Pipe Creek Vista to Bright Angel Lodge, the pavement is also relatively level. At Powell Point, the trail becomes a dirt path, and remains that way until Monument Creek Vista. The Rim Trail is one of the few Grand Canyon trails that doesn’t allow you the thrill of hiking into the canyon, but the views from the rim are arguably unmatched. This hike allows you to get a grasp of the full expanse of this majestic canyon and marvel at the power of nature. The scenic Rim Trail is perfect for hikers of varying ability levels and is not a hike to be missed.
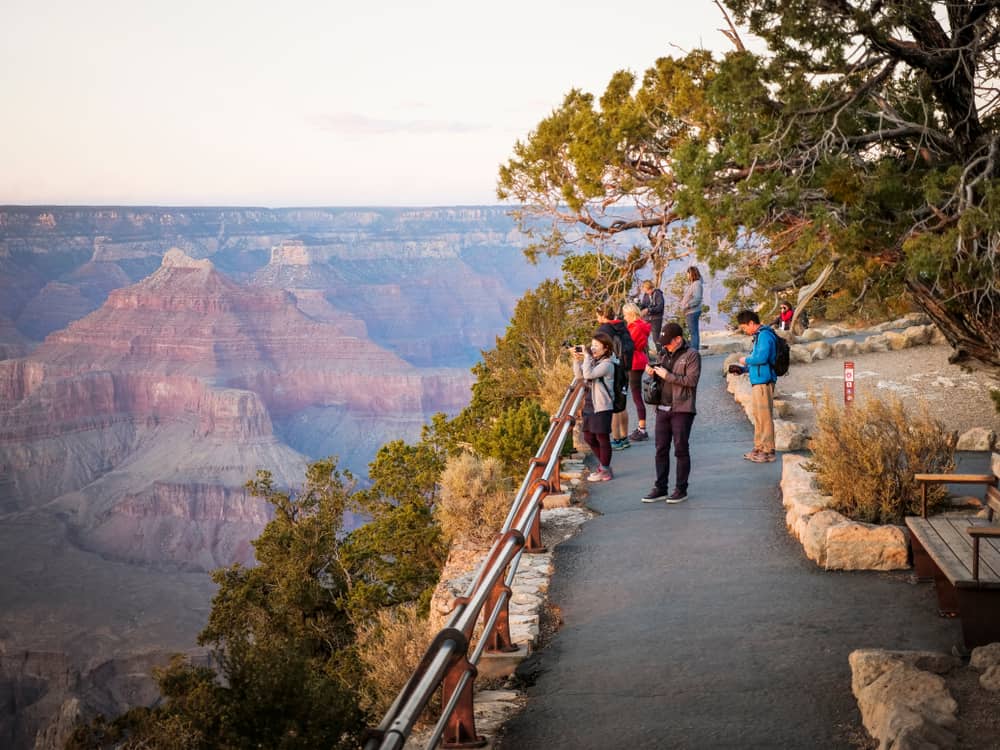
The Bright Angel Trail To Indian Garden Is One Of The Best Grand Canyon Hikes
The Bright Angel trail is easily one of the best Grand Canyon hikes in the whole park much less the South Rim. The views are stunning, the trail is challenging but well maintained, and hikers of all levels can enjoy at least some portion of the trail. You’ll find the Bright Angel trailhead just west of the Bright Angel Lodge and Kolb Studio, in the Grand Canyon Village. There are a number of parking options. If the upper Bright Angel Lodge lot is full, continue driving down towards the Backcountry Information Center. There’s parallel parking all along that street by the railroad tracks. If you’re not able to find anything along the street, you can park at the Backcountry Information Center lot (Lot D) and walk roughly 5 minutes to the trailhead. Another option is to park at the Visitor’s Center and take the free shuttle over to the trailhead. Located right by the trailhead are bathrooms and the mule corral.
The first 1.5 miles of the Bright Angel trail are the most crowded. With two archways over the trail and impressive views, many visitors who are not interested in an extended hike, stick to this section of the trail to get a taste of what the Bright Angel trail has to offer. The first rest-stop with a bathroom and water station is at the 1.5 mile marker, making it a convenient turn around point for many hikers. As you pass the first rest stop, you’ll continue switchbacking down into the canyon until you hit the 3 mile marker and the 2nd rest stop. After the 3 mile marker, you’ll notice the number of hikers on the trail start to dwindle. Though the hike becomes more strenuous the farther you go, the whole process is incredibly rewarding.
After the 3 mile rest stop, Indian Garden will be your target. Indian Garden, which was last occupied by the Havasupais, was home to Native Americans thousands of years before the first Euro-American visitor happened upon the area. Located 4.5 miles down the Bright Angel Trail, Indian Garden is the perfect rest stop, with a beautiful stream, and cottonwood trees providing much needed shade. This is the turn around point for the mule trains and most hikers. It is possible to camp overnight at Indian Garden if you’ve already applied for and received a backcountry camping permit. But for day hikers, particularly in the summer, it’s advised you turn back at Indian Garden and begin the final 4.5 miles back to the trailhead.
For the fittest hikers who get an early start, or those with backcountry camping permits, you can continue the hike all the way to Plateau Point were you’ll be greeted with views of the Colorado River and 360 degree panorama views of the canyon. This becomes a very strenuous 12.2 mile round trip hike for roughly 8-12 hours total. The hike to Plateau Point should not be attempted as a day hike unless the weather conditions are favorable and you are a very fit, experienced hiker.
As you prepare to hike the Bright Angel Trail, make sure you bring plenty of water. From May-September there’s water at the 1.5 mile resthouse, the 3 mile resthouse and at Plateau Point. Water is available all year round at Indian Garden. If a pipe breaks though, and there’s no water available, it’s critical you’ve brought enough water to last you through the hike. You will also more likely than not be sharing the trail with mules. If your paths cross, step off the trail to the side away from the edge, stand still, and wait for the whole mule train to pass. If you properly prepare for your hike you’re in for the experience of a life time.
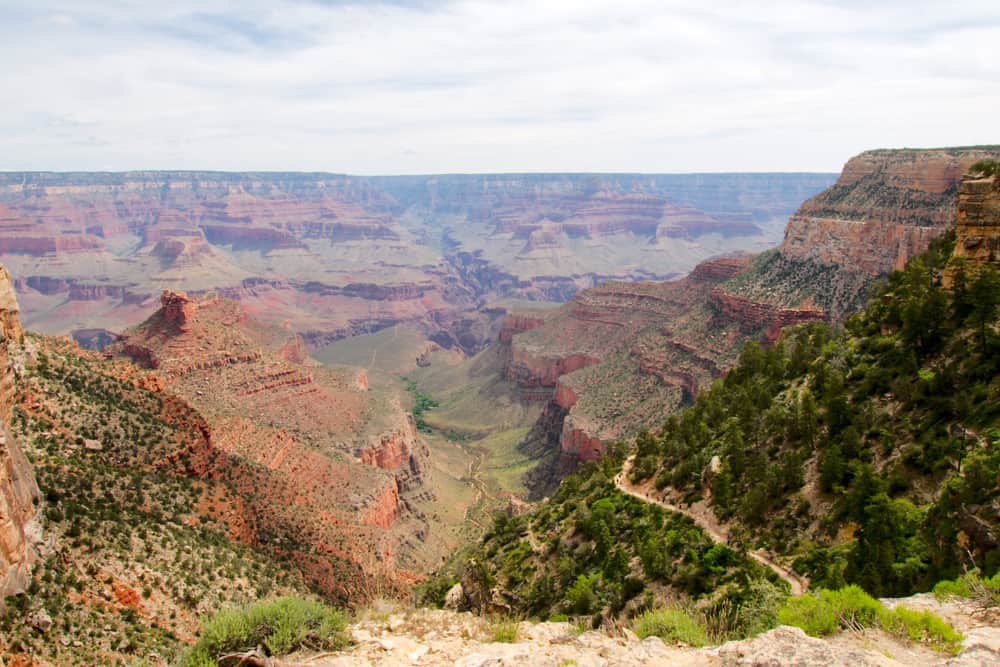
The South Kaibab Trail to Cedar Ridge Is One Of The Most Popular Grand Canyon Hikes
The South Kaibab Trail is one of the most popular and best maintained Grand Canyon hikes into the canyon. Because this trail runs along a ridge line, it offers exceptional views the whole way. The South Kaibab Trailhead, which is located near Yaki Point, cannot be reached by car. The park offers free shuttle buses to the trailhead. You’ll want to take the Kaibab Ridge Orange Route. This route has stops at the Grand Canyon Visitor Center, Mather Point, The Yavapai Geology Museum, The South Kaibab Trailhead, Yaki Point, and Pipe Creek Vista. Another option for hikers looking to get an early morning start is to take the Hikers’ Express Shuttle Bus from the Bright Angel Lodge bus stop. This shuttle has three departure times each morning on the hour. The departure times change each month with the earliest departure time being at 4am from June-August allowing hikers to beat the intense heat.
The South Kaibab trail has 3 major turnaround points. The more family friendly version of this hike is 1.5 miles round trip, and takes you to the appropriately named Ooh-Aah Point. The hike to Ooh-Aah Point is the perfect way to get a taste of what it’s like to hike down into the canyon. Though you’ll be escaping the swarms of crowds along the rim, this first section of the South Kaibab trail will be the most crowded, as less experienced hikers or tourists short on time will likely turn around here or earlier. For those looking for more of a challenge, you’ll continue hiking to Cedar Ridge for a 3 mile total round trip (2-4 hours). The 360 views you’ll be greeted with at Cedar Ridge are well worth the strain of the hike. Cedar Ridge is the recommended turn around point for most hikers, and it is highly suggested you don’t hike past this point in the summer.
For the most adventurous souls and the strongest hikers, it is possible to continue the hike down to Skeleton Point. Though the whole Kaibab Trail has stunning views, Skeleton Point offers views of the river below. The complete hike to Skeleton Point is 6 miles round trip (4-6 hours). Plan to start your hike very early in the morning to avoid hiking out of the canyon during the hottest times of the day. As you head down to Skeleton Point, always keep in mind that you still have to hike back up to the rim. You may feel great hiking down into the canyon, but the hike back out is always harder and longer than you think.
Unlike the Bright Angel Trail that has water at each resthouse, there is no water on the South Kaibab Trail. It is absolutely crucial that you bring enough water with you on the hike. The longer versions of the hike can be strenuous, and because the trail follows a ridge line, it is very exposed and offers almost no shade. You should also be sure to bring plenty of snacks with you to eat throughout the hike. Like the Bright Angel Trail, you’ll likely be sharing this trail with mules. You’ll want to do everything you can to avoid unnecessary accidents. As mentioned before, you should move to the side of the trail away from the edge, give them plenty of space, remain still, and wait until the last mule has passed before you continue hiking.
Hike The Grandview Trail to Horseshoe Mesa To See Remnants Of The Last Chance Mine
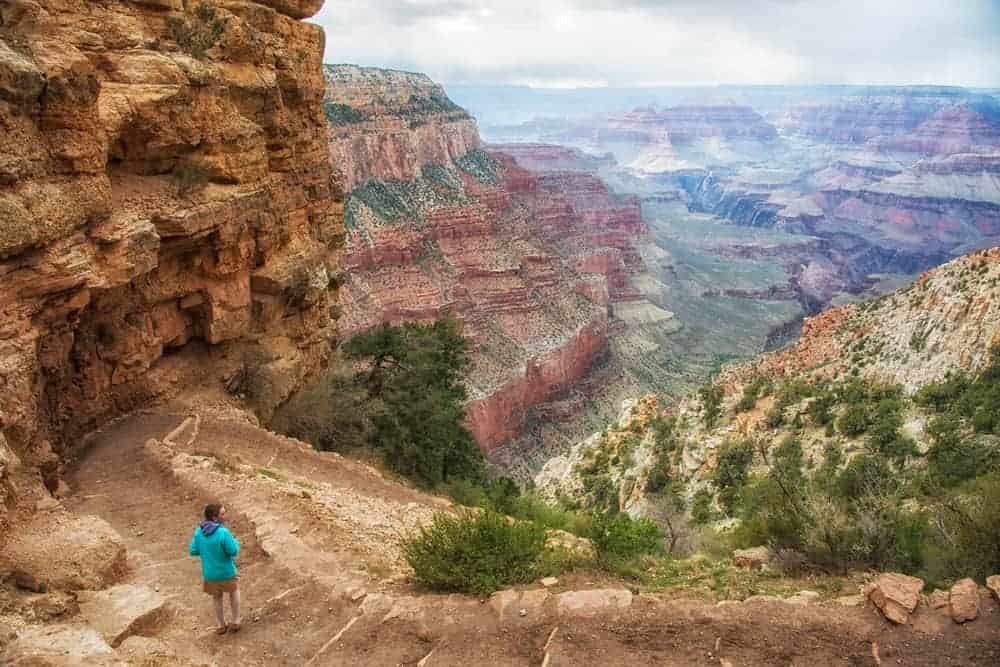
Though Grandview Trail is less maintained than Bright Angel and South Kaibab, the first mile to Coconino Saddle is a popular descent among visitors. The trail takes you down the path once used by miners and mule trains to cart copper ore up to the rim from the Last Chance Mine. Like the other South Rim Grand Canyon hikes we’ve listed, the Grandview Trail has a number of different turnaround points to accommodate hikers of varying levels. You’ll find the trailhead at Grandview Point off of Desert View Drive. As you start this hike, the trail descends in a hurry through a series of intense switchbacks. Coconino Saddle is the first potential turnaround point, and will take you 1.1 miles into the canyon for a total round-trip hike of 2.2 miles. Spectacular views await you at Coconino Saddle. Whether you choose to turn around or continue descending, the saddle is a great place to rest, take pictures, and enjoy the views. Though much of the hiking trail is exposed, the saddle will provide you with shade.
For fit hikers wishing to continue, you’ll complete a 6 mile round trip hike down to Horseshoe Mesa. This hike will take you through 2,500 feet of elevation change, and is increasingly strenuous. There’s a very small section of the hike that involves rock scrambling, but it doesn’t last for long. When you reach Horseshoe Mesa you’ll start to notice little remnants of the Last Chance Mine. Be sure to leave everything where you found it so the next hikers can have the same thrilling experience. Horseshoe Mesa is the best place to turn around for a day hike. From here to trail splits. The west side of the mesa takes you to Cottonwood Creek for a 9 mile round trip hike. The other option is to hike the east side of the mesa for an incredibly challenging 7.4 mile hike to Page Spring.
Make sure you bring plenty of water with you on your hike. There’s no water available from the trailhead to Horseshoe Mesa. There is water available year-round at Page Spring, but regardless of how far you hike, you should bring enough water to last you through the hike without needing to fill up. The best time to hike the Grandview Trail is in the spring when the weather is pleasant, and the trail is easy to navigate. Ice can potentially make the trail dangerous in the winter, and crampons should be worn at all times.
Visit The Grand Canyon’s North Rim For A More Peaceful Canyon Experience
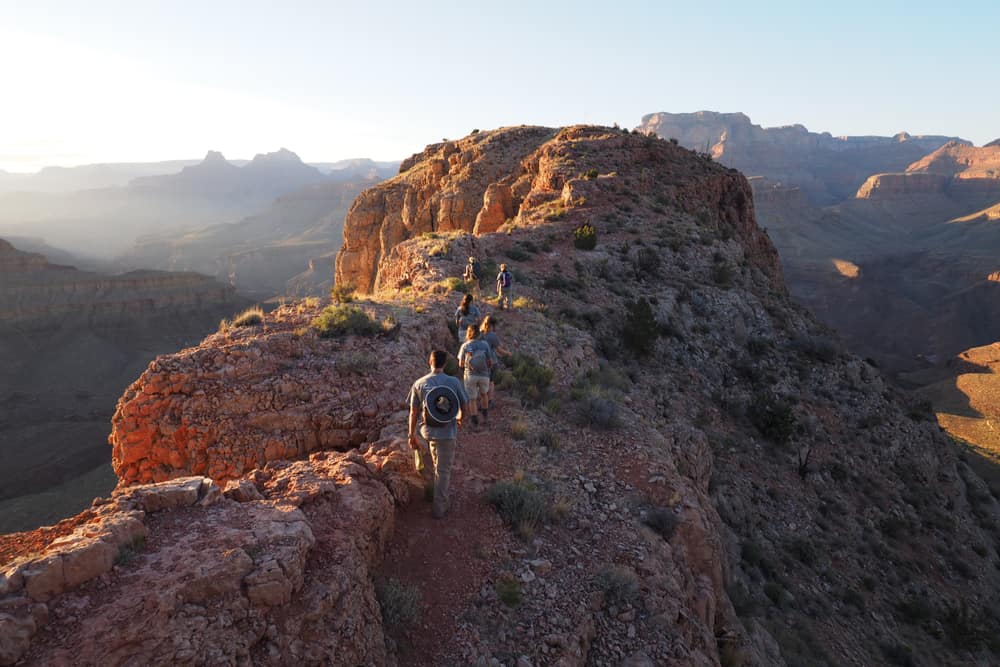
The North Rim is only open seasonally from mid-May to mid-October each year. If you’re looking to escape the sometimes suffocating tourist crowds at the South Rim, consider exploring the Grand Canyon’s spectacular North Rim for a quieter more peaceful canyon experience. The North Rim is slightly cooler and more forested than its South Rim counterpart, so prepare to get swept up in the forests of Ponderosa pines and Oaks. Though the trees have the tendency to obscure the canyon views in select places, gazing through towering trees at the canyon beyond is an equally powerful experience in its own right. The North Rim is full of spectacular hikes, and the best part is that they are far less trafficked than those on the South Rim. Since the North Rim gets fewer visitors in general, you’ll be left to take in the beauty of the National Park without having to share it with too many others.
Hike The Transept Trail To Escape The Crowds At Bright Angel Point
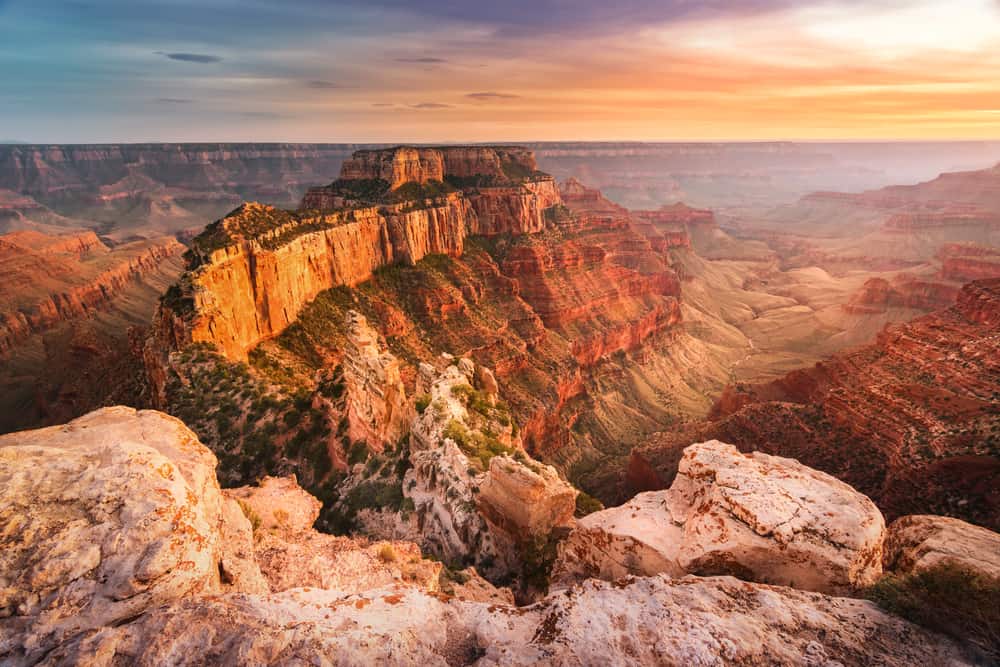
The North Rim’s most popular viewpoint is Bright Angel Point. For those wishing to take their adventure beyond the viewing platform, you’ll want to consider hiking the Transept Trail. You’ll find the trailhead just behind the Grand Canyon Lodge, or at the North Rim Campground. This trail is particularly popular for the very reason that it connects the lodge (which includes a visitor center) to the campground. Unlike many of the Grand Canyon hikes that have sprawling views of the canyon along the whole trail, the Transept Trail sometimes breaks away from the rim, obscuring the views with trees. Though the trees block the canyon views, they are beautiful, and provide shade as you hike. You’ll get impressive views at times along the rim, but the best views are reached by a series of spur trails, or by climbing on rocks.
When you reach the North Rim Campground, you’ll find restrooms with flush toilets. From here you can choose to hike this trail back the way you came for a total of 3 miles round trip (1.5 hours), or you can pick up the Bridle Trail from the campground, and loop back around to the Grand Canyon Lodge. The Bridle Trail runs along the road making it far less scenic than returning back the way you came on the Transept Trail. Because this hike is easy, relatively level, and acts as a connector trail between the campground and lodge, it is more heavily trafficked than many of the other North Rim Grand Canyon trails. Though you’ve been soaking up the views of the canyon for the last hour, don’t hesitate to join the other tourists at Bright Angel Point when you return to the lodge, to add further fuel to your love affair with the canyon.
The Widforss Trail Is One Of The More Educational Grand Canyon Hikes With Informational Trail Markers
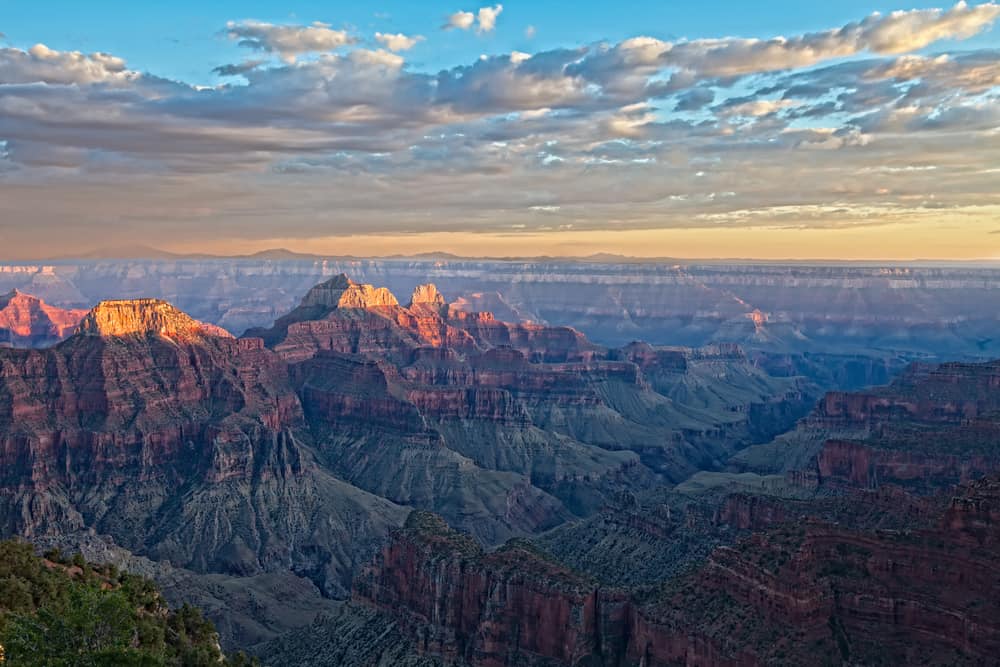
After you’ve wet your feet on the casual Transept Trail, it’s time to tackle one of the longer, moderately difficult North Rim Grand Canyon hikes. Widforss Trail is a 10 mile round trip (6 hours) hike named after Gunnar Widforss, a painter who chose to paint many Grand Canyon landscapes in the 1930’s. Widforss was inspired by the views he witnessed, and as you hike this beautiful trail, you’ll understand why. From the Grand Canyon Lodge and Visitor’s Center, drive 2.7 miles north on the highway. You’ll then turn left down the Point Sublime dirt road for 1 mile until you reach the parking lot for the Widforss Trail. There’s plenty of parking and a bathroom at the trailhead. Also at the trailhead, you’ll find maps that give you information corresponding to each of the 14 trail markers along your hike.
These trail markers make up the first 2.5 miles of the hike, and teach you about the trees including Aspen, Ponderosa, Oak, and Maple. They also alert you to specific views along the trail that might be of interest. This section of the trail is beautiful, and after the first mile of the hike, you’re gifted your first real view of the canyon. At the final trail marker, you’ll learn about how the canyon was sculpted by the natural elements. This is a fairly common place for many hikers to turn around. If you continue on from here, the majority of the trail takes you back into the forest away from the rim, until you come to the end of the 5 miles at Widforss Point. At Widforss Point you’ll find more spectacular canyon views to enjoy before taking the same trail back the way you came to the trailhead.
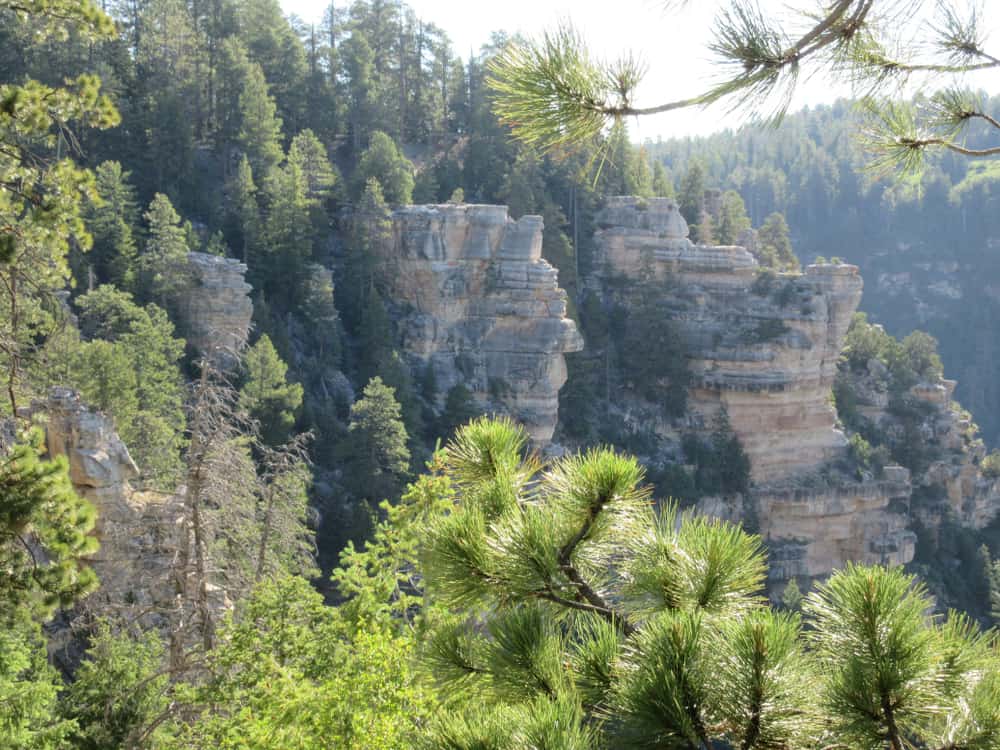
Marvel At The Waterfall At The End Of The North Kaibab Trail Hike to Roaring Springs
The North Kaibab Trail is one of the few maintained Grand Canyon trails, along with the Bright Angel and South Kaibab trails. At a distance of 10 miles round trip (7-8 hours), and an elevation change of 3,055 feet, this hike is strenuous and challenging. Though it’s possible to camp and spend days on the North Kaibab Trail, Roaring Springs is the farthest we suggest you hike for a day trip. You’ll find the North Kaibab trailhead just 1.5 miles north of Grand Canyon Lodge along Highway 67. You can attempt to park in the small parking lot at the trailhead, or take transportation from the Grand Canyon Lodge. If you happen to be staying at the North Rim Campground, you can walk .5 miles to the trailhead as well. Though the initial section of this hike is lined with beautiful, massive Douglas Firs and Engleman Spruces, The North Kaibab differs from many of the other North Rim hikes in that it leaves the forested areas and canyon rim, and has you switchbacking down into the canyon with plenty of spectacular canyon views.
The first stop and possible turnaround point is Coconino Overlook. Here you’re greeted with a view down into Roaring Springs Canyon, one of the Grand Canyon’s side canyons. Spend a moment here taking in the views and admiring the off-white Coconino Sandstone that the overlook is named for. As you continue switchbacking down, you’ll come across the Supai Tunnel. If you choose to turn around at the Supai Tunnel, the total trip length will be 4 miles round trip. Past Supai Tunnel, the trail is blasted out of the side of the cliff. Eventually you’ll come across an intersection in the trail. Take it left towards Roaring Springs, where you’ll arrive at a beautiful waterfall. Roaring Springs is particularly notable because it provides the drinking water for all visitors and residents of the Grand Canyon. The water is fed through pipes under the North Kaibab Trail, and eventually reaches the South Rim.
If you’ve reached Roaring Springs, you’ve now hiked 5 miles, and have another 5 very difficult miles to go to get back to the trailhead. The stretch of the hike from Roaring Springs to the trailhead is the most challenging. Take it slow, take breaks if you need it, and know your limits. There are a number of other lengthier hiking options if you’re planning to camp overnight in the canyon. One option is to hike to Cottonwood Campground, which you’ll reach by heading left at the intersection instead of right to Roaring Springs. The hike down and back out to Cottonwood Campground is 14 miles round trip. Another stunning waterfall down in the canyon is Ribbon Falls, which requires 17 miles round trip of hiking. Ribbon Falls is an easy side hike from Cottonwood Campground if you’re lucky enough to obtain a camping spot there.
Phantom Ranch is another possible end point on the North Kaibab Trail. For the Phantom Ranch hike, you’ll also take the intersection to the right. Here, alongside Bright Angel Creek, you’ll find the only lodging option down in the canyon, which consists of cabin and dormitory accommodations. Phantom Ranch can be reached through the South Kaibab and Bright Angel Trails, but if you choose to hike there from the North Kaibab Trail, it’s 14 miles round trip. The last and longest target when hiking the North Kaibab Trail is the Bright Angel Campground. Hiking to and from the Bright Angel Campground is 14.5 miles round trip. It’s located very close to Phantom Ranch, and is also along the Bright Angel Creek near where the creek meets the Colorado River. Seasonal water is available at the trailhead, Supai Tunnel, Roaring Springs, the Manzanita Rest Area, and Cottonwood Campground.
The only year round water source is at Bright Angel Campground. Be prepared to carry in your own water in case the pipes break, or if you are hiking at a time of year when the water is not available. You should also be aware that the North Kaibab trail is a mule trail. You’ll probably encounter mules at some point in your hike, and should step to the side of the trail away from the edge until they pass. If you’re hiking in the summer, you should begin your hike very early in the morning to avoid the hottest parts of the day and rest often.
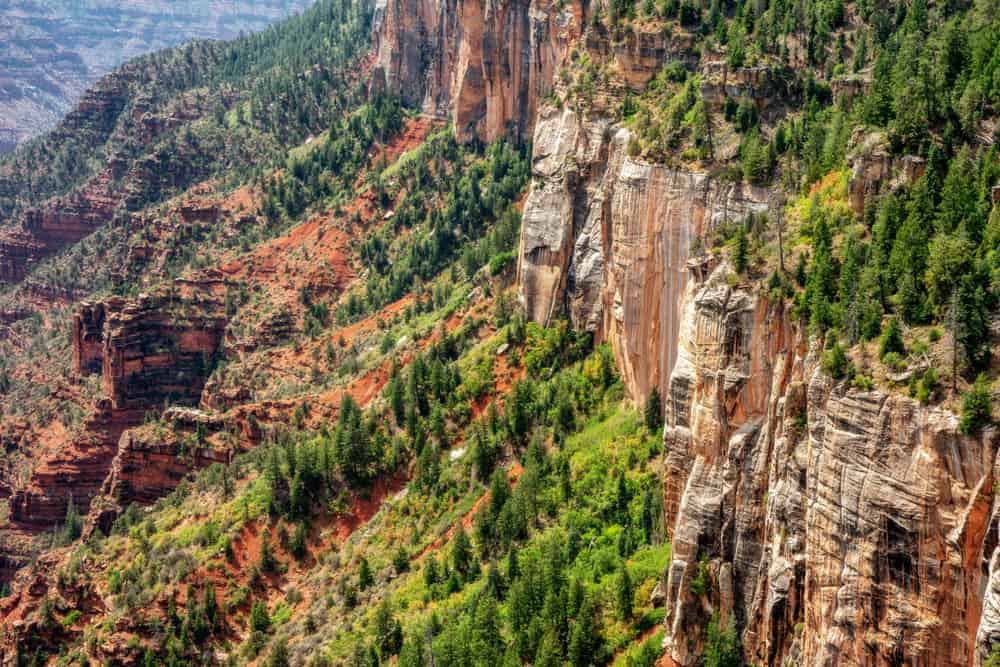
The Cape Final Trail Is One Of The Most Family Friendly North Rim Grand Canyon Hikes
The Cape Final Trail ranks among the best family friendly Grand Canyon hikes on the North Rim. There’s plenty of shade along the trail, and only 150 feet of elevation change. If you’re looking for a more casual hike with absolutely stunning views, you’ve come to the right place. You’ll find the trailhead on Cape Royal Road, just 1 mile before the Walhalla Overlook. The start of the trail takes you on a slight incline through forests of Ponderosa Pine, Aspen, Oak, and cacti. You might even spot the Kaibab squirrel which is known to inhabit the area. As you continue along the path, you’ll notice scorched trees, scarred from fire damage.
Reaching Cape Final is the ultimate reward. Take a moment to soak up the spectacular views of Vishnu Temple, the Vermilion Cliffs, Navajo Mountain, and the Colorado and Little Colorado Rivers. If you’re careful, you can do a little rock scrambling to get the ultimate views. When you’ve spent enough time gazing out at the eastern sections of the Grand Canyon, you’ll start hiking back the way you came to reach the trailhead. The hike is 4 miles round trip, and definitely worth the minimal effort for the great payoff. There is no water available along the trail, so be prepared to carry in your own water.
Things to Know Before Starting Your Grand Canyon Hikes
- Bring food to eat periodically throughout your hike. Salty foods are great.
- Bring plenty of water! Sometimes there’s water available on the trails. Some of the potable water locations are seasonal, and some are year round. Even in season, you should aways expect a broken pipe, and be pleasantly surprised if water is indeed available. If water is available along the trail (like on the Bright Angel Trail), use the water to soak yourself as well in the summer. This will bring down your body temperature, which is a welcome relief in the heat.
- A rain jacket is extremely useful for monsoon season (mid July-early September). Though there are worse things than being wet, having a rain jacket will help make your hike more pleasant if the weather is unfavorable.
- Hike in the early morning or in the evening during the summer (bring a flashlight for the evening). The South Rim is open 365 days a year, 24 hours a day. Whether you park your car and walk, or take any of the many free shuttle buses available, you can start your hike well before the heat hits and the majority of tourists arrive. The North Rim has more limited hours, and is generally a little cooler than the South Rim, but it’s still a good idea to get an early start.
- Hiking poles are helpful any time of year, particularly in the winter to help gain traction.
- Crampons can be helpful, and sometimes absolutely necessary when hiking in the winter on ice. Be sure to check the weather and trail conditions ahead of time. Many of the trails are narrow or not particularly well maintained, and can potentially be dangerous to hike without proper footwear.
- Dress appropriately based on the season. If you’re choosing to hike in the winter, come prepared with a down jacket or fleece, and a hat that will cover your ears. In the summer, you’ll need a hat to keep the sun off your face (and ideally your neck too), and plenty of sunscreen.
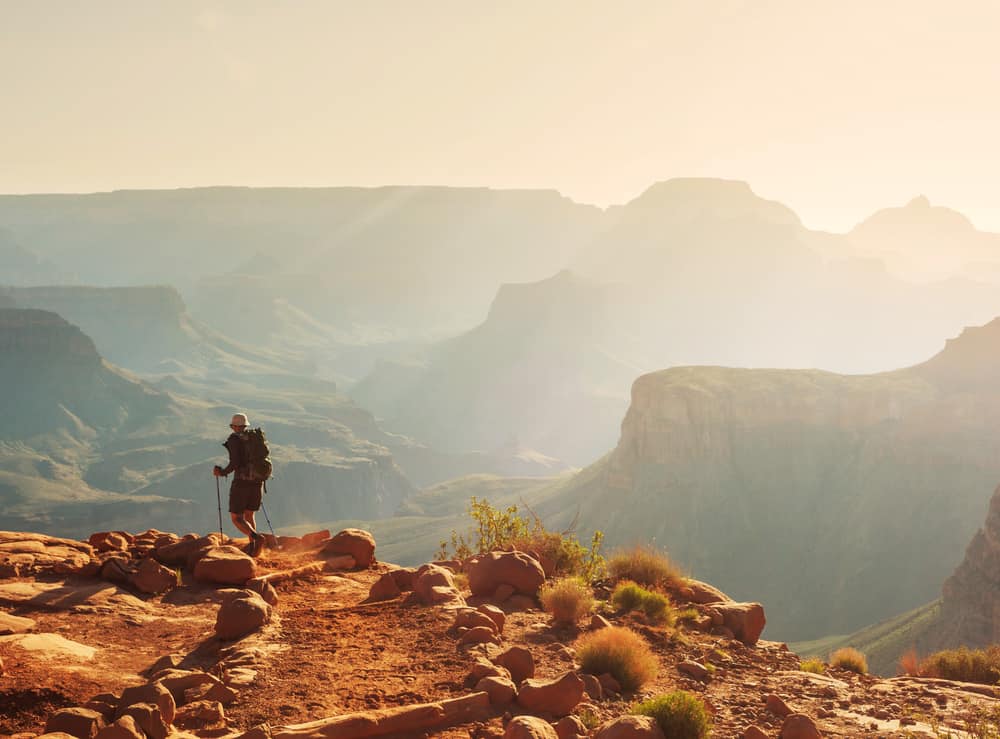
The Grand Canyon is a prime example of nature showing off. Seemingly everywhere you look you’re greeted with majestic, vast expanses that leave you feeling comparatively small, but more than content with your place within your greater surroundings. Hiking around or down into the Grand Canyon is an incredibly rewarding experience, and one that can and should be enjoyed by all. So lace up your hiking boots, and prepare to marvel at the power of nature and beauty of the canyon up close.
 10 Prettiest Waterfalls In Ireland You Must See