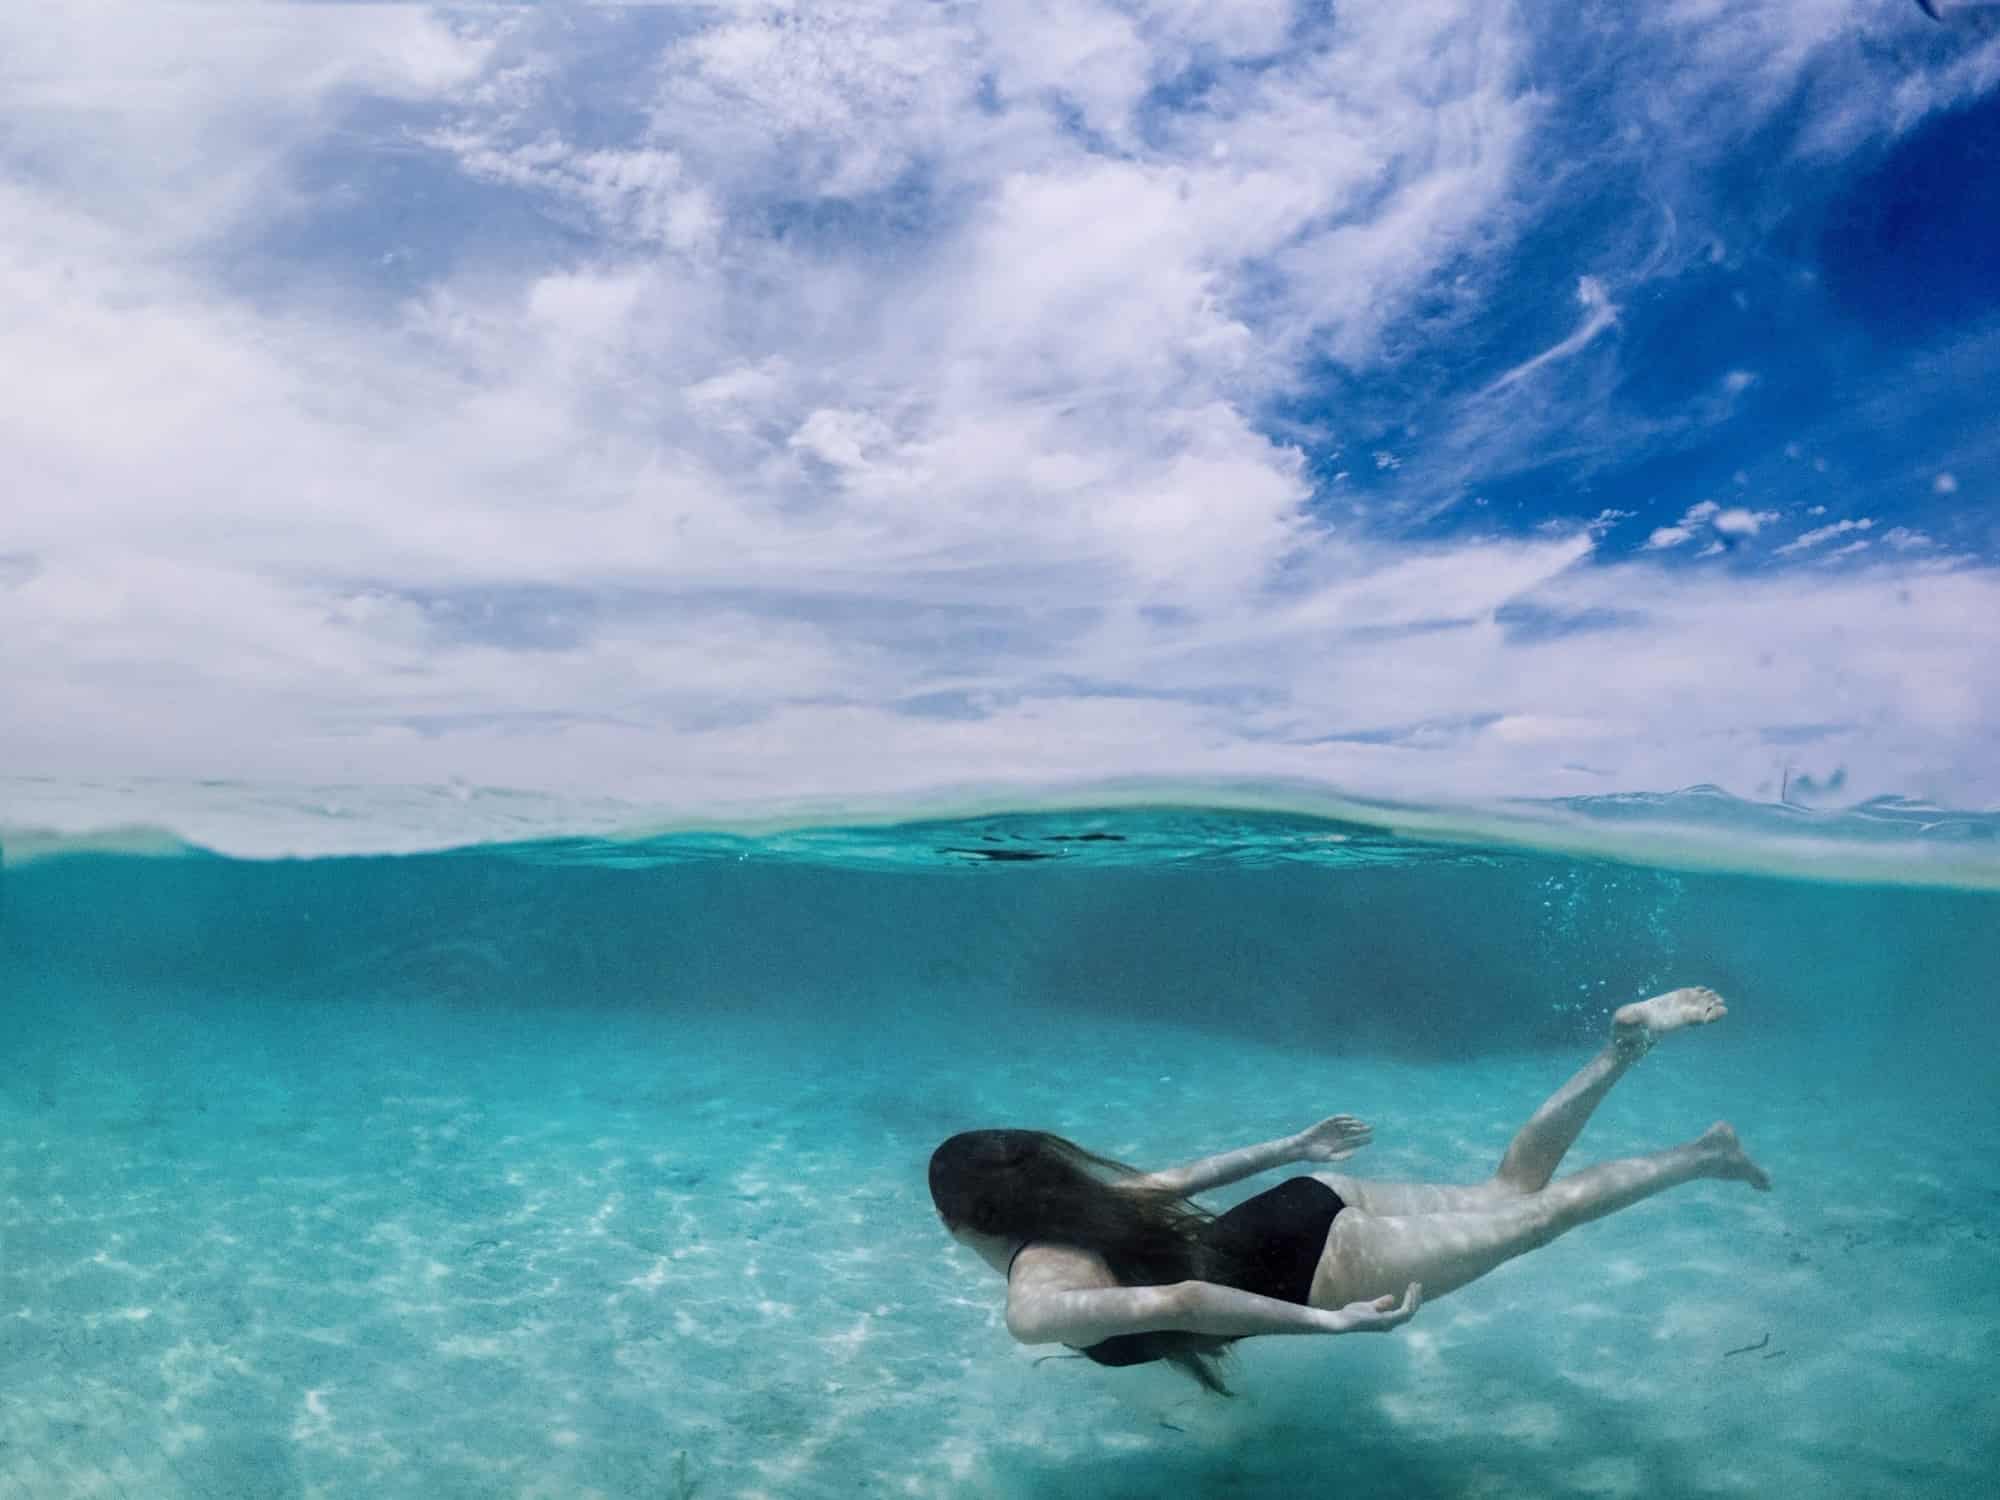
If you are on the hunt for the best GoPro Dome to take some crazy awesome over-under water shots, you have come to the right place. We have personally gone through the process of buying a GoPro Dome and it took a lot of work and research. We have cut down all that work for you and are going to lay down all of the best GoPro Dome ports for all budgets.
There are a variety of GoPro Domes to choose from depending on how much you will use them, your budget, and what you are looking to accomplish. Over-water underwater shots are some of the coolest types of photography and video you can do and if you are looking for something super awesome to add to your bag of tricks, investing in a GoPro Dome is a great idea!
First, we are going to show you the best GoPro Dome ports on the market. You will easily be able to purchase all of these ports on Amazon which often offers free shipping and returns with a Prime membership so you can purchase a few and then return the ones that don’t work for you. Then, we are going to explain to you exactly how to use your new GoPro Dome port to capture the best and most unique types of photography!
5 Best GoPro Dome Ports And How To Use Them
Best Budget: TELESIN 6″ T03 GoPro Dome Port
If you are looking for the best budget GoPro Dome port, you are in luck! The TELESIN 6″ T03 Dome Port is very affordable and a great starter dome. This is perfect for people who aren’t quite sure they want to invest a lot of money into a dome but still want to try it out and have fun. The quality is still there and the product has 4/5 star rating on Amazon.
This product is one of the more affordable GoPro Dome Ports on the market and it comes with all the accessories you need in order to begin shooting with it. It also fits the GoPro 3 and 4 so if you have an older model you are in luck! You won’t have to invest in a new camera if you don’t want to and you can still try out some fun over-under-water shots with this product!
Best Overall: AmazonBasics Underwater GoPro Dome Port
This is the GoPro Dome Port we personally bought and used for many years! This is one of the best overall products that fits for ALL budgets. Whether you are just starting out or are a professional photographer who is looking to up their game, we highly recommend this AmazonBasics Underwater Dome Port. We loved how affordable this option was and that it was an AmazonBasics product.
An Amazon Basics product means that this GoPro Dome is sold directly by Amazon and not a third party retailer. It also means that you get free shipping and free returns which we particularly love. There is no telling that this is going to be the best option for you [even though we highly recommend it] so you may purchase it, try it on your camera, and decide it isn’t for you. Since it is an Amazon Basics product, it allows for free shipping/returns so you don’t have to worry about a single thing!
One thing to keep in mind, this GoPro Dome Port is ideal for snorkeling and swimming around in the pool or shallow water. It is not recommended for any deep diving or going too far underwater with it. After all, isn’t the whole point to get over-under water shots anyway? You can’t do that from 80 feet under the water! This is great casing for starters and our favorite overall port for your GoPro!
Best For Divers: SHOOT 5.0 Dive Dome Port
If you are just starting out and aren’t a serious diver, we recommend one of the ports listed above. That being said, if you are looking for a seriously professional GoPro Dome port that also doubles as underwater housing for diving, then we highly recommend the SHOOT 5.0 Dive Dome Port. This is rugged yet professional and rings in on the higher end of the price range. It is very reliable, durable, and created from the highest quality materials.
The thing we love about this product is that it comes with dual grips which are perfect for filming underwater and the classic over-under shots. This is not something you usually see on GoPro Dome Ports which is why we recommend this product. If you are looking for a starting product, we suggest looking at one of the other ones on this list. If you are serious and want something that is good for the classic over-underwater shot AND diving housing this is a dual-service product and great for the pros.
Best Mid-Range: PolarPro FiftyFifty Dome
Not looking for the cheapest and not looking for the most expensive? That is okay! You are in luck because there are plenty of wonderful mid-range GoPro Dome choices! The PolarPro FiftyFifty Dome is one of the best mid-range choices because of its price and the fact that it is an Amazon recommended product. While it doesn’t come with quite as many add-ons as other options, it comes with all of the basics that you need to get started with your journey shooting over-under water content.
Another good thing about the PolarPro FiftyFifty Dome is that it fits the GoPro Hero 5, 6, and 7. This is a large variety of options so if you currently have a GoPro Hero 5 but are interested in upgrading to the latest model, you will have room for growth. A product that grows with you is important so you can spend as little money as possible and still receive a good product that can stay with you for years. This GoPro Dome is a good basic mid-range product that fits the bill for both budget and professional shooters and is a great starter option as well!
Best Reviews: Vicdozia Telesin GoPro Dome Port
If you are a reviews buff, we don’t blame you! Even a $50 investment is a lot of money depending on your circumstances, so you want to be sure that you are getting the best product out there for the money you are spending! The Vicdozia Telesin Dome Port has some of the best reviews on Amazon and also the widest range of reviews so you can read up on what other people think before spending money on a product you may not be sure about. We don’t blame you for reading the reviews and we love doing it too so if that is important to you, you will be interested to check out this option!
Another reason we love this particular GoPro Dome port is that it fits a wide range of GoPro options! Again, as we mentioned above, we think that this is important so that the product goes with you! If you don’t have the latest greatest GoPro, don’t worry! If you want to upgrade, this product will fit that too! This waterproof housing will fit the Hero 5, 6, and 7. This dome also comes with a variety of attachments and high-quality materials for a surprisingly affordable price!
How To Shoot Split Photos With A GoPro Dome Port
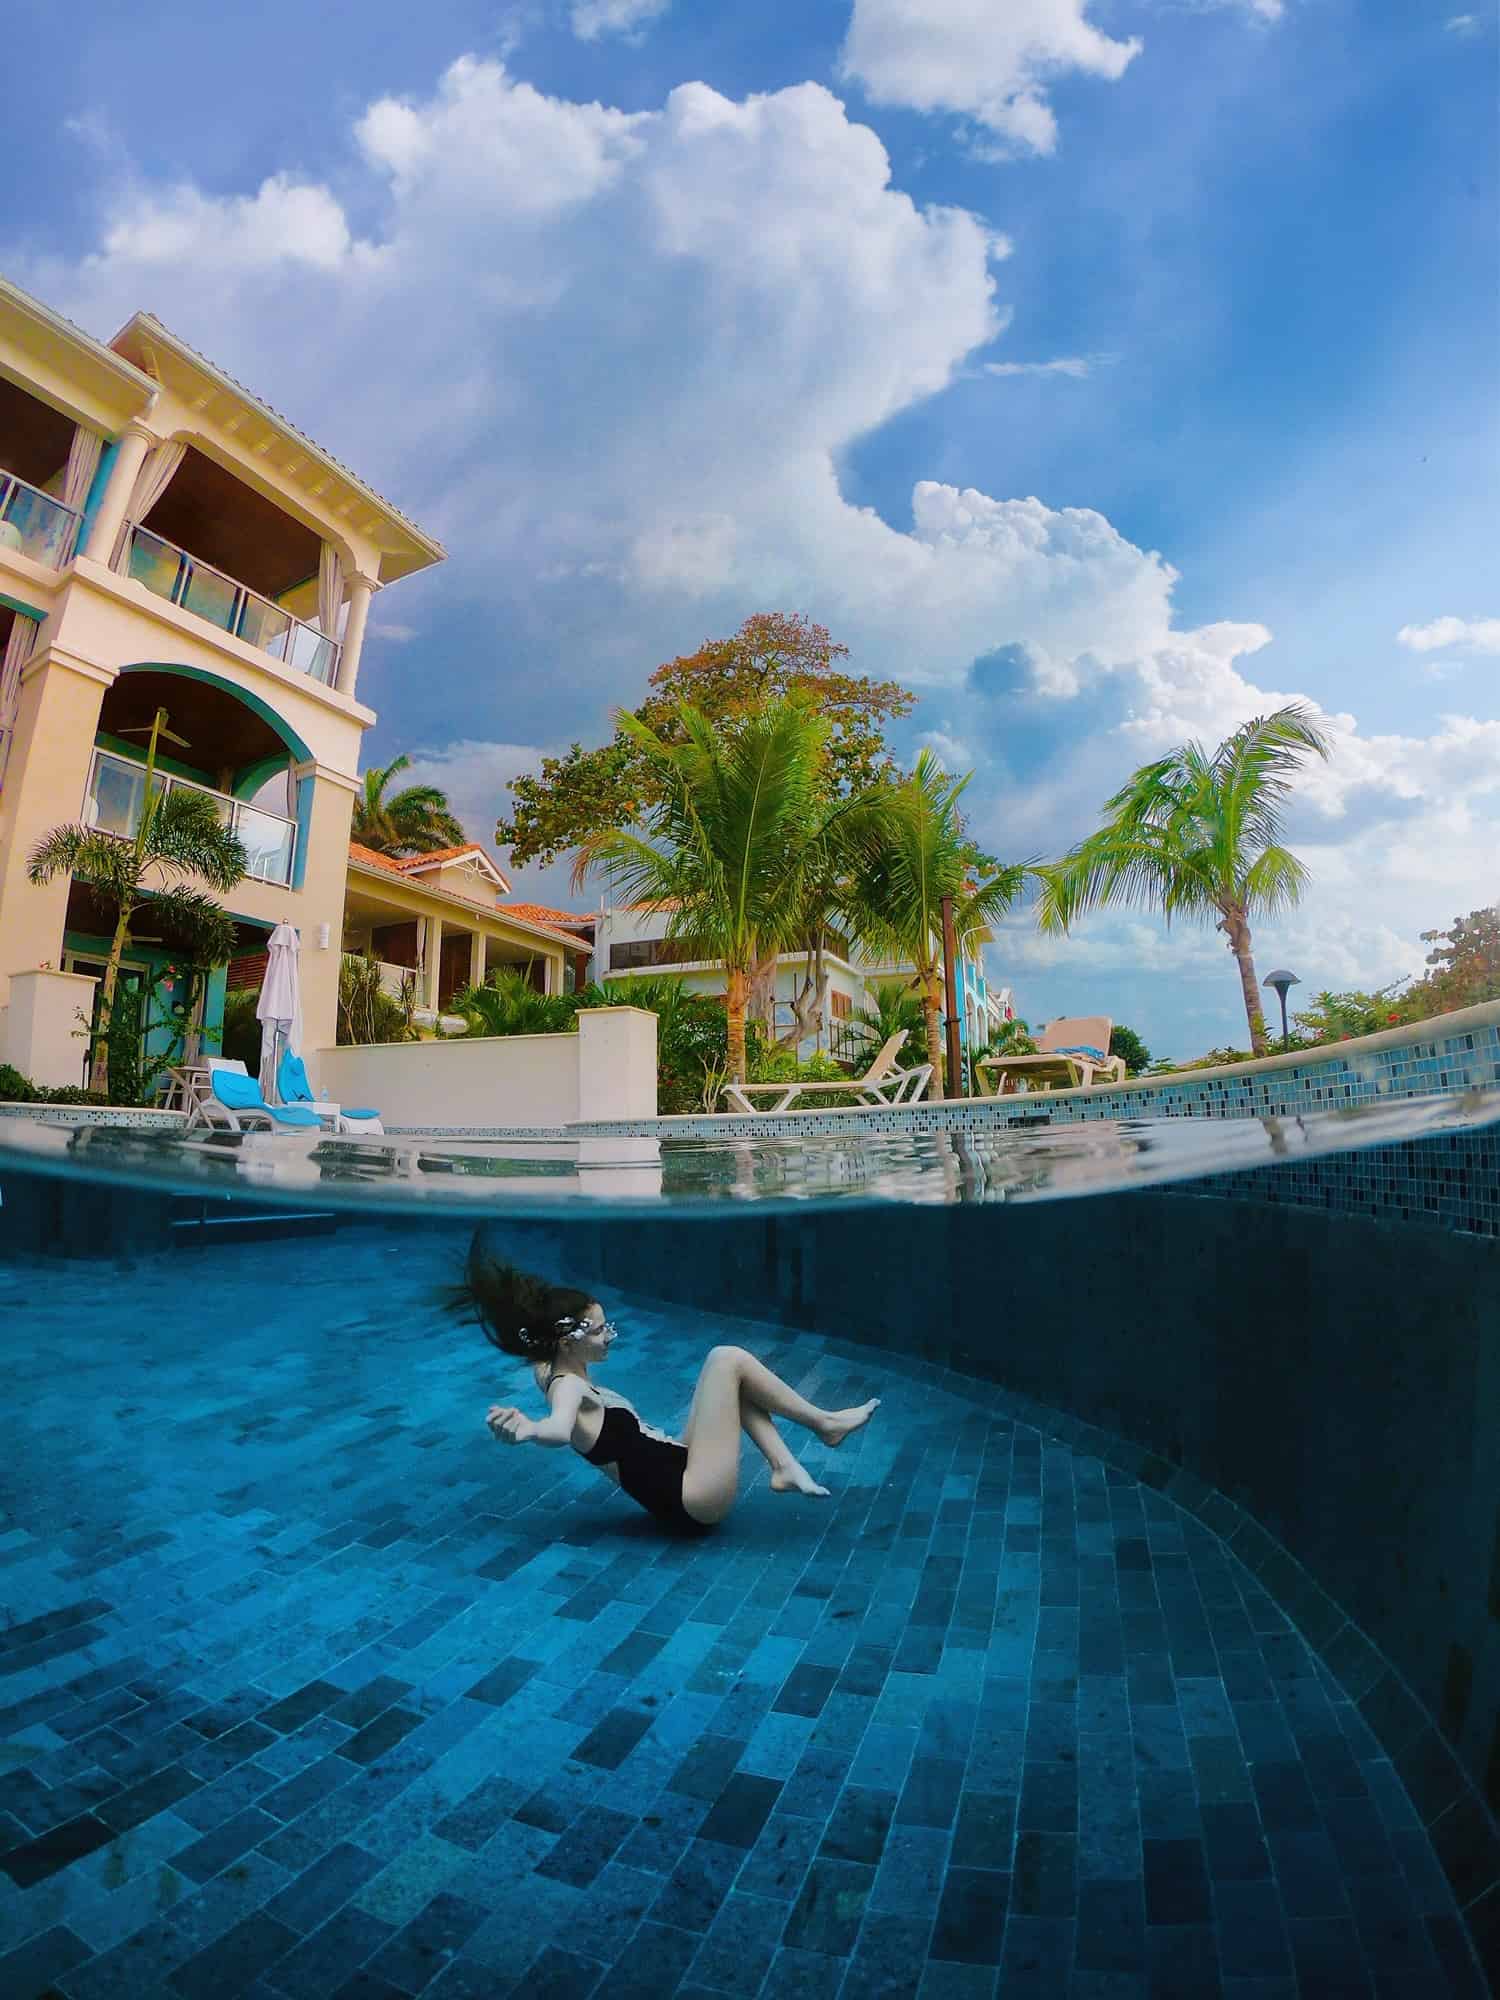
Congratulations! You just invested in your very first GoPro Dome port! That is great, but now how do you use it? In this section, we are going to take you through exactly how to use the GoPro Dome port to take over-underwater shots and split photos. We have FAILED at this many times before we got it right! We were VERY confused and did a horrible job and spent three hours in the water to get one usable photo! Until we were figured out some tips and tricks for success! This will help you learn the easy and proper way to shoot amazing split photos with your brand new GoPro Dome Port!
Tip 1: Set Your GoPro To “Burst Mode” For Best Success
This is the biggest and most important tip for success that we can give you! We struggled and failed until a friend passed on this tip to us and it is incredibly important if you ever want to have an easy time shooting GoPro Dome split photos! Instead of trying to press the button and capture that “one” special shot, burst mode allows you to take a series of multiple photos over a set amount of time. Then, later one, you will be able to see which photo is the best and then use that one! This allows you to get the maximum amount of photos from a burst without being out there for 3 hours to capture one usable photo like we once did!
On your GoPro, you will see an option for 1/1. This means that if you click the shutter, the GoPro takes only one photo. Unlike other cameras with a fast shutter speed [how fast it clicks the picture] GoPro takes FOREVER to reset and allow you to take another photo [like 5 seconds which is a lot!] Instead, in “burst mode” you can choose 5/1, 10/1 all the way up to 30/1. This means that with one press of the camera button you are taking 5, 10, or 30 photos. That give you 30 choices of posing and positioning instead of only one! We highly recommend burst mode when shooting split photos with a GoPro Dome and it makes all the difference in the end result!
Tip 2: Move The GoPro Dome Up And Down
Once you set your GoPro to burst mode, you now know you are going to get 30 pictures. It is totally boring to keep your GoPro Dome at the same spot in the water for all 30 pictures. Since the burst mode shoots these 30 pictures over the course of a few quick seconds, this is your time to optimize options for you to choose from later.
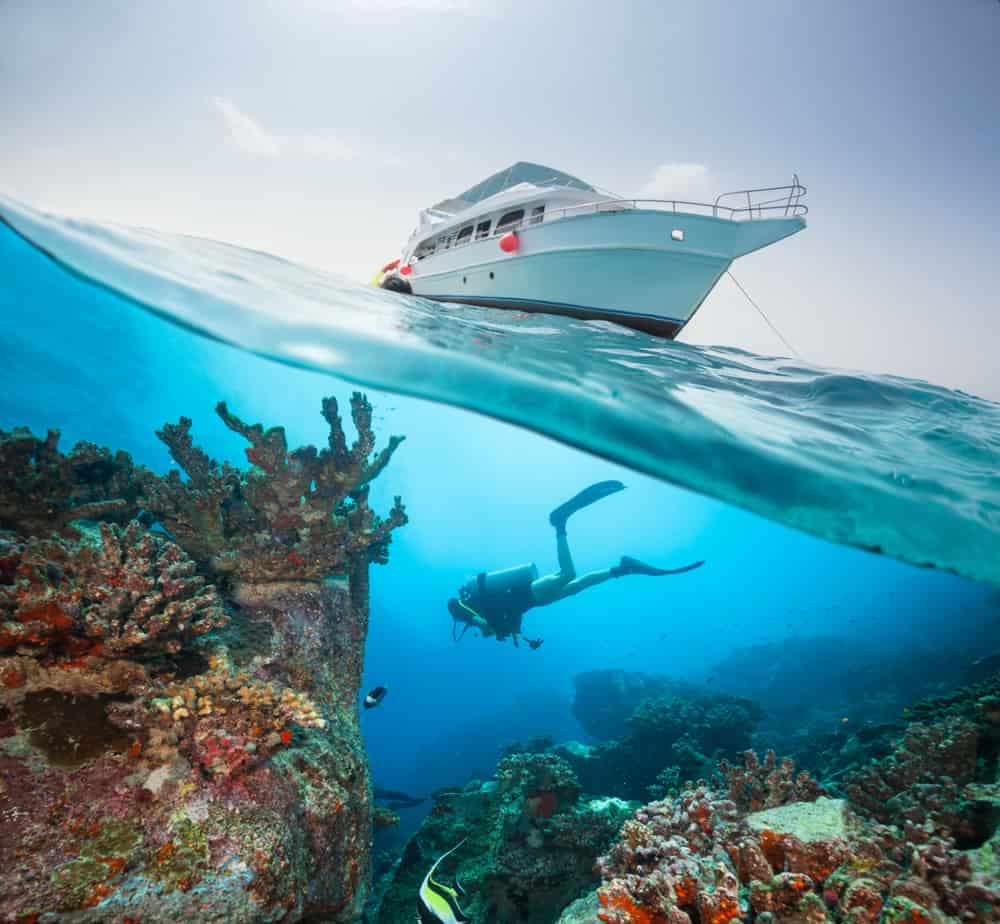
You can do this by slowly raising or lowering your GoPro Dome housing in or out of the water. You don’t want to rush this or do it super quickly but slowly raise or lower it through the water. This provides you with the maximum number of options when shooting in burst mode. Begin either slightly out of the water or slightly below the water and then raise or lower during the few seconds of the burst mode in order to get a variety of shots.
Tip 3: Create Waves For Interesting Motion
Let’s be honest, the best part about shooting with a GoPro Dome is seeing those super cool split shots with a well-placed wave in the shot! But the ocean isn’t always wavy and maybe you aren’t even shooting split photos in the ocean at all! What if you are in a pool or lake? While you are shooting with your GoPro Dome, create fake waves for interesting motion in your shot.
The fake waves can be done by yourself or by a friend who is nearby and not in the shot. You can simply create fake waves by jumping up and down in the water and flailing your arms around to make it wavy. It will stay wavy for 30-60 seconds before the water calms down again, which is just enough time to quickly submerge yourself and take some awesome shots! This gives you that motion in the image that we all want so much and will provide some beautiful movement, even if the body of water you are swimming in is completely calm.
Take it from us, this is a simple and easy way to take your GoPro Dome photos to the next level with a minimal amount of work. Sometimes, all it takes is being creative in order to come up with a unique and fun shot!
Tip 4: Choose A Unique Subject And Composition
While you are practicing with your GoPro Dome, the subject really doesn’t matter. Focus on the first few tips and save this one for when you are comfortable with the product! After you know how to use your GoPro Dome, then this is the next logical step to take before you are ready to share your awesome split photos with the world.
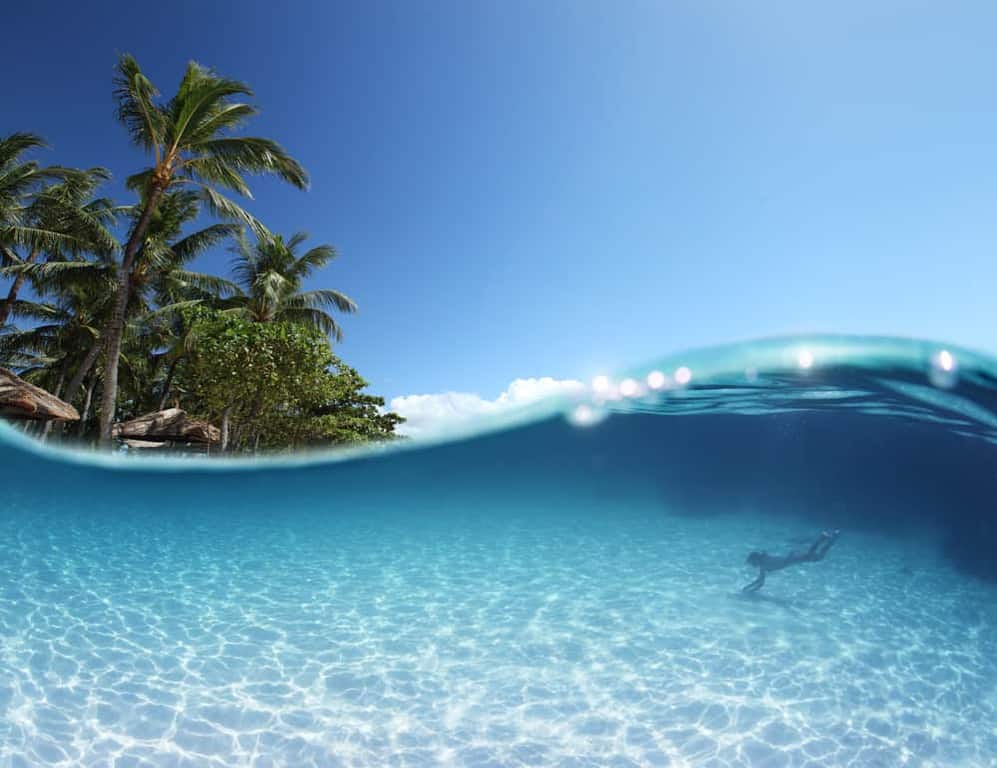
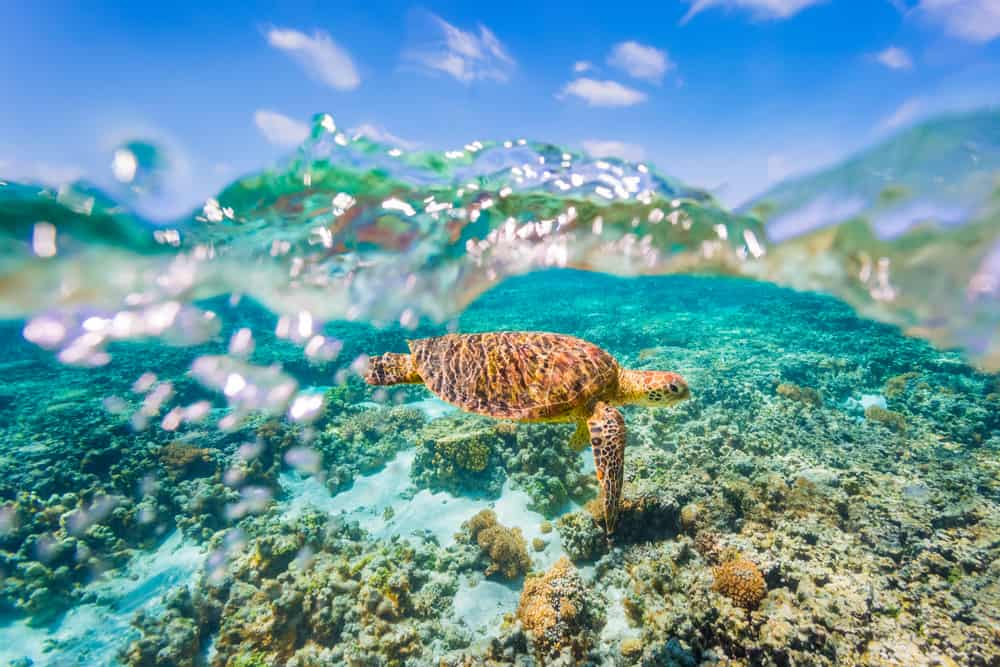
In order to make your photos interesting, you are going to want to choose a subject and composition to make the photo stand out. You can choose to focus on a subject below the water such as a rock, fish, or person or you can focus on something above the water such as a boat, building, or trees. If you want to be really creative, you may want to focus on both above and below the water at the same time which is also totally doable with a GoPro Dome port.
Sometimes simple is good, but a lot of shots with a sandy underwater and a blue sky with nothing more can get a little repetitive and boring. This is why we suggest choosing either an interesting subject underwater or overwater or both! If you don’t have an interesting sky, you can always download an app and add a sky into your photo after you are done shooting underwater.
The easiest and most interesting subject for a GoPro Dome split shot is either a person or an animal underwater or a tree, shore, or boat above water. Get creative! Make the shot your own! If minimalism is your thing then that is okay too! The best shots are ones that you love and that tell a story and are interesting to your viewers.
Tip 5: Figure Out Just How “Split” You Want The Photo To Be
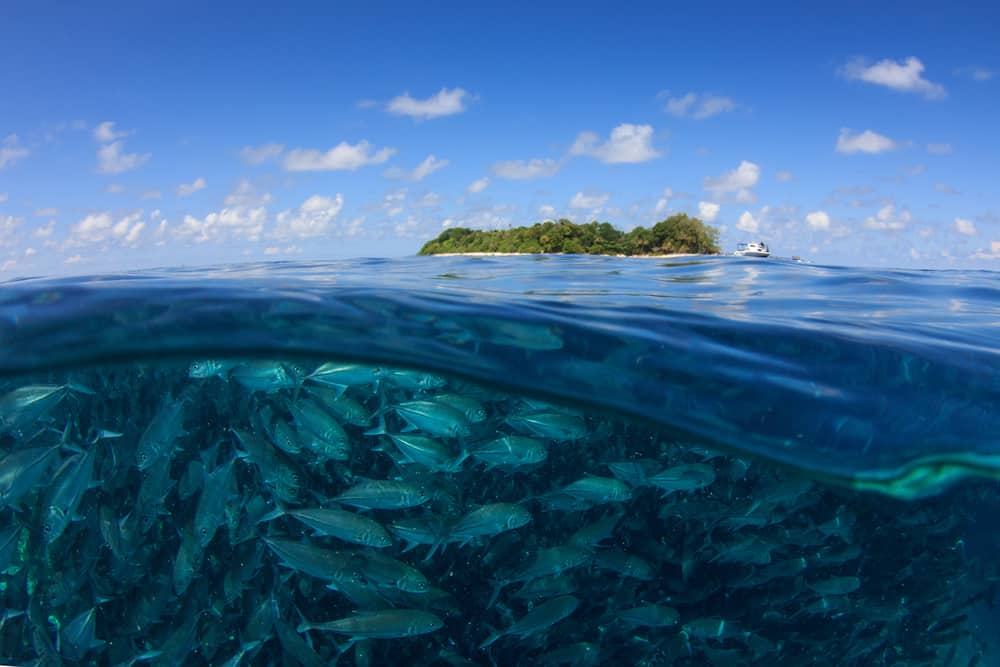
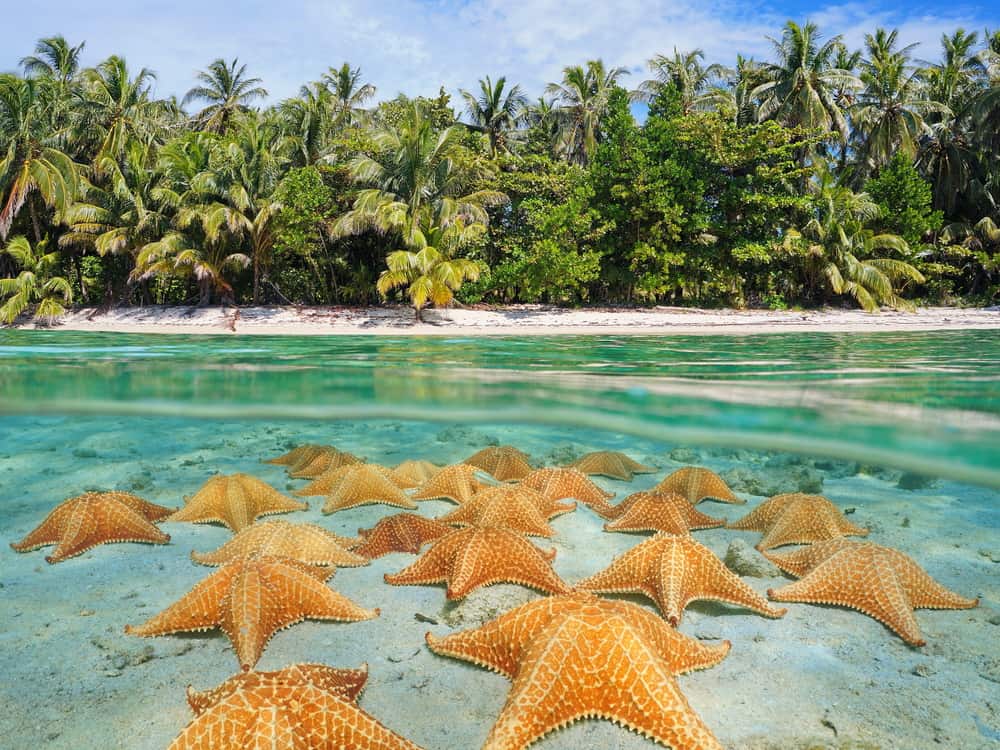
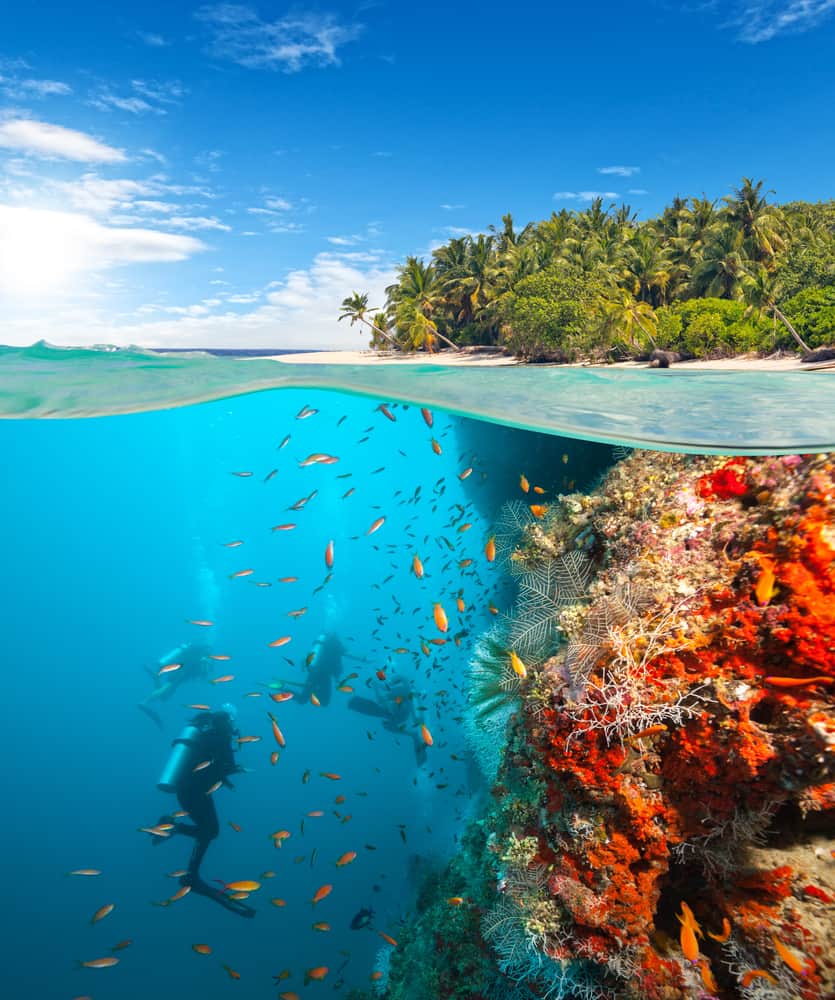
There are endless compositions that you can create with your GoPro Dome. That being said, it is best to go into each shot with at least some idea of how “split” you want the final image to be. What do we mean by this? We mean how much over and how much under the water you are going to show in your final image. You may want a perfect 50/50 split where exactly half of the photo is above and half of the photo is under the water. You may want 90% under the water and only 10% above the water showing a little sky, or you may want 70% above the water focusing on a boat or building and only 30% under the water showing a peek into what is below.
Having an idea of how “split” you want your finished photo to be will help you achieve success when shooting with a GoPro Dome. This is why we highly recommend and suggest following tip 2 suggested above. By moving your GoPro Dome slowly up and down through the water, you are covering all possible bases! You will start high out of the water at a 90/10 split and will cover all ranges until you only have 10% above the water and 90% below the water. This will give you a range of composition options to choose from later. All in all, having at least some sort of idea of how much you want in and out of the water is good practice when taking these types of split underwater photos!
Tip 6: Use A Red GoPro Filter Or Learn Basic Editing Skills
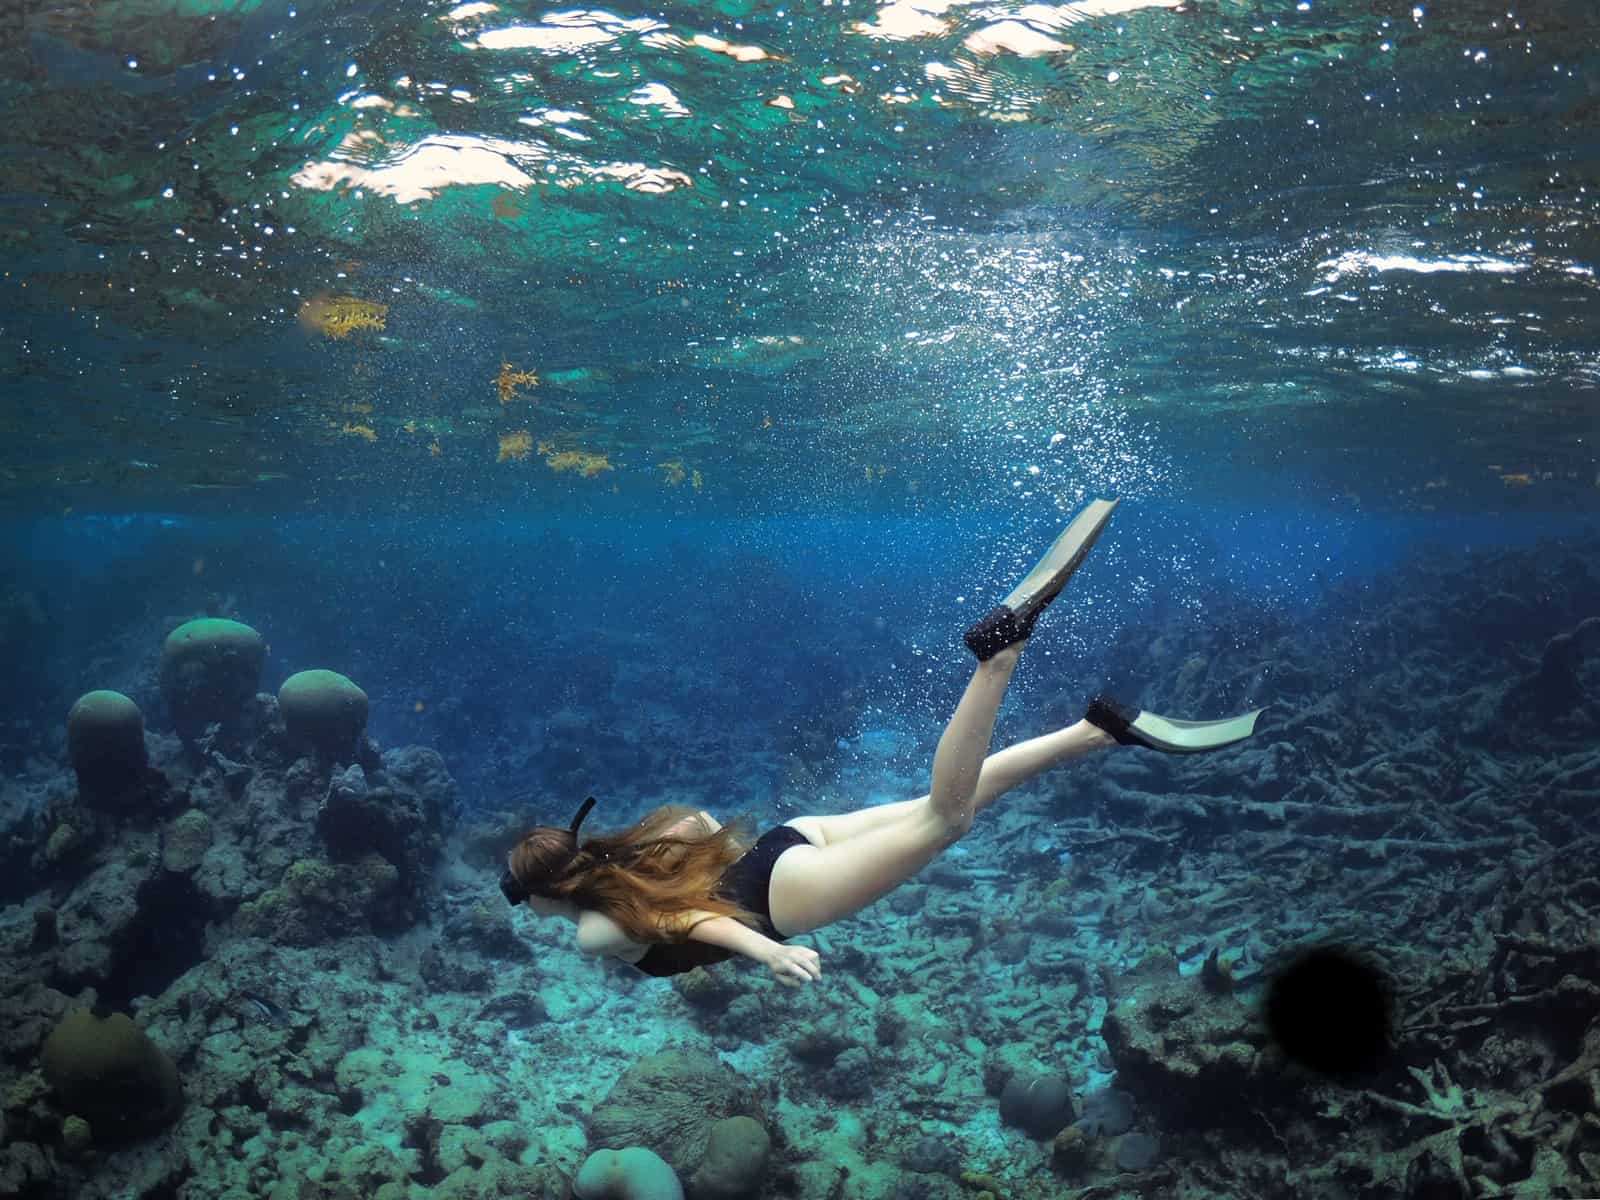
Let’s face it, underwater shots do not come out the way we think they will without a little help. They don’t even look like they actually did with the naked eye because the camera strips some of the detail away. As a result, in order to reflect accurate coloring, it is best to invest in a red GoPro filter or learn basic editing skills for underwater photography.
We recommend the PolarPro Red Filter for GoPro for shooting underwater images. The red in the filter helps your underwater photos and their coloring more accurately reflect what the image actually looks like. This filter works between 15-75 feet deep so if you want to take your GoPro diving it is a good investment. It allows the camera to shoot accurate color because the red balances out the blue and green of the ocean to make the color what it is really supposed to be.
That being said, this same look can be achieved using basic editing techniques after you shot the image. If you don’t want to use a red filter on your dome for GoPro, don’t worry! You can still color correct your images after the fact. In order to do this, you are going to want to use a photo editing software such as Lightroom of Photoshop. There are even great apps such as Snapseed or Lightroom Mobile which offer robust photo editing options that allow you to correct color easily from your smartphone.
You are going to want to add contrast and clarity to your shot as well as move the “temperature” slider to make the image cooler or warmer, depending on what it looks like underwater. You may also want to play with the different color sliders to add or take away colors in your image if there is something you don’t like. Sharpen the image and add saturation as well. All of these steps will help add detail and color to your image that may originally seem drab and boring. And all of these steps can be done from your smartphone if you don’t want to learn a professional editing software.

Tip 7: Invest In Anit-Fog Strips For Your Dome
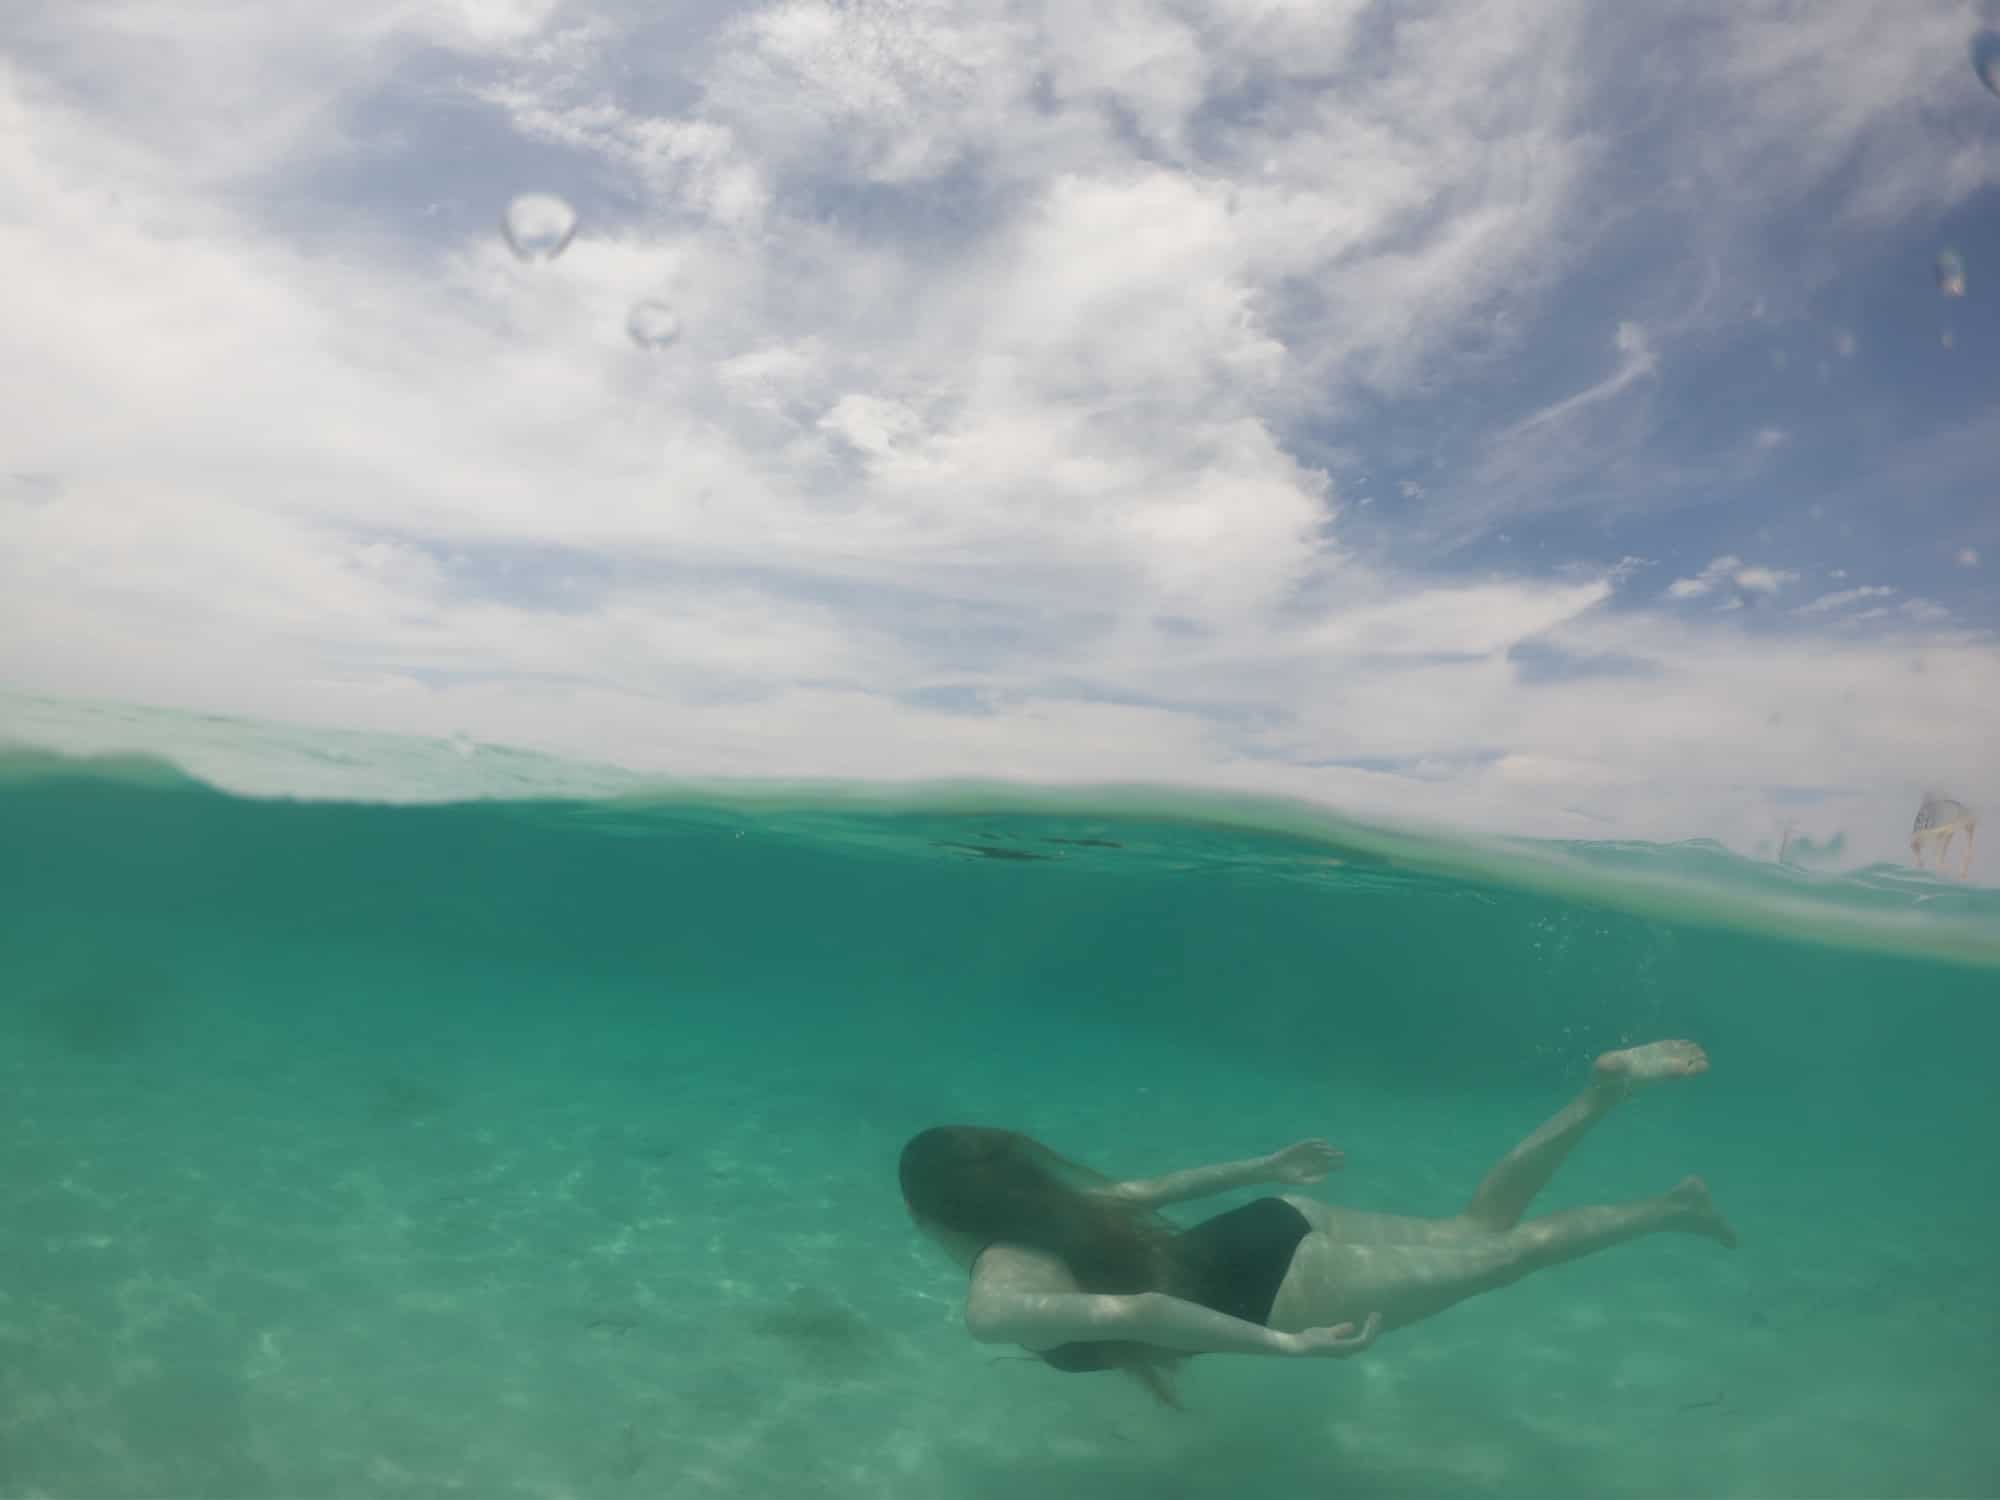
This is a huge tip that we learned the hard way! If even a little bit of water gets into your dome for GoPro, the dome is going to fog up and make it impossible to take photos. The easiest way is to never open the dome during the shooting process, but sometimes you need to access the GoPro for various reasons which may let a little moisture seep in. What to do now?
Consider investing in anti-fog strips for your dome! We recommend CamKix Anti-Fog Inserts or any similar insert product to use along with your GoPro Dome. There is nothing worse or more disappointing than trying to take some awesome shots and having your dome fog up beyond repair! Then you are stuck with your hands tied until it dries out. Unless you feel like waiting around for a good while, anti-fog strips are a great and affordable addition to your shooting kit! Trust us, we learned the hard way.
Tip 8: If Possible, Keep A Cloth Nearby To Dry Off The Dome
Depending on where you are shooting, this may or may not be possible! If you are near the shore, a boat, or pool, then it will work! Otherwise, you may be out of luck. There is nothing worse than composing the perfect shot with your dome for GoPro and then seeing the finished image with ugly water spots on the “above” the water portion. Now, if you are a professional editor, you may be able to get this out in Photoshop, but it is a lot of work and pretty confusing if you aren’t a pro.
The easier way to go about this is to avoid getting the top of your GoPro Dome wet. This can be harder than it sounds so the second best option is to keep a dry cloth nearby so you can completely dry the dome off when it starts to get water spots on it. This is such a simple and easy fix that most people don’t think about and it can totally save your images from having ugly water spots on the finished product.
Tip 9: Set Your GoPro To Wide Mode
When shooting photos with your dome for GoPro, we highly recommend setting your GoPro to “wide” mode. This will make the final shot very wide and will showcase a great deal of the landscape you are trying to photograph. Depending on what sort of final shot you want, you can always change the settings in the camera itself, but the best rule of thumb is to stick with wide mode so that you can capture the most things possible.
When shooting split underwater photos on wide mode, you can hold the GoPro Dome Port in such a way that it focuses on a “landscape” shot or a “portrait” shot. If you want up and down, you will hold the dome sideways. If you want horizontal, you will hold the dome and GoPro camera regularly and the way you would naturally hold it. Wide mode will help you achieve stunning underwater images and will help you capture as many elements as possible in your photos.
Tip 10: Always Wash Your GoPro Dome Port With Fresh Water
We bet that you are probably going to use your GoPro Dome Port in anything BUT fresh water the majority of the time. You will probably use it in either a pool with chlorine or the ocean with salt. Both chlorine and salt will eat away at plastic and products and will ruin them over time. All you have to do is simply gently wash off your dome for GoPro with fresh water when you are done utilizing it.
This step literally only takes a few moments but makes all the difference in preserving your product. Once washed, let the GoPro Dome fully dry and then place the dome part in the protective covering that came with the product. All GoPro Dome ports recommended here come with a soft covering to protect the plastic dome from scratches. A few simple steps will allow you to preserve the quality of your dome for many uses to come!
And that is a wrap! These are our suggestions for the 5 best domes for GoPro on the market, including the ones we use ourselves, as well as 10 useful tips and tricks for shooting split underwater photos with a GoPro Dome! We are more than happy to answer any questions you may have in the comments. We hope you find a dome that you love because it really does take your work to the next level!
Follow Me Away is a participant in the Amazon Services LLC Associates Program, an affiliate program designed to provide a means for sites to earn advertising fees by advertising and linking to Amazon.com
 10 Bucket List Waterfalls In Oregon You Won’t Want To Miss!