I get so many questions about my posing in travel photos on Instagram [and in general] so I wanted to create a [hopefully] really helpful blog post to show you exactly what I do. This post isn’t to tell you that there is ONLY ONE WAY!
It is to simply show you MY WAY and answer some commonly asked questions. If you do something different, that is great and I am happy for you!
This is simply my way and not intended to put down any other way. But before we do that I am going to give you a little background on my history and how I got to where I am today. If you aren’t interested, then simply skip down to the headings below if you don’t want to hear my life history.
Feel free to join our private Facebook group to ask any questions about posing and photography! We are a fun and supportive community and welcome you to share your tips, tricks, questions, and photos!
Save money on your next vacation! Get a FREE $55 Airbnb coupon by using our code when you book!
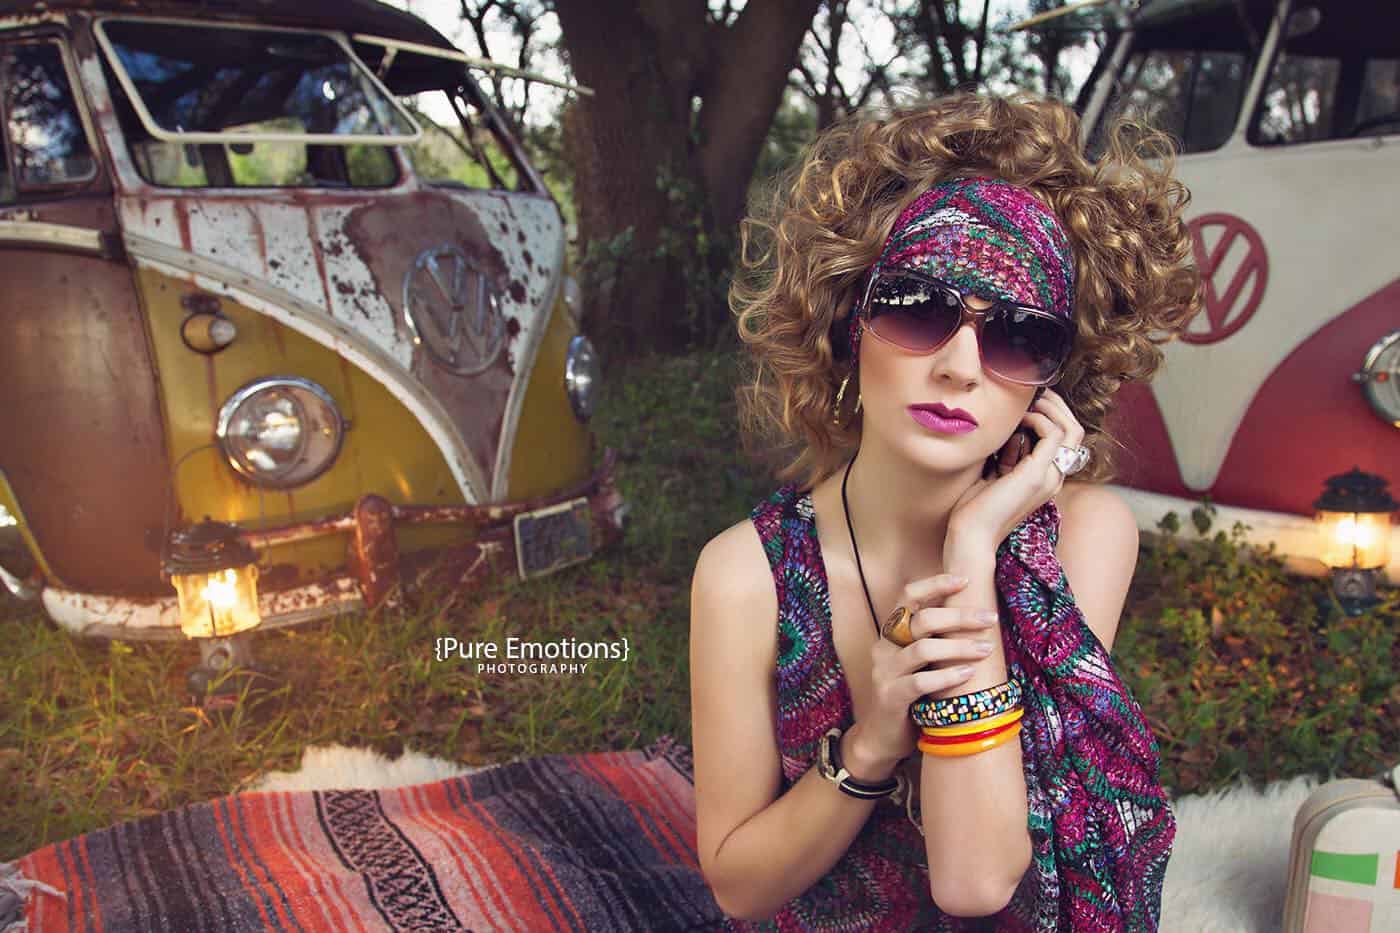
First off, YES I used to do modeling locally but I was really bad at it compared to other girls. I do not credit what I look like now in travel photos on Instagram to my modeling history. I could NOT pose well and everything was just awkward. Of course, I got a few decent shots, but I shudder to think of all the images the photographers did NOT show me! Second of all, the ONLY reason I got into modeling locally was for the free pretty pictures. I will NOT lie about this and that is LITERALLY the reason I modeled. To wear pretty clothes and get good photos of myself.
I say this because people assume I look the way I do in our travel photos on Instagram simply because of the modeling background. I want to let you know this is ENTIRELY UNTRUE and that YOU can achieve this similar posing look in your own travel photos.
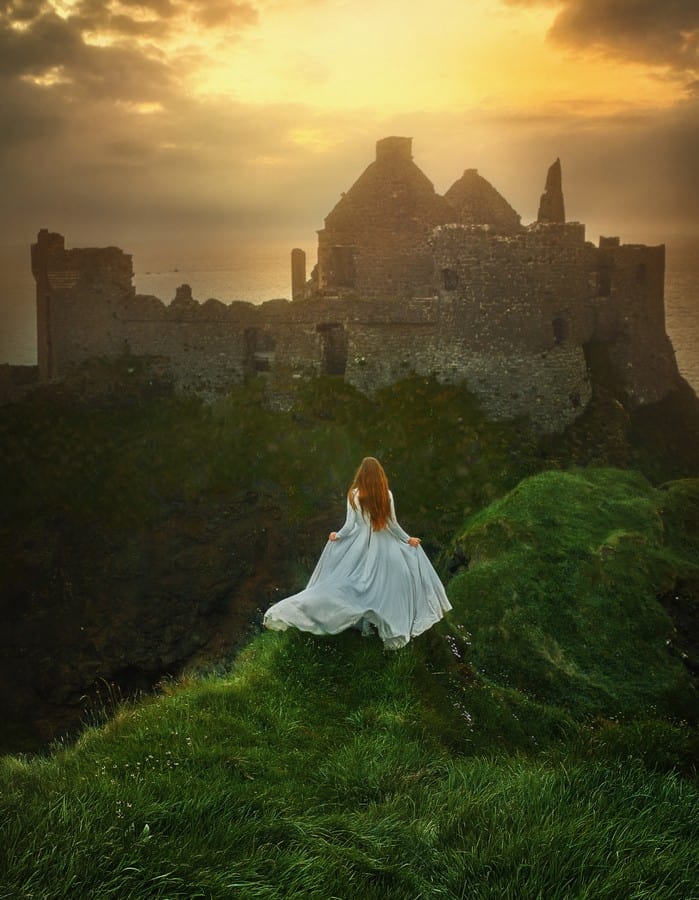
Flash forward to Terrence and I meeting and starting our @followmeaway pictures and I knew this was THE TYPE OF MODELING FOR ME! He didn’t want strange poses, he didn’t care about hair or makeup or fancy gowns or shoes.
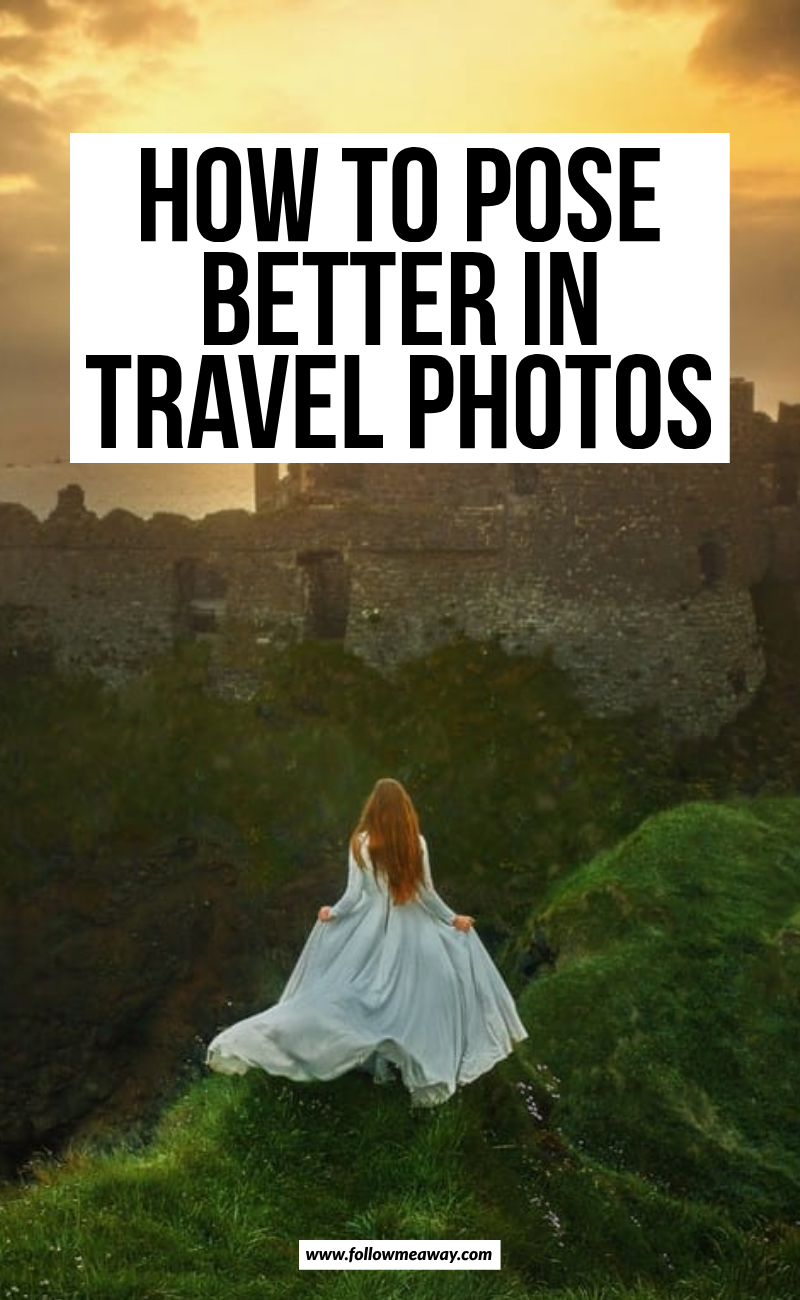
He cared ONLY about me looking like I had just run away from some castle and happened upon a nearby waterfall. I could dig it!
Our motto for these photos was “same pose different location.” And it was LITERALLY me in the same pose in different locations. WAY easier than traditional modeling.
I will discuss how you can apply this to your travel photos on Instagram further down in this article.
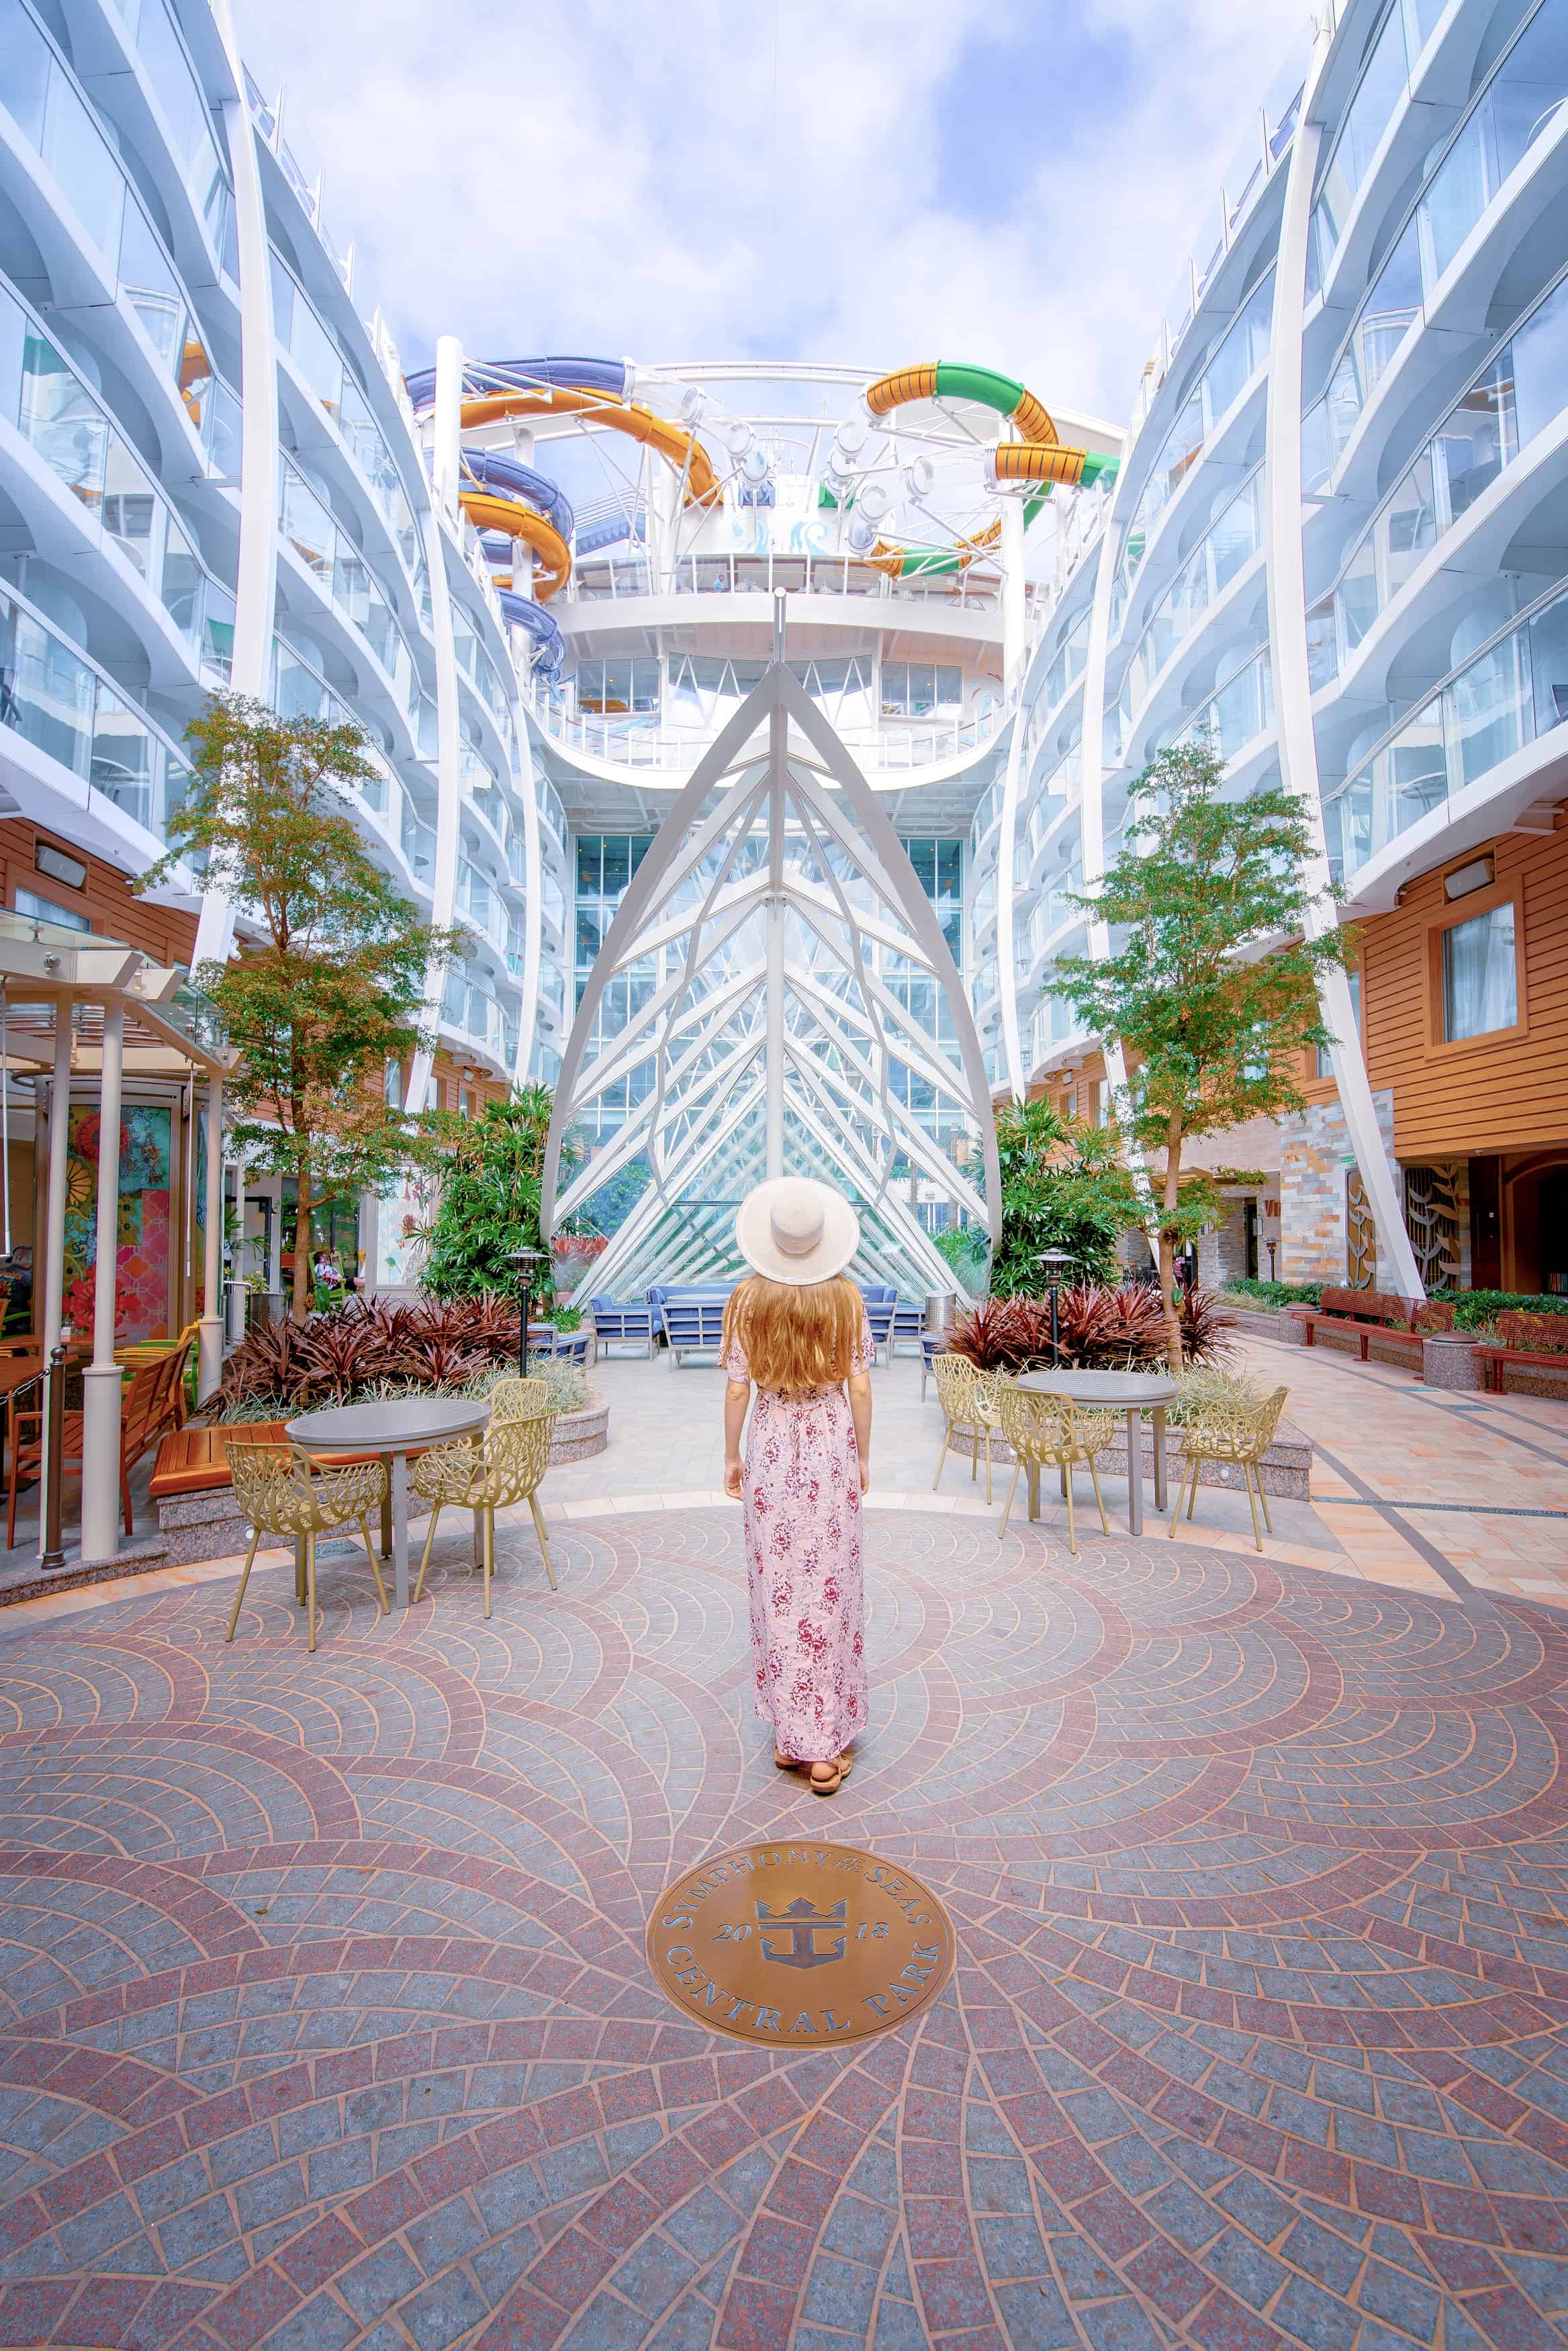
Flash forward again when we created @followmeawaytravel where we share our more “natural” and “normal” travel photos on Instagram. This where the photos of me in long flowy skirts walking across the street or standing in front of some monument are housed.
I get so many questions about how to pose naturally, how to get a flowing look of your skirt, how to look good in travel photos when you are NOT trying to sell or feature a product, what the heck should you do with your hands, how to not look like an awkward tourist in travel photos and more.
First off, I want you to know that I have BEEN THERE! Finished travel photos on Instagram are my HIGHLIGHT REEL! Of course, I have deleted all evidence of horrible posing from the web.
Terrence takes many photos that you NEVER SEE! Some locations I have been to have had horrific lighting and that makes everything much worse.
Anyway, these are all my tips to help YOU pose like ME. This isn’t to put anyone else’s way of posing down or to tell you this is the ONLY way to pose on Instagram.
These are simply MY TIPS to YOU if you want to try and achieve a similar look in your photos. I hope they help!
How To Take Great Travel Photography Featuring YOU
Before we get into the posing for travel photos, first we are going to quickly talk about TAKING the travel photos or having someone take them of you.
Before you can even get in the shot to pose, you are going to have to set it up and make sure that everything is set up for success. A question I am commonly asked is…
How Do I Look Good In Photos A Random Passerby Takes Of Me?
I have to say that the answer to this is hard. You basically don’t. Having a random person take a photo of you is a TOTAL shot in the dark. I’m not saying NOT to do it, I am just saying that it will achieve debatable results.
They may not capture both you AND the background and it probably won’t be centered. Sometimes you WILL achieve success. As I said, it is debatable.
If you DO want to go about having someone take travel photos of you, make sure to put your camera or smartphone on BURST MODE. Burst mode is a total lifesaver.
Instruct the person taking the photo of you to simply press and hold their finger down on the shutter [for a smartphone] or to take three photos of you [on a traditional camera].
The shutter will fire at a rapid speed which will allow you to quickly change poses while that person is taking photos of you.
While they may only press the shutter three times, you may end up with 300 photos to choose from.
This widens the chance that you have something usable when a random passerby takes a photo of you during your travels.
What About If I Am Traveling With My Kid Or A Person Who Isn’t A Pro Photographer?
If you are traveling with someone who is NOT a pro photographer but is still a family member or close friend, provide them with a few tips of what you are looking for in the shot.
For kids, make it a challenge like “can you get mommy in the shot AND make the photo not crooked?” This sounds boring but with a little bribing or competition [if you have multiple kids] it could lead to some good shots.
When you are traveling with someone who isn’t a pro photographer or who doesn’t know anything about composition, try and set up the shot for them and put the camera on “burst mode” as suggested above.
Do not be afraid to gently suggest improvements. The most important part is to ask this person if they are willing to play this role before the trip [unless this is your husband then sorry husband this is your job hehe kidding but not really].
What I find really helps is to take the target photo that I want beforehand and then show the person what you are trying to get. Then you jump in the shot and they take it. This will [hopefully] lead to a closer match than just asking them to take a spectacular shot of you in it.
Either way, sometimes you can’t avoid using a random person or someone who isn’t a pro when taking travel photos. But if you CAN avoid it I really suggest it because sometimes it is more trouble than it’s worth.
What do I recommend instead if you are solo traveling or traveling with someone who isn’t reliable 24/7? Your friend the trusty tripod! A tripod will never fail you and won’t change the angle and won’t complain that it is tired of taking photos of you for the 100th time. A tripod can be your bff.
How Do I Take Travel Photos Of Myself Using A Tripod?
When Terrence and I want to be in the same photo, we turn to using our trusty tripod photographer.
Sometimes we travel with my mom or sister or Terrence’s family and while they have turned out some decent stuff, we prefer to set up the shot 100% EXACTLY like we want to. This is what a tripod allows us to do.
We use the Benro Slim Travel Tripod and it is lightweight and I carry it on my backpack so you know it isn’t too crazy. We also have the Benro Travel Angel Tripod and it is MUCH larger and sturdier than the Benro Slim.
Terrence carries this tripod and it is our go-to when shooting self-portraits in windy or treacherous locations such as Iceland.
If you have a DSLR or Mirrorless travel camera a tripod is the BEST way to get successful photos of yourself. I know SO MANY fantastic successful travelers on Instagram who take their own photos of themselves.
Most camera companies have an APP you can download on your smartphone. This will act as your mobile “shutter release” and you can actually SEE YOURSELF IN THE SHOT on your smartphone.
This is revolutionary when it comes to looking good in travel photos because you can SEE what you look like on your smartphone while your camera is all the way on the tripod. This way you can set up the shot and pose and look through the shots all without ever leaving the area you are standing or sitting.
We use the Sony A99ii Camera which allows us to use the “Sony Play Memories” app. Most other major camera companies offer the same sort of app/shutter release tool.
If you do not, you can buy a camera trigger to go with your camera, but it will not allow you to see your pose. Seeing your pose is the major advantage of tripods and the smartphone app.
If you want an even EASIER way to take bomb travel photos of yourself, then consider investing in an affordable tripod for YOUR SMARTPHONE! This is such an easy way to quickly get great photos of yourself without having to deal with other people.
We recommend this smartphone tripod and shutter release and it is so easy to set up and use. A smartphone tripod folds up really small which makes it easier to carry than a traditional tripod.
My friend Sylvia who travels in a wheelchair and specializes in accessible travel got tired of having to rely on others and uses a smartphone travel tripod in the majority of her travel photos.
She is just one example of the ease and many uses of a smartphone tripod when taking great photos of yourself during your travels. It is easy to whip out, set up, shoot, and finish and allows you to take the exact shot you want and only rely on you.
View this post on Instagram
When shooting great travel photos on a tripod, put the camera [or smartphone] on burst mode and then slightly alter your pose during the burst. This allows you to have more variety in case you mess up during part of the shot.
Traveling and shooting self-portraits with a tripod DOES take time BUT you get great results. I am always a little annoyed that we have to set up the tripod and the app and the camera, but I am always pleased with the 10/10 results. A tripod takes the guesswork out of it and allows you to only rely on yourself.
How Do You Set Up The Shot?
The majority of the travel photos that I am in are WIDE WIDE WIDE! I like this because it is more of a focus on the DESTINATION instead of a focus on YOU and allows you more room for error.
I don’t do many shots that focus on me really close but instead do wider shots of the whole landscape or location. While I may be larger in the frame, there is rarely a portrait of my face up close and everything is at least a full-body shot.
We shoot with a 15-30mm lens for the majority of our travel photos and I LOVE IT!
I highly recommend shooting WIDE when shooting for travel photos because it emphasizes the landscape without highlighting you specifically. Again, this is my preference, but if you want it to be all about you then go for it!
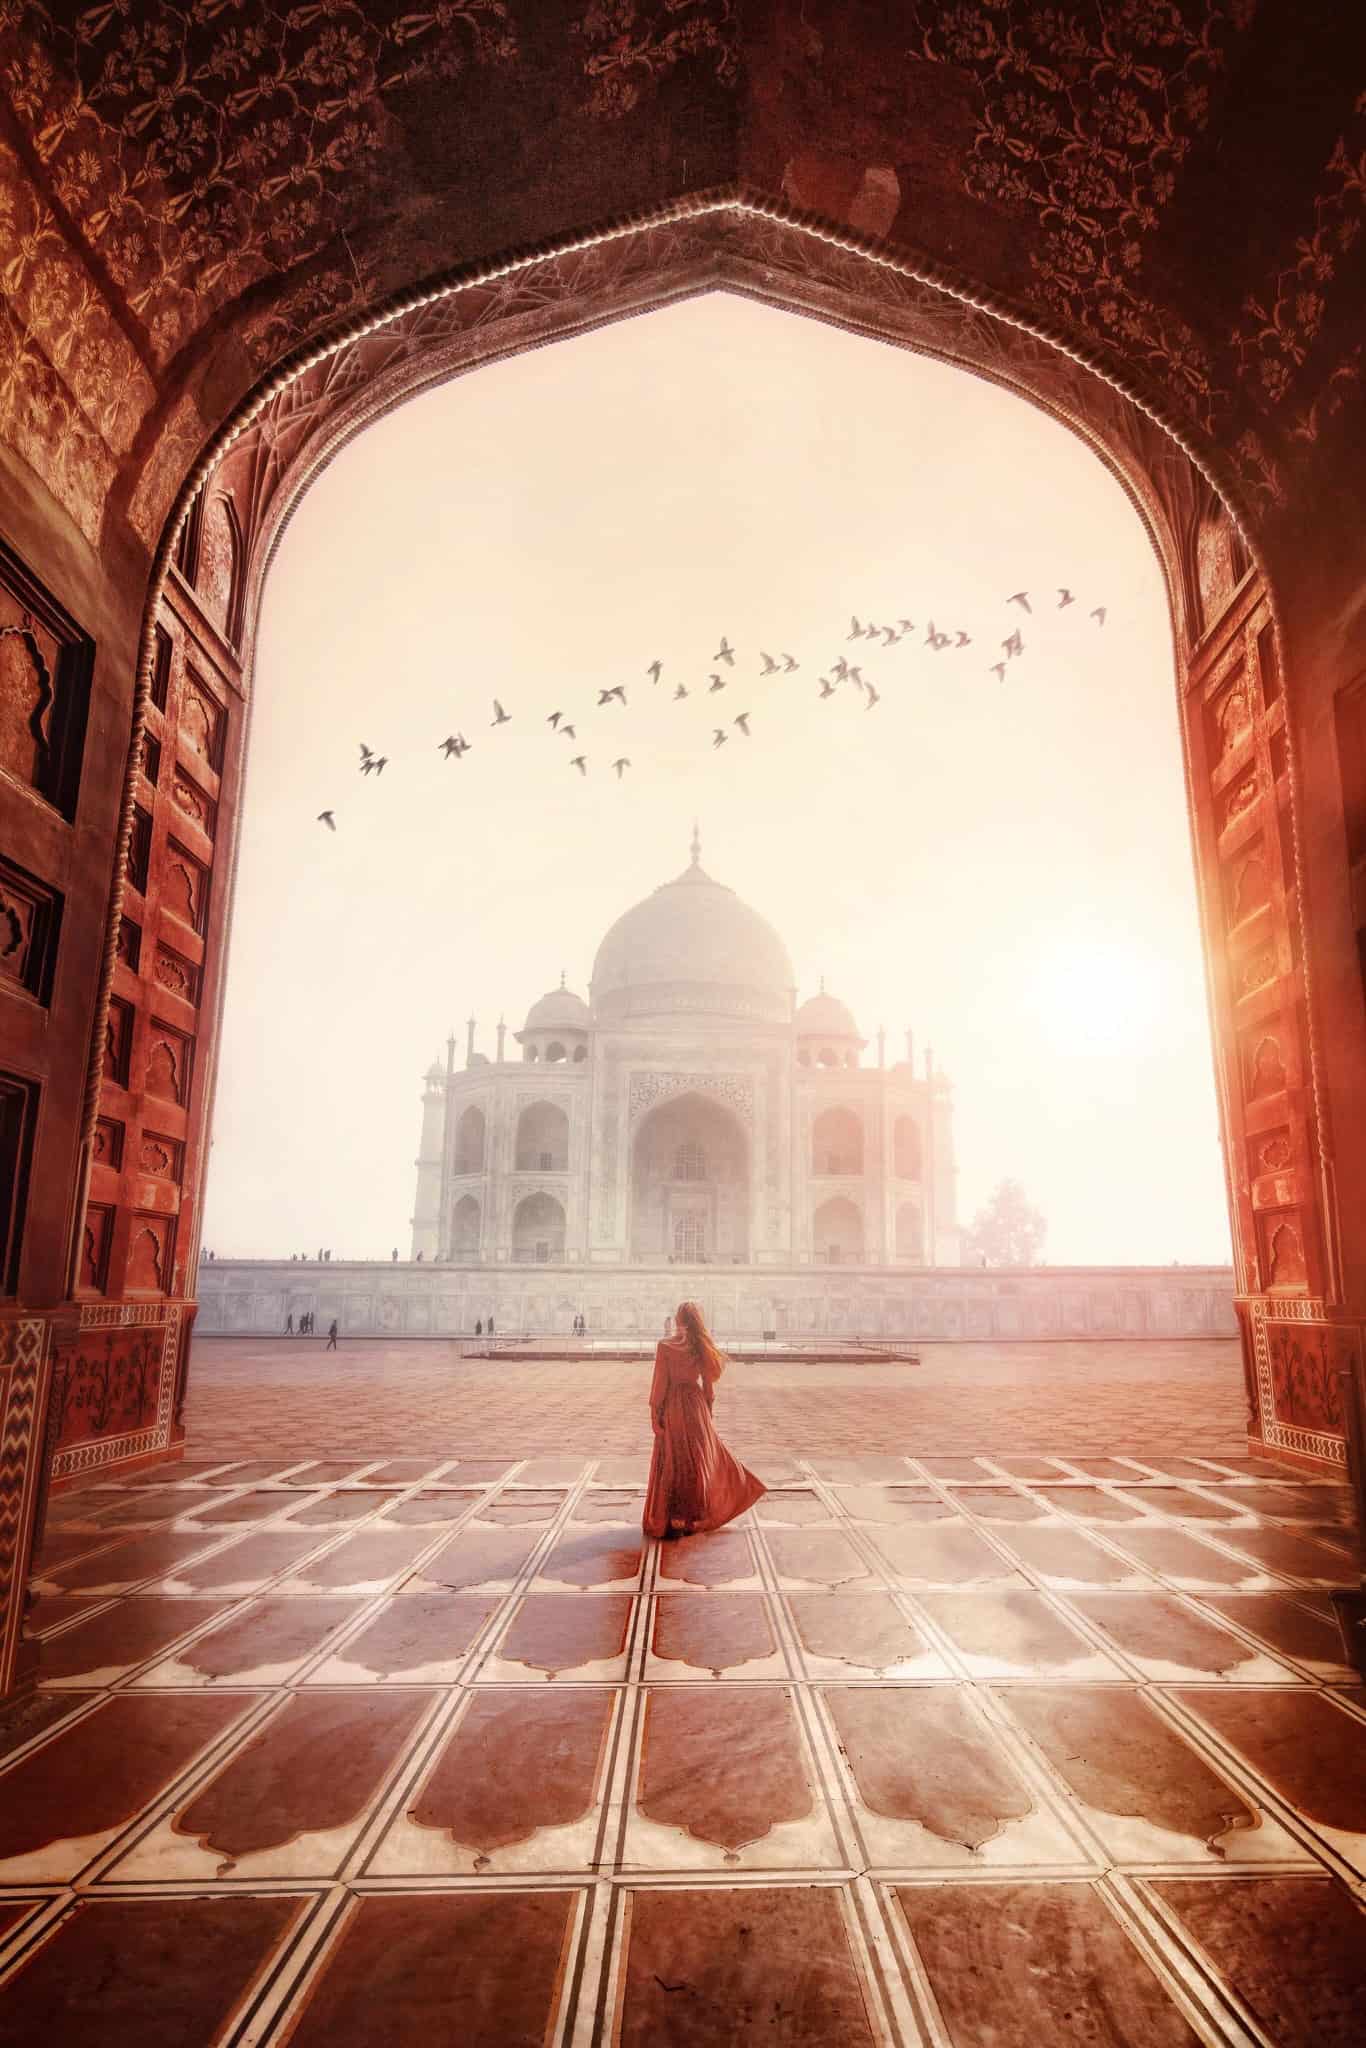
Everything You Need To Know About Posing In Travel Photos For Instagram
Okay, so setting up the shot is hard, but the burning questions EVERYONE asks is about posing, what to wear, what to do with your arms and more and I am going to answer all of those questions in this article.
This is exactly what I do and what I recommend doing and these are real questions I have been asked before so I hope this helps you figure out your flow for travel photos on Instagram.
How Do I Look Candid/Natural In Photos Without Looking Like I Am Trying?
LESS really is MORE when posing for travel photos! I will literally do the bare minimum in order to look presentable in a photo.
My number one tip is to RARELY look at the camera. If you look at my travel photos on Instagram you will see that I RARELY am looking at the camera. Hardly ever! You can check out this post on Why We Shoot Faceless Imagery if you want to get into the nitty-gritty explanation.
NOT looking at the camera will 10/10 make you feel more comfortable and natural right off the bat.
I always recommend looking slightly off to the left or slightly off to the right of where the camera is when you are facing it. Pretend you are standing on a clock face and the camera you are facing is 12:00 on the clock [straight ahead].
You will want to point your nose to either the 10:00 [on the left] or the hypothetical 2:00 [on the right] of the camera.
You don’t want to be TOO FAR one way or the other, but you want to still show your face without looking too far away on either side [say, you wouldn’t want to face the camera with your nose pointing toward the 9:00 or the 3:00 mark.
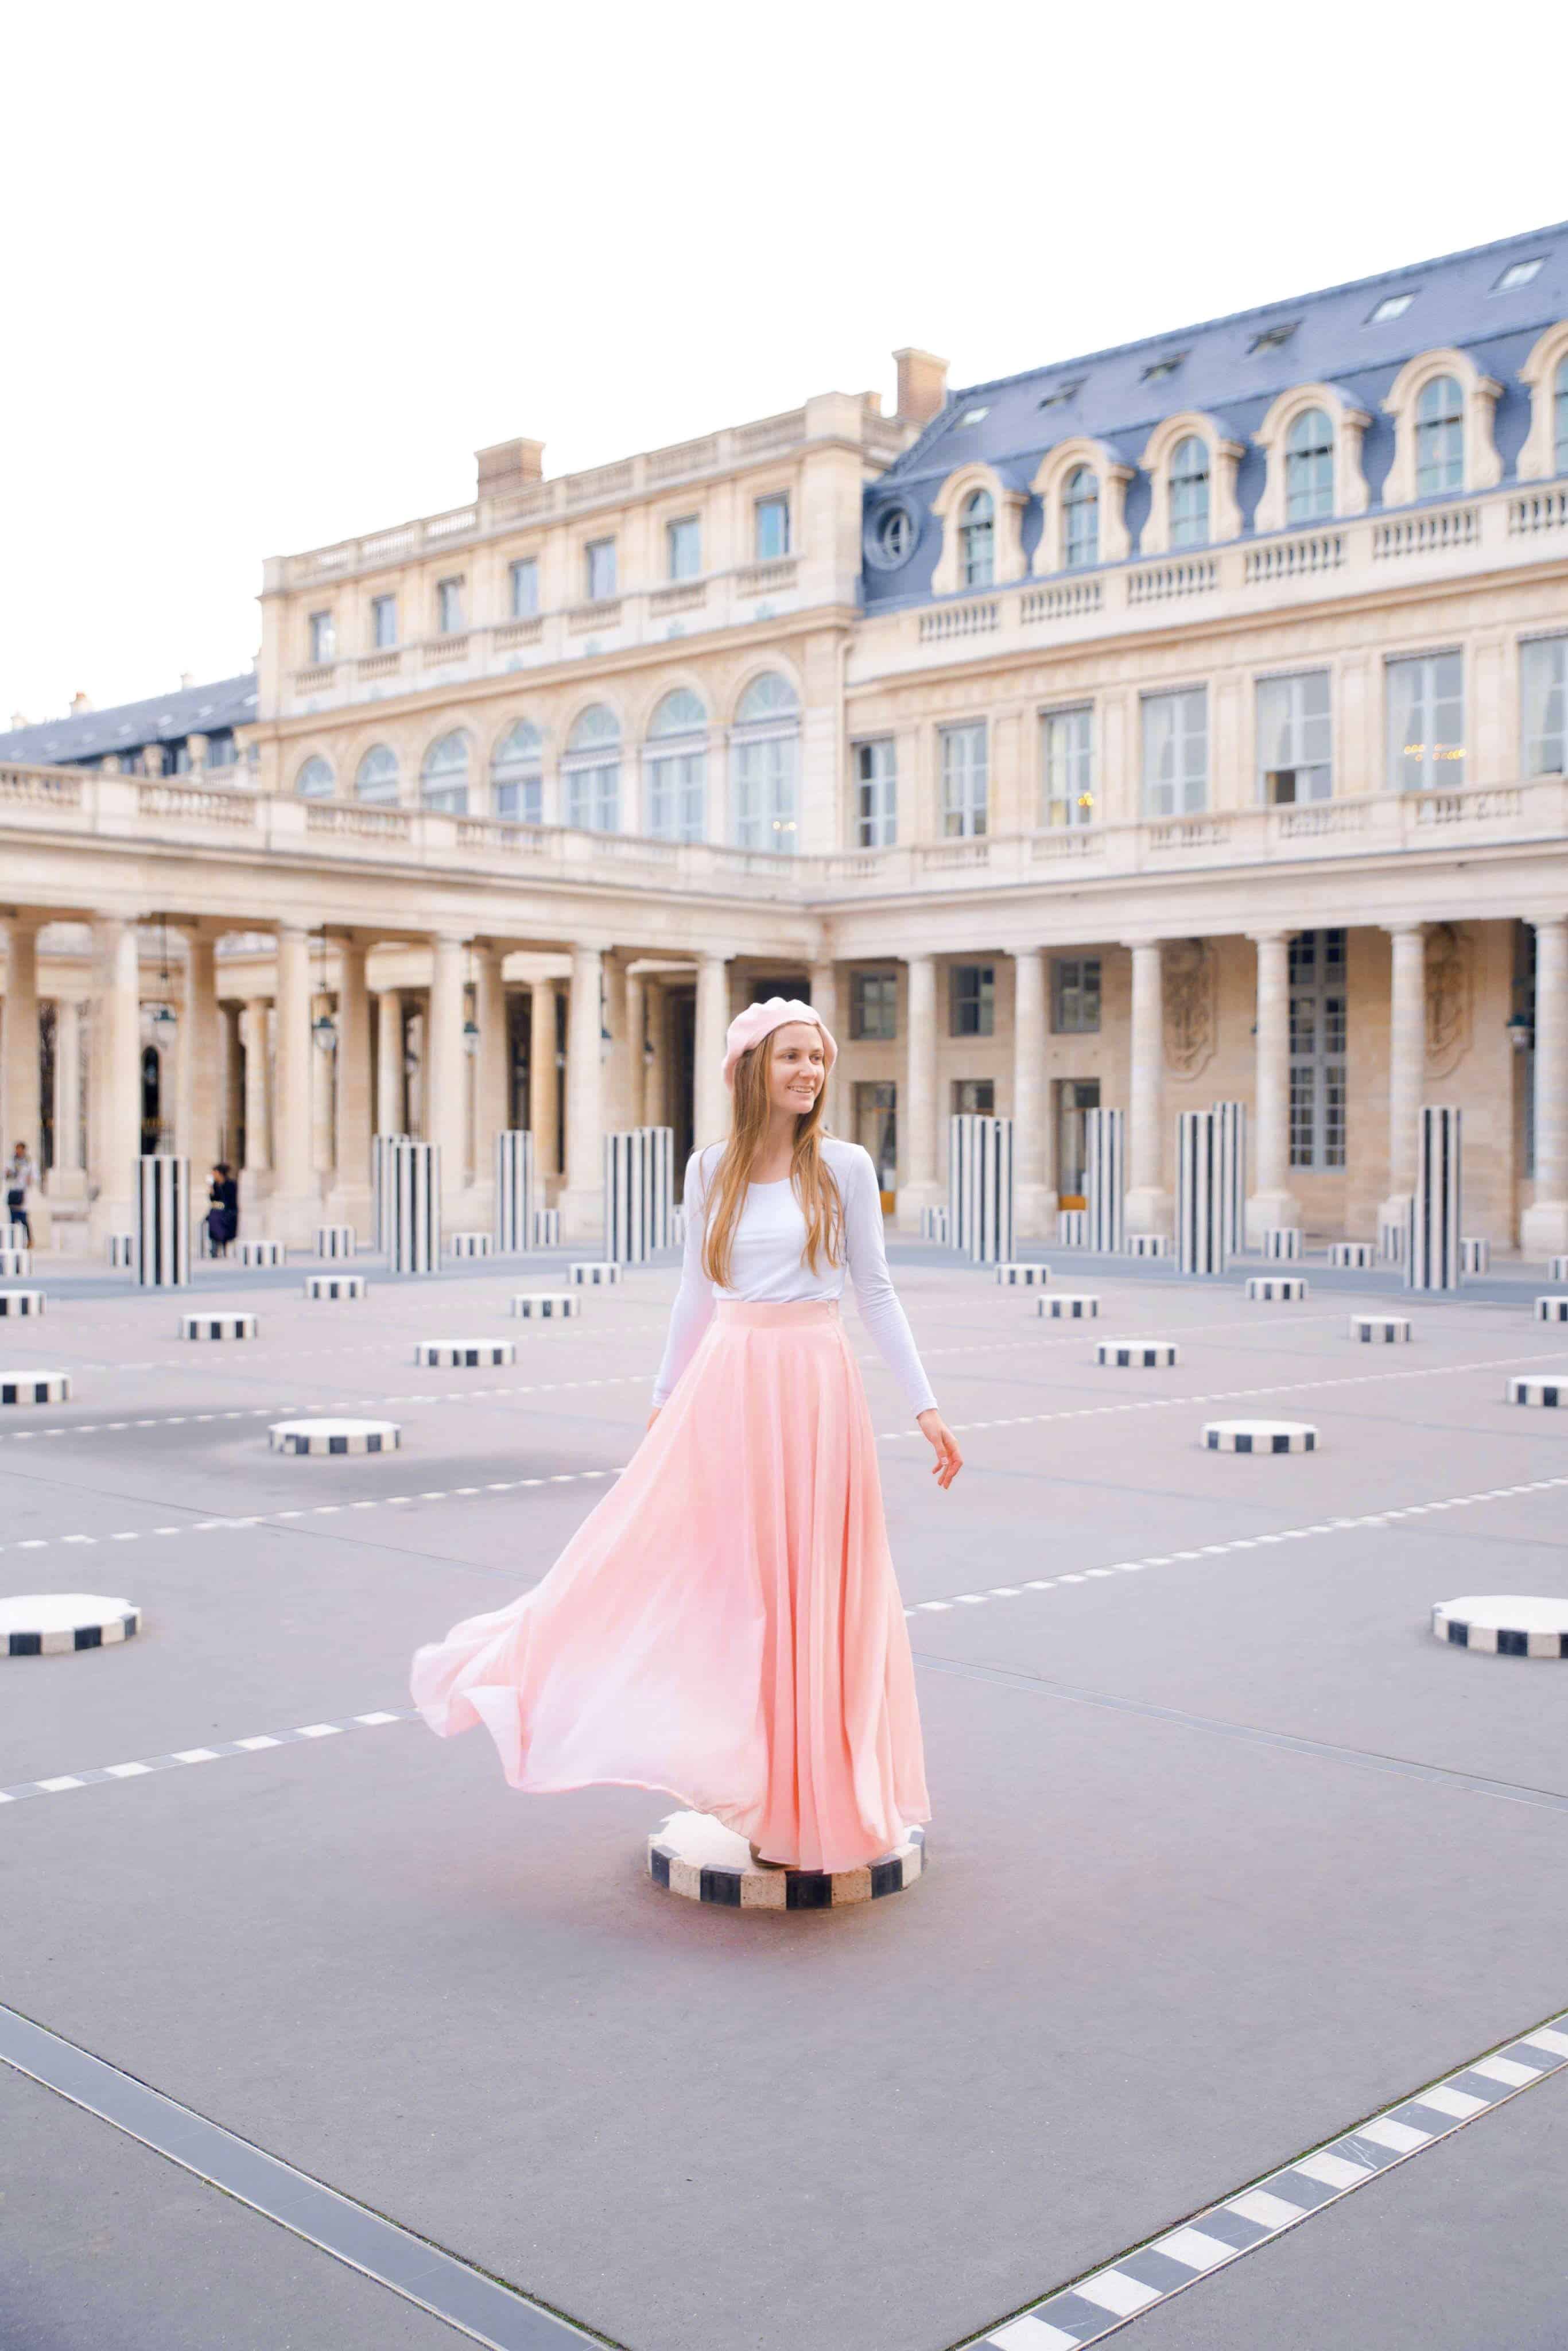
For an even better look, turn your face to the 10:00 or the 2:00 and then slightly tilt your chin upward and look slightly up with your eyes. This helps you avoid any unflattering angles and tilting your chin up and looking slightly up will help you look more “perky” in the photos.
This is also going to give you an ingenue “innocent girl” look. It works for me [age 26] and it works for my mom [age 66] and will help pretty much anyone look dreamy and innocent.
If your face is showing in a travel photo, you are going to want to fake laugh and have someone [or yourslef] click the shutter multiple times during the fake laugh.
Terrence always wants me to not smile/laugh or only smile a little but I think this looks more posed and generally DO NOT do it when shooting generic travel photography for Instagram. If you want the moody look then go for it but I don’t usually.
I have gotten pretty good at immediately putting on a fake smile/laugh while I am looking either the upper left or upper right [but not too far!] from where the camera is pointed. This took practice and time.
If you are just starting out or think your fake laugh looks silly [it probably doesn’t!] then cough a few times which will, in turn, make you smile a natural smile and giggle a little bit. Try it right now, it feels stupid but it works!
You can also honestly do your best fake laugh without coughing to achieve the same outcome but different things work for different people.
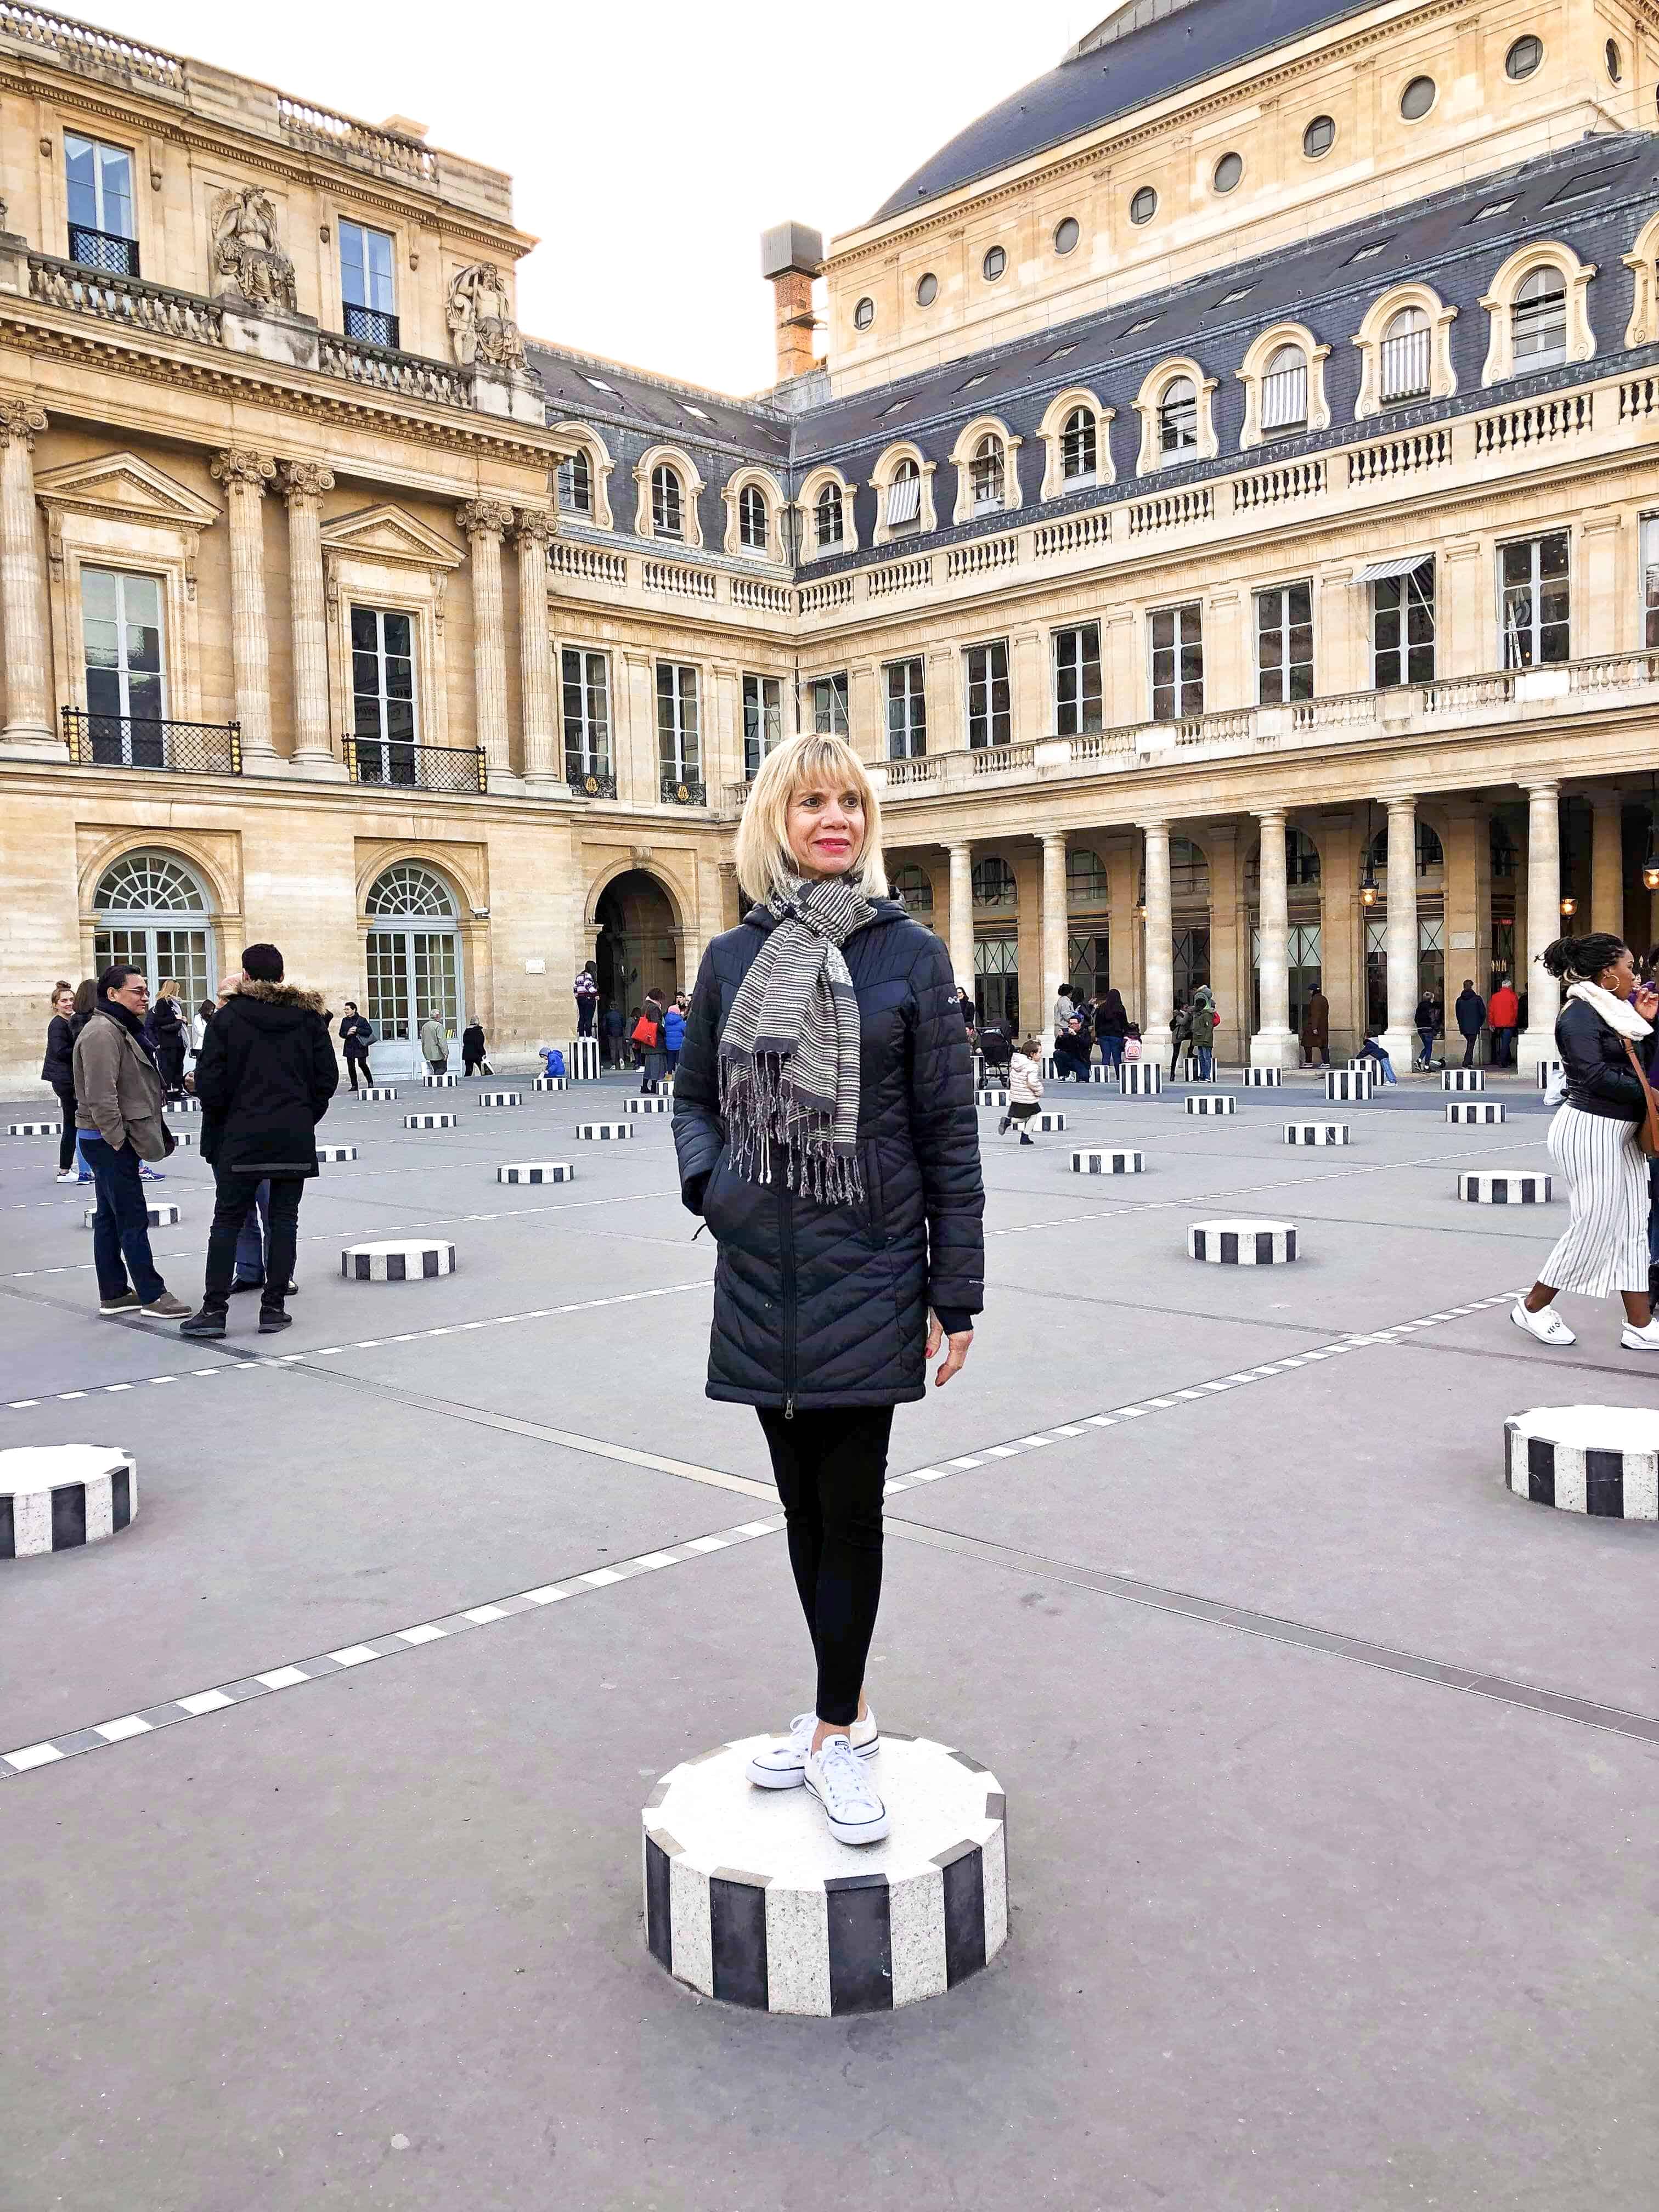
What On Earth Do I Do With My Arms In Photos?
Before I was a travel blogger, I used to teach ballroom dancing to kids and teens [and adults…who were often the worst heehee]. The NUMBER ONE most important thing about ballroom dancing technique is you never want to have a “dead” arm. This holds true for posing for travel photos on Instagram too.
What I mean by a “dead” arm is an arm that you don’t have tense in any way, shape, or form. Just your arms hanging next to you doing nothing.
This is guaranteed to look terrible in ballroom dancing and it will look just as boring in travel photos.
Instead, you want your arms to ALWAYS have life in some way, shape, or form. This means that instead of them dangling lifelessly beside your body, you are going to tense them in a slight way.
This could be one inch away from your body, but you should do ANYTHING other than leaving them hanging there.
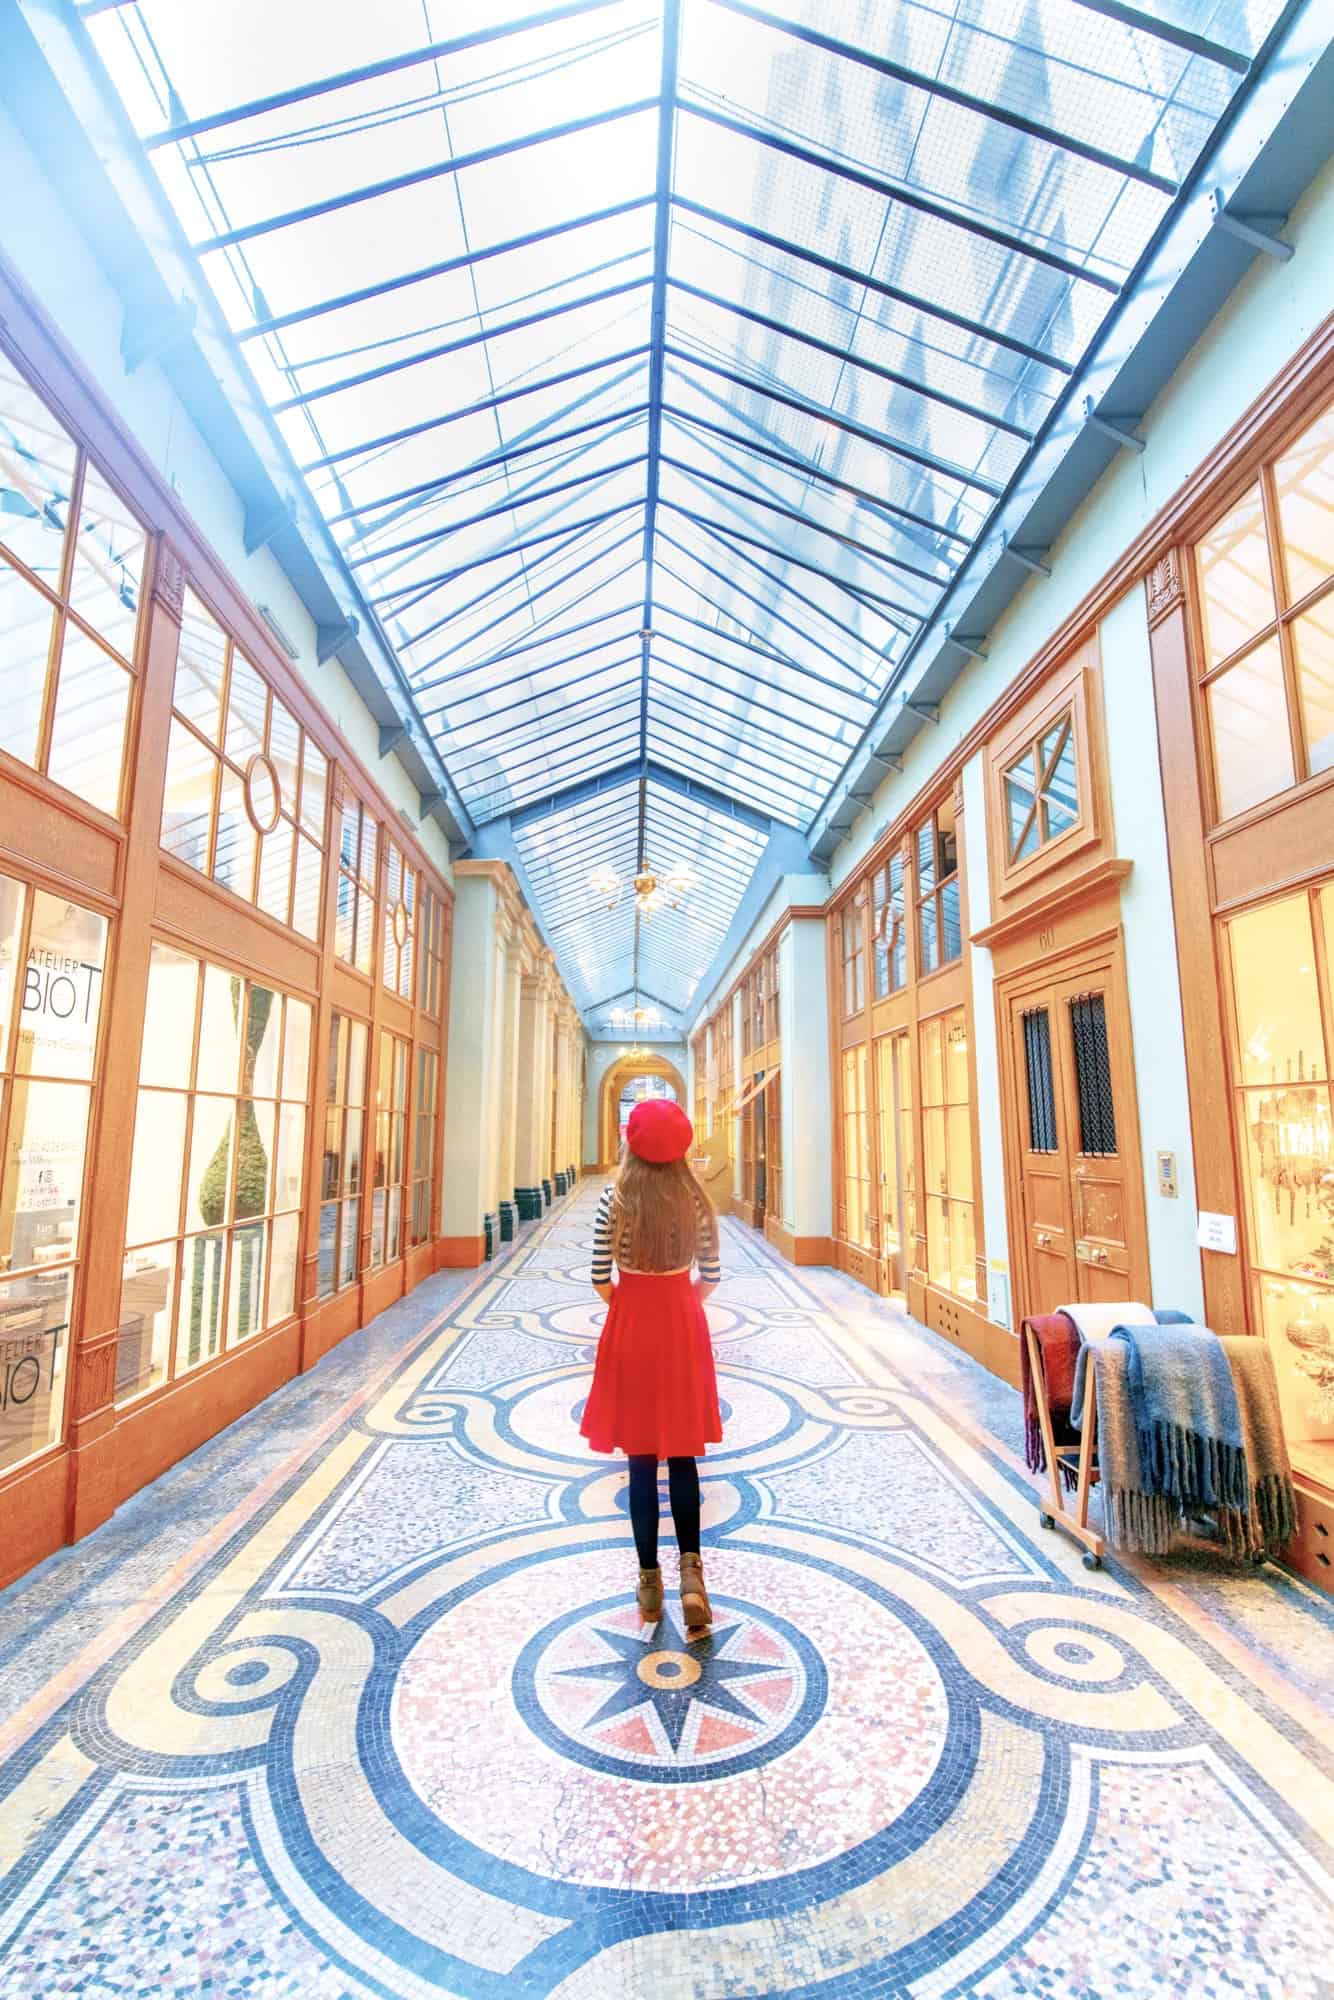
Pull your shoulders back and puff your chest/breasts outward. This will automatically make your shoulders go back and your arms look a little more interesting.
Next, place your arms in such a way where you look like you are surprised like “oh WOW look at this beautiful landscape omg I just saw it for the first time ever.” This look of “dreamy exploration” should be totally subtle and minimal, and just enough to give your arms life.
Bring your arms a few inches away from your body and then “hold” that pose. If you are sitting, you will want to tense your arms and still have that same look of “omg I am so dreamy this is so magical” like you are in a Disney movie. I know this sounds dumb but this is the exact look you are going for.
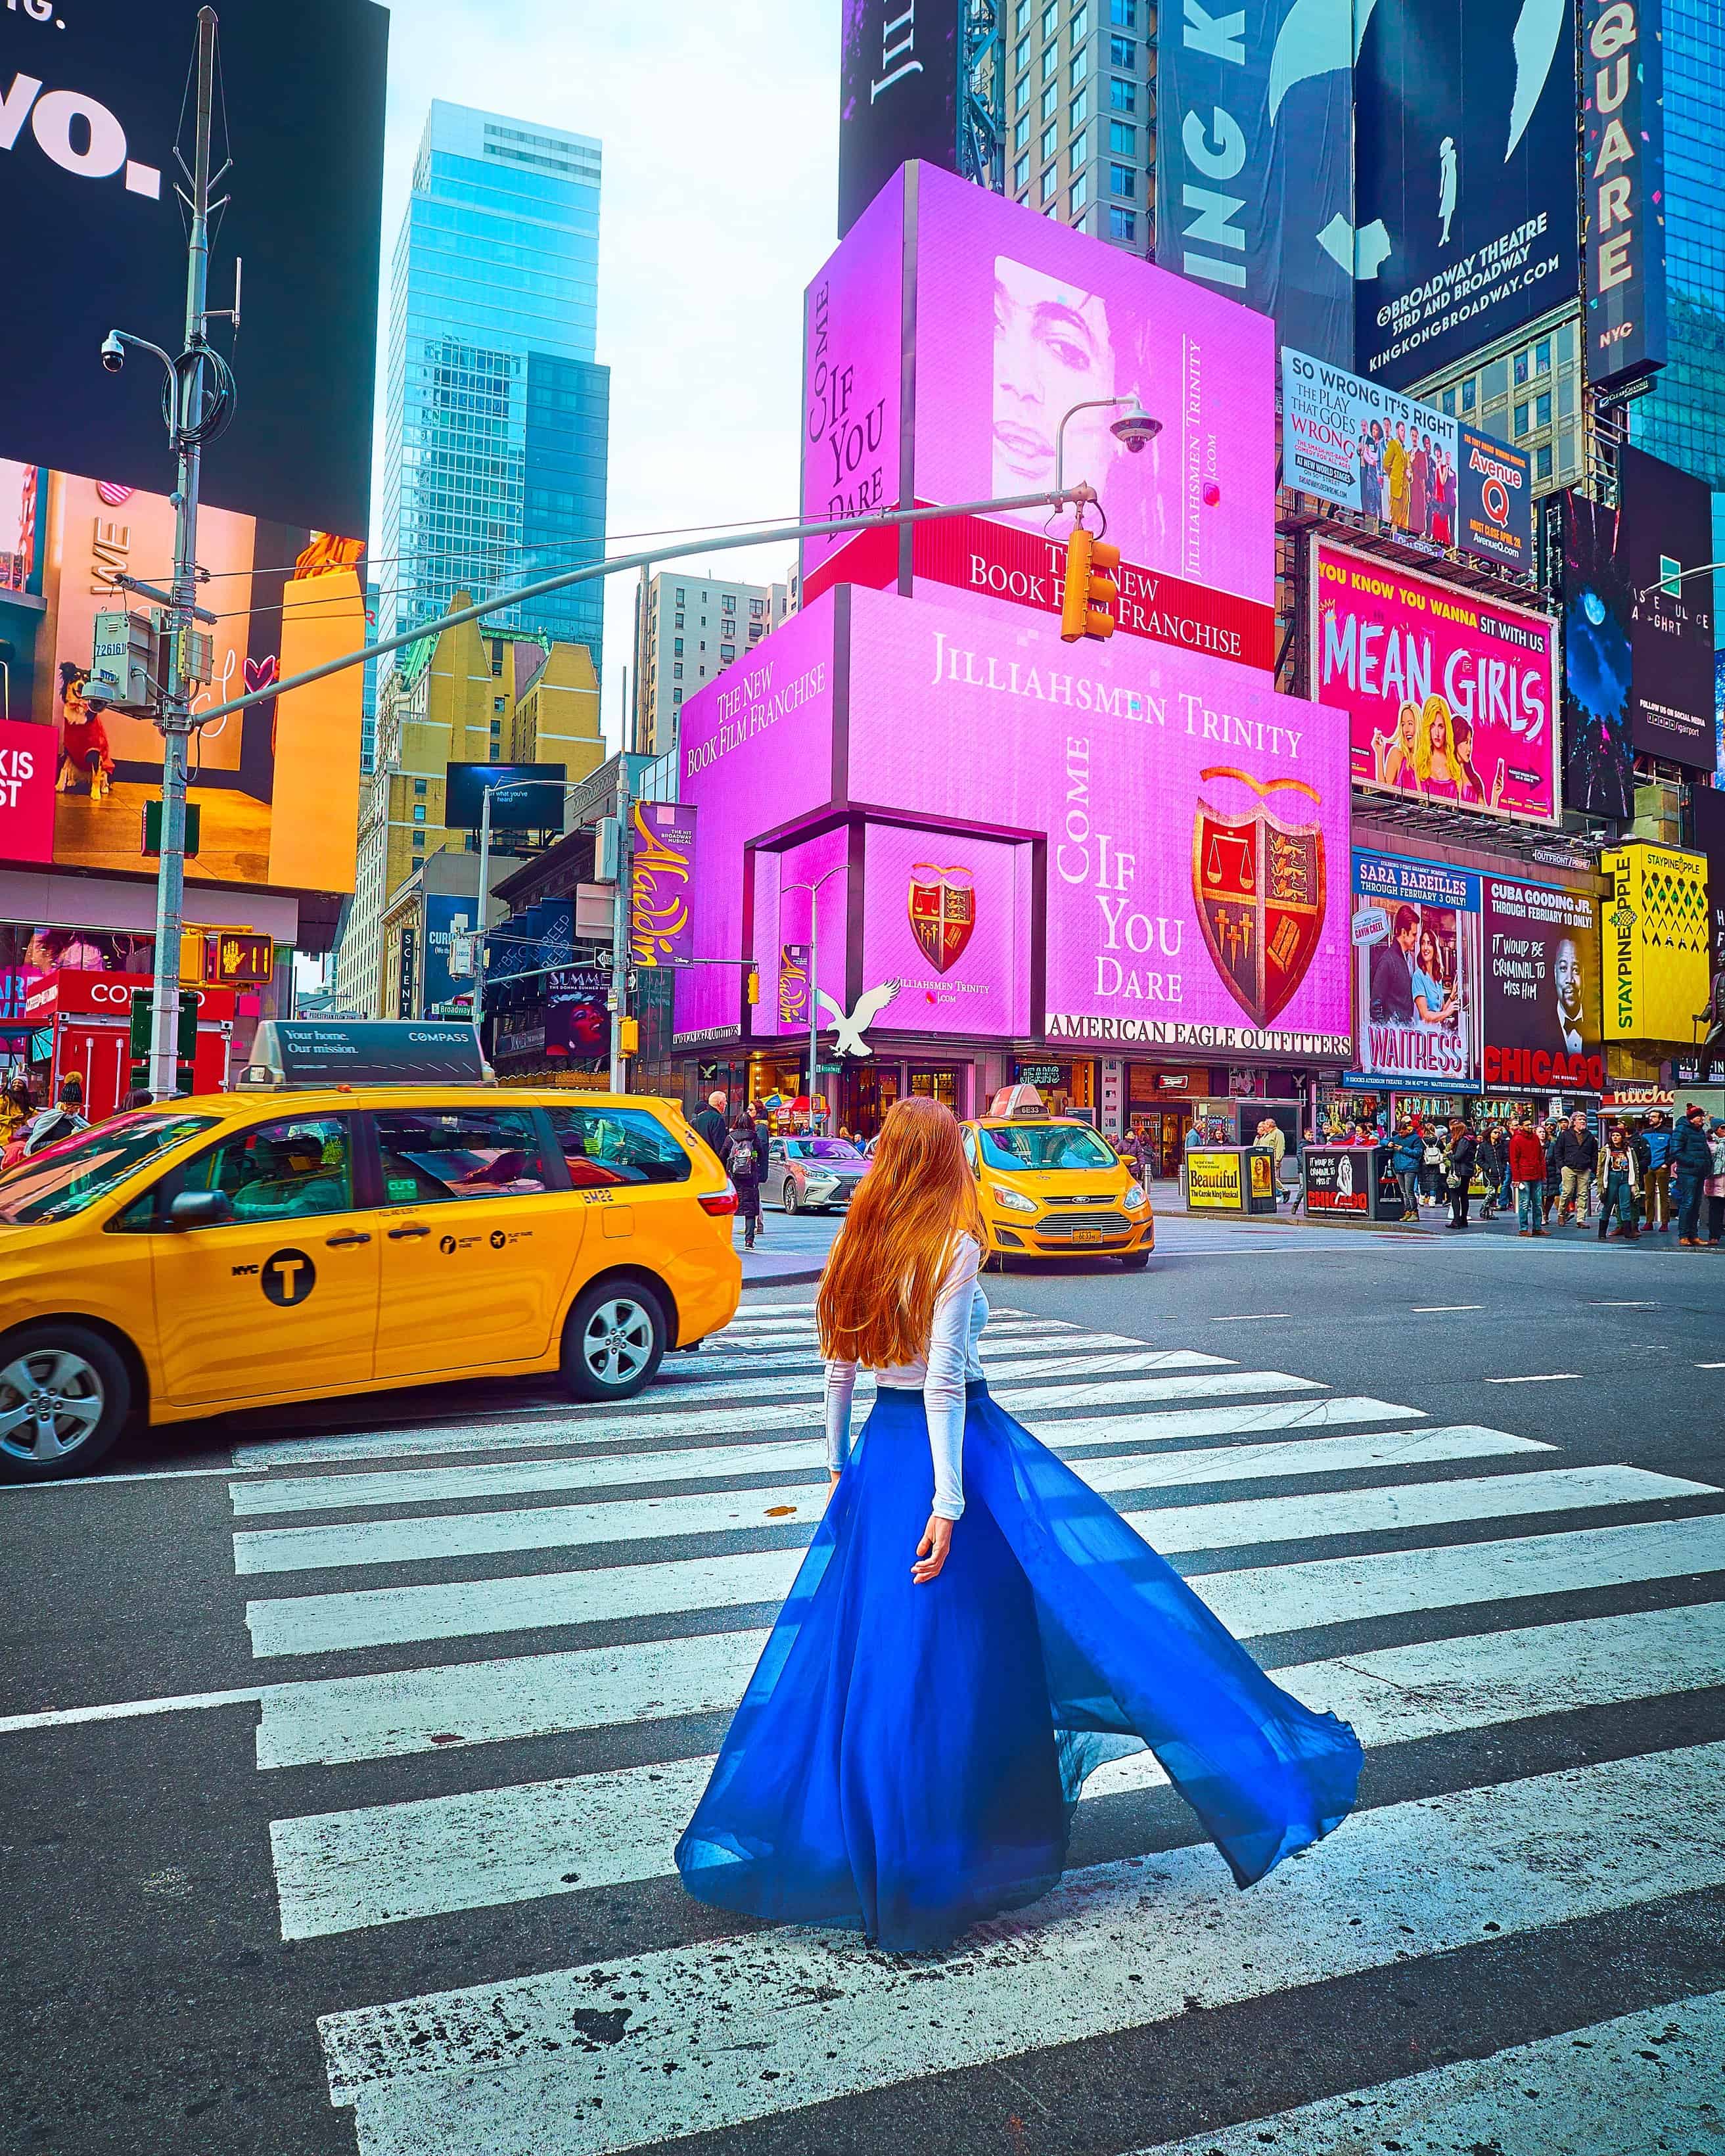
Even if I am facing away from the camera and my arms are beside me, I always make sure they are a tiny bit tense so they have a little bit of life. I feel like this is a common mistake people make and why everyone hates their arms in travel photos for Instagram.
If you are still having a hard time getting a natural “dreamy exploration” pose, a great way to practice is to shake your hands vigorously up and down.
This is a technique used in ballet to make your hands look “soft” and not rigid. It seriously works.
Next, you want to walk and let your hands swing naturally. Mid-swing, when you arms are close by your body [and not far out] you want to stop and master in your mind what this pose looks like.
Your arms will have a little bit of life and motion, but they will still be close to your body and won’t look super fake or posed.
So while this sounds like a lot the basics broken down to easy steps are:
- Look away from the camera to the slight left/right [when your body is facing it]
- Tilt your face and nose slightly upward/downward
- Fake laugh or smile
- Tense your arms slightly in a “surprised” look
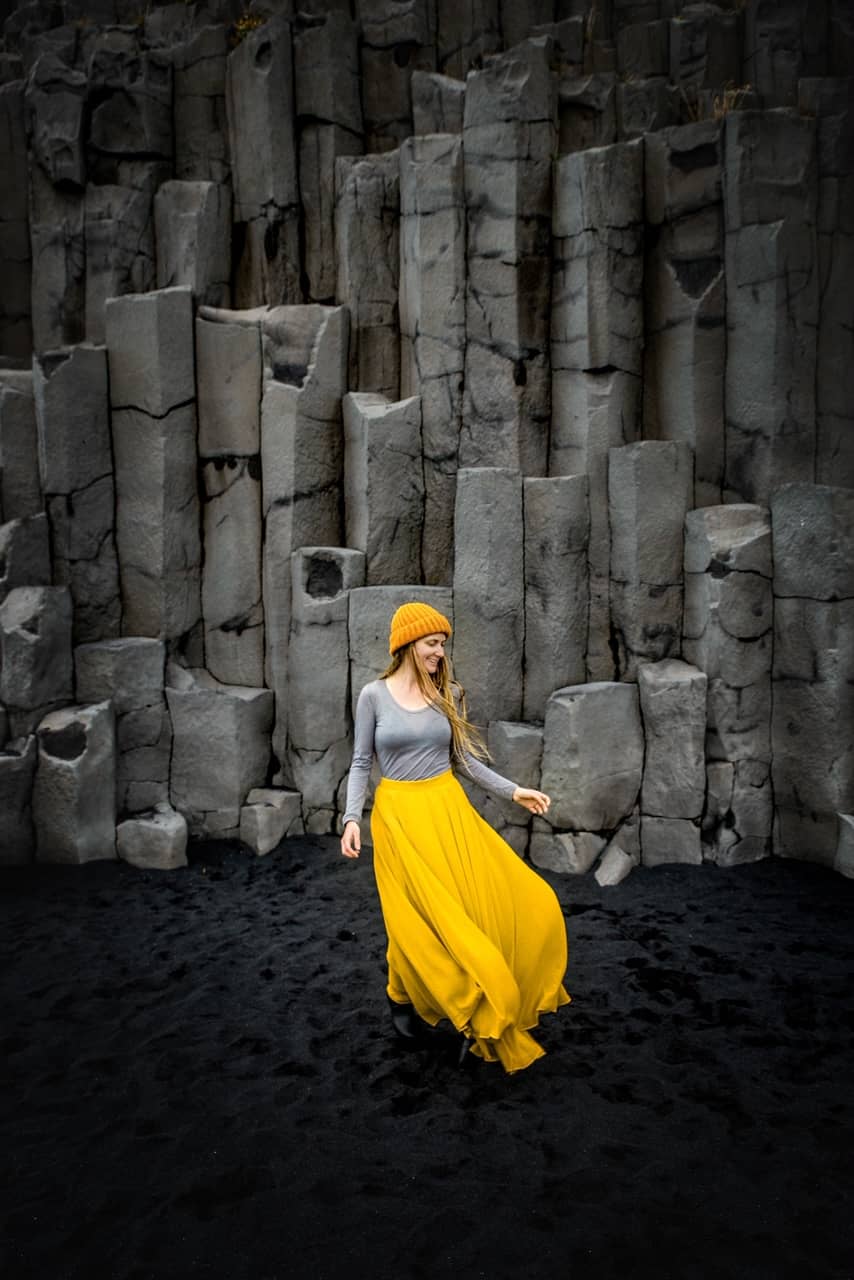
How Do I Look Good In “Looking Away” Shots?
A good 70% of my travel photos featuring me are of me looking away/the back of my head. These photos do GREAT on Instagram and are a super easy way to have a scowl on your face and no one knows the difference [heehee].
If you have long hair take it down. I absolutely HATE wearing my hair down. I wear my hair in a bun or ponytail 99% of the time and if you watch my Instagram stories or know me personally you will know this.
The 1% of the time my hair is down is the 5 minutes it takes me to take travel photos. I NEVER brush it and literally take it down from a bun, shake it out, pose for the photo, and put it back up in a bun or ponytail.
If you have a hair-type where you can do this, I highly recommend it. If you have a style such as braids or locs, or very short hair, then stick with that. But for the rest of you, take your ponytail down for the picture.
When I am going to be the subject of travel photos for Instagram, I will not wear a style that I will be sad about taking out for the photos. I will wear my hair in a bun/clip/low ponytail/hat and then take it down for the photo and then put it back up.
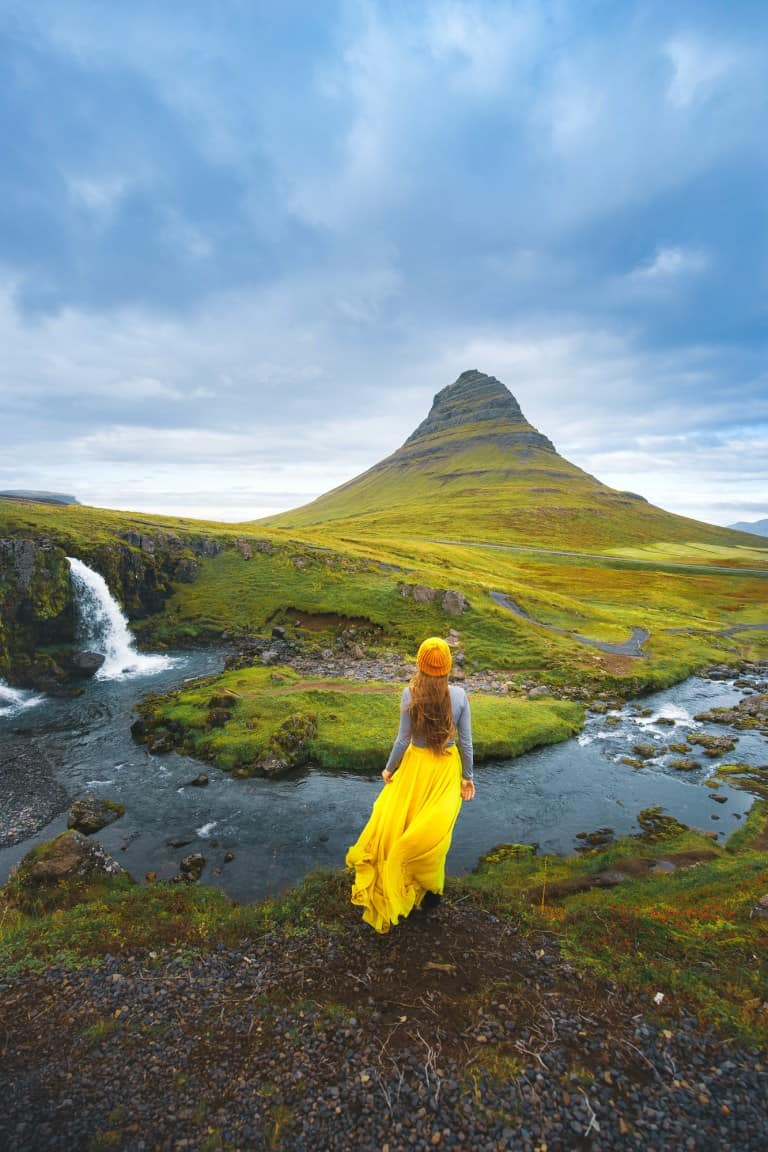
It doesn’t matter if you are sweaty/icky/gross etc. Take your hair down for a quick shot and then put it right back up until it is needed again. This works for me with super long hair and works for my mom with a short chop. Use what you have and don’t worry too much about brushing it.
If you have hair that doesn’t cooperate, take a small foldable brush and quickly give it a comb. What magical girl happening upon a landscape has perfectly manicured hair? You wouldn’t! So don’t worry about it for your travel photos [within reason again everyone is different and my hair is easily managable].
My next tip for looking great in “looking away” travel photos is to always have “life” in every part of your body, from your shoulders down to your hands and legs. This goes to what I said above about putting a little “tense” feeling into your hands. Take a slight step forward or if you are standing in one place, pop a leg, even if it is under a skirt and not everyone can see it.
Even if it is as simple as standing at attention with your shoulders back, your head held high, and your arms nice and firm beside you, this will make your “looking away” travel photos look so much better than just standing there!
If you want a bit more movement, you can take one “fake step” away from the camera to make it look like you are “walking away” from the camera. Again, the same tips apply. Tense, at attention, and a confident head held high. Even though you are looking away from the camera, your body language will be seen.
Even if you aren’t confident, you gotta fake it till you make it. Sometimes when Terrence and I pose together in couple photos we are NOT confident in our poses and it REALLY SHOWS. Put a little “life” in your pose and it will make a world of difference.
How Do You Find Fluid And Natural Poses That Are Interesting?
As I said at the very beginning of this article, my best tip is the SAME POSE DIFFERENT BACKGROUND. This is our go-to tip for @followmeaway photography and it is exactly what I apply to travel photos on Instagram too.
You will literally have the same 2-4 poses in your arsenal and then apply them to different locations. Every. Single. Time. I have been doing this for years and not a single person has noticed or mentioned it. Find the poses you are comfortable in and rock at and then apply it to ALL the locations you visit.
My go-to poses I use pretty much all the time are:
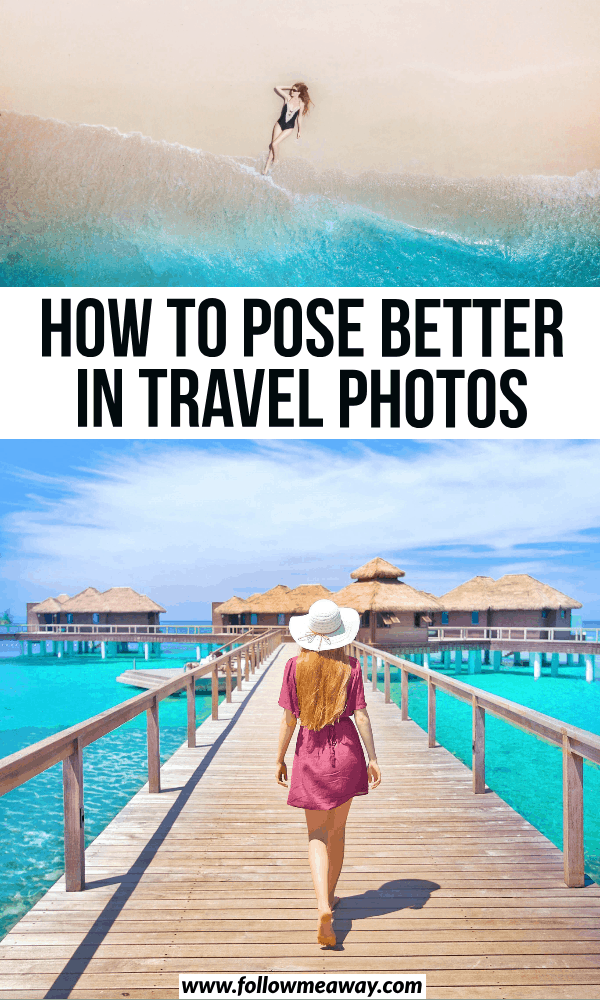
- Looking away from the camera and standing [my fave]
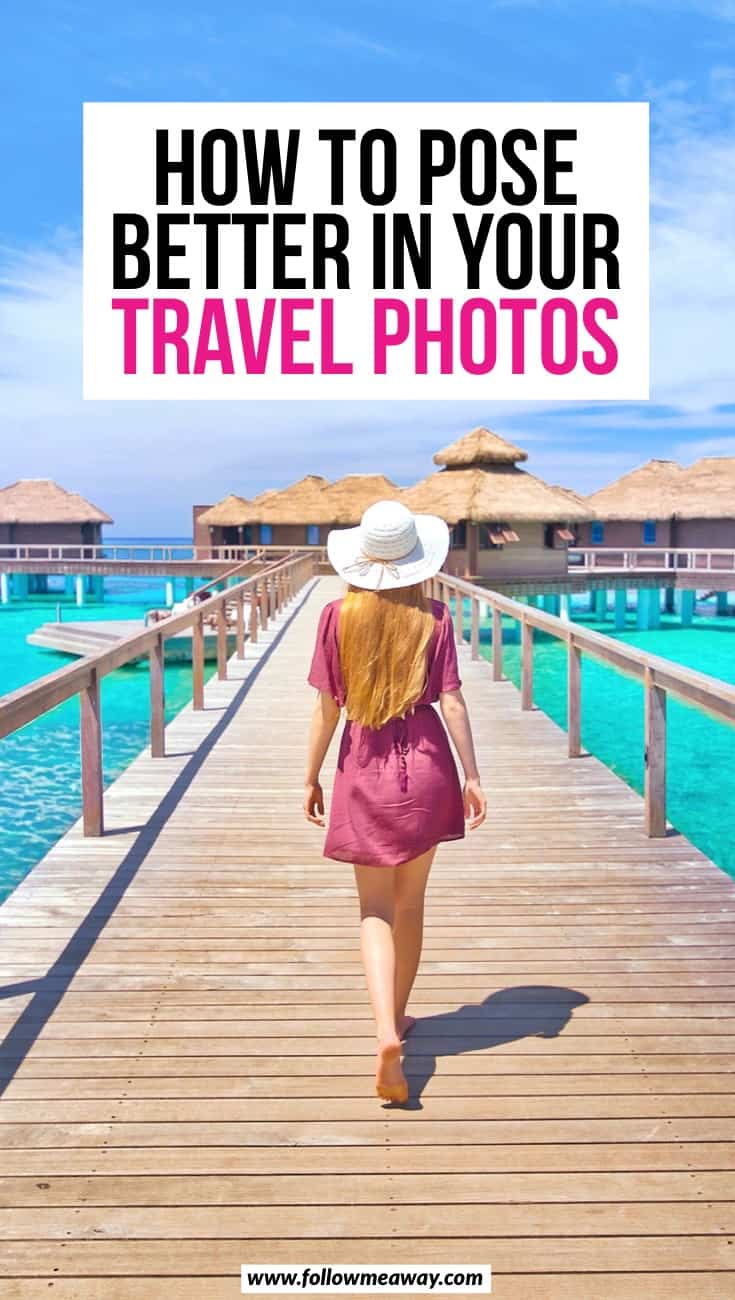
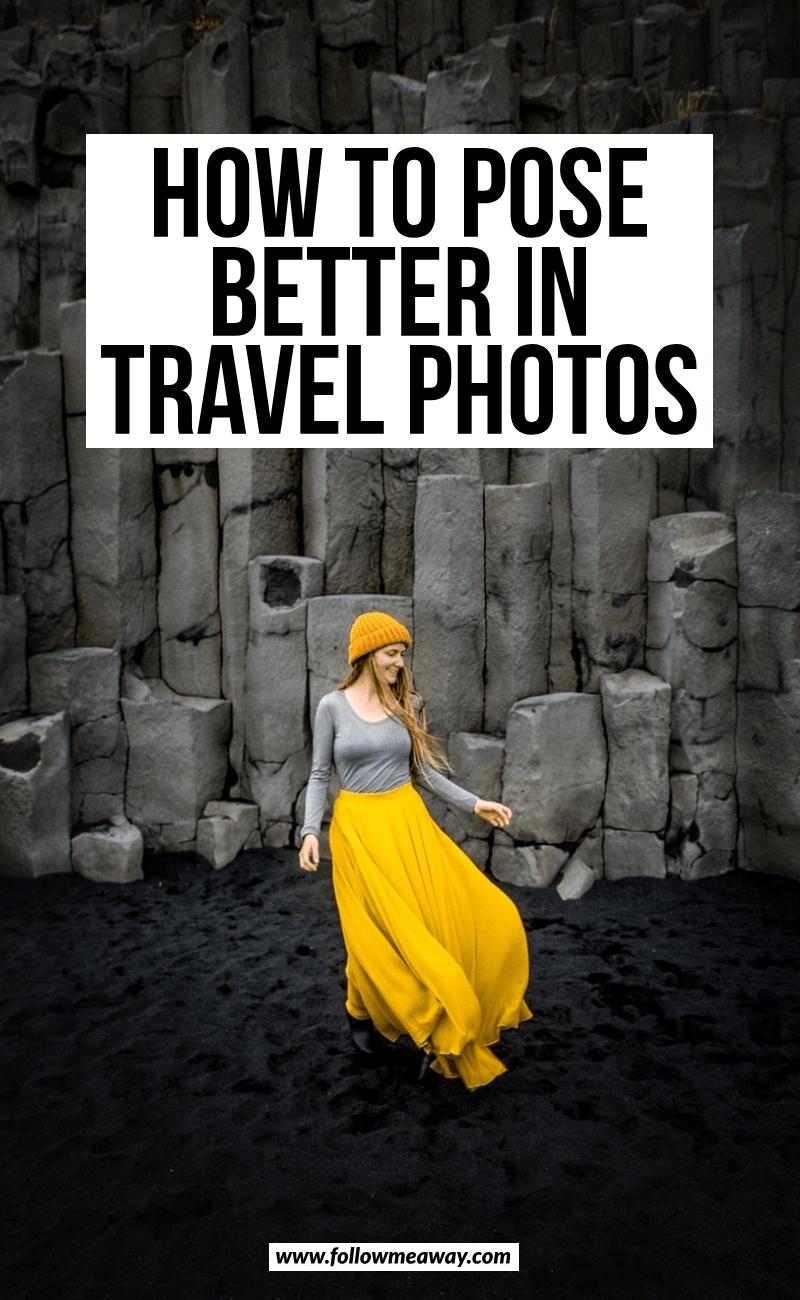
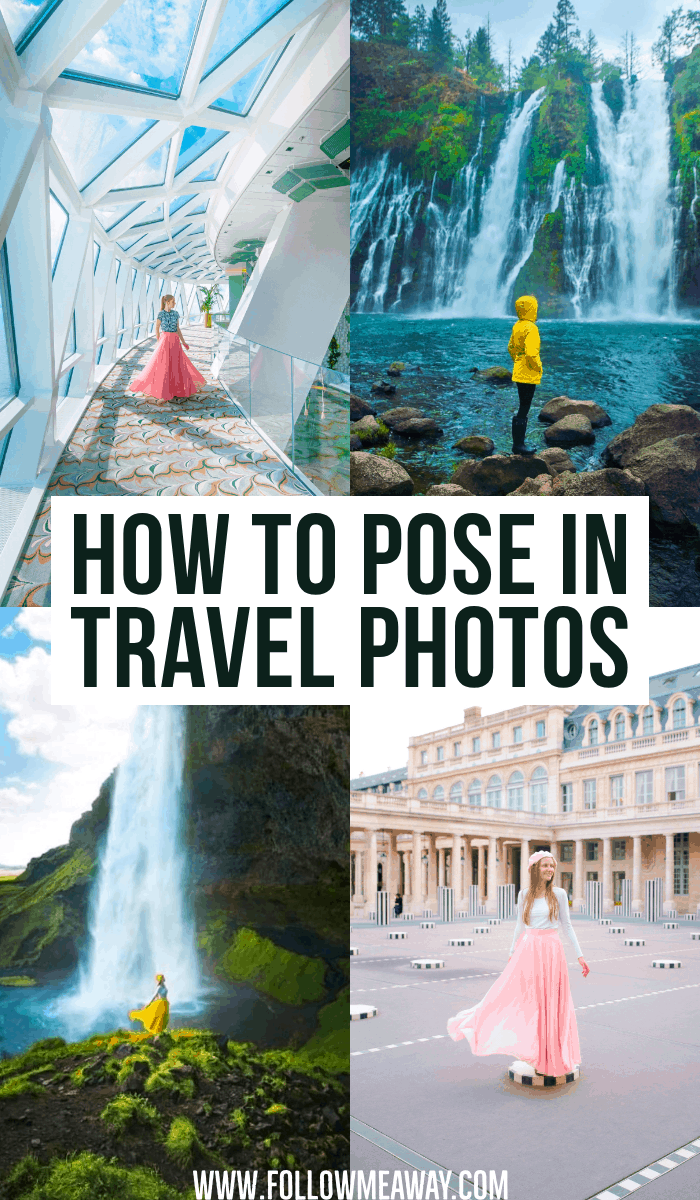
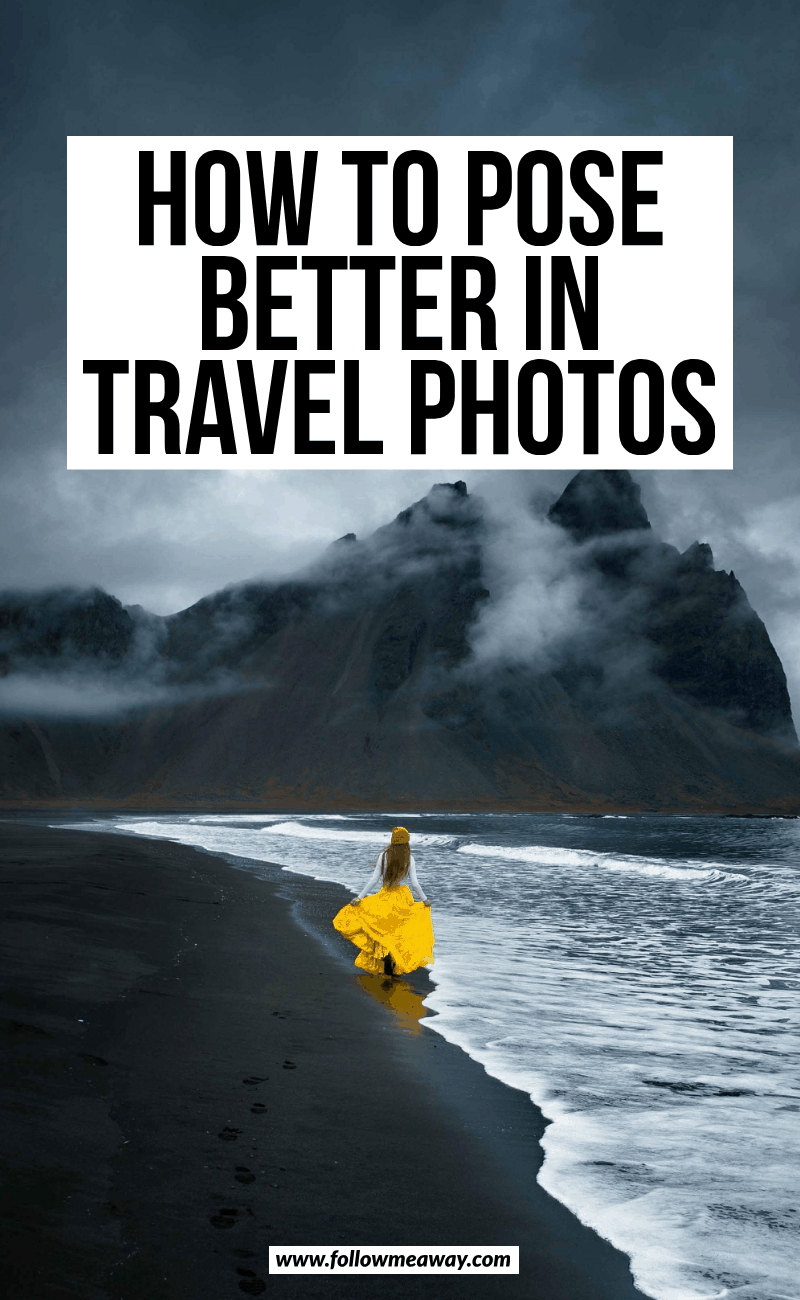
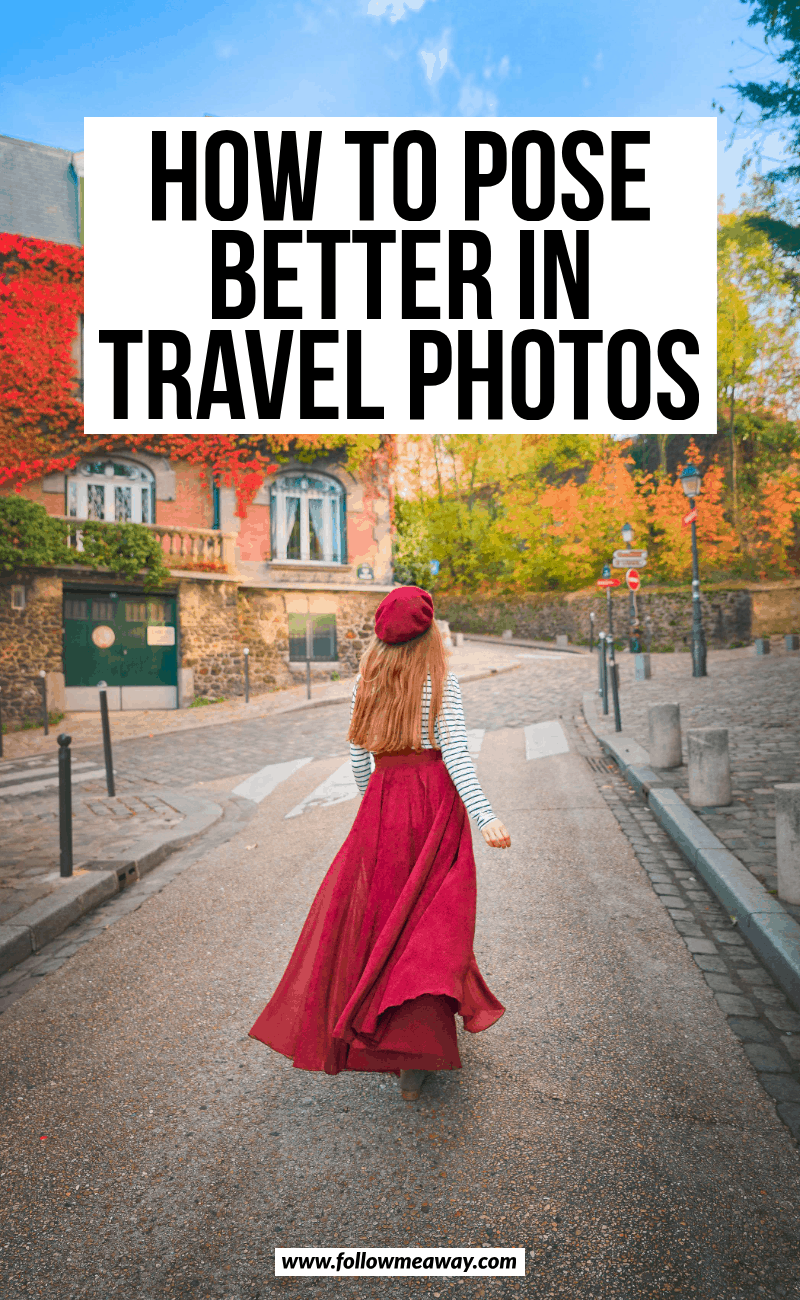
- Walking away from the camera swooshing a skirt [second fave]
- Facing the camera but looking away off to the side [either walking or standing]
- Walking “across” the camera view [side body angle]
- Spinning/twirling with a dress or skirt on
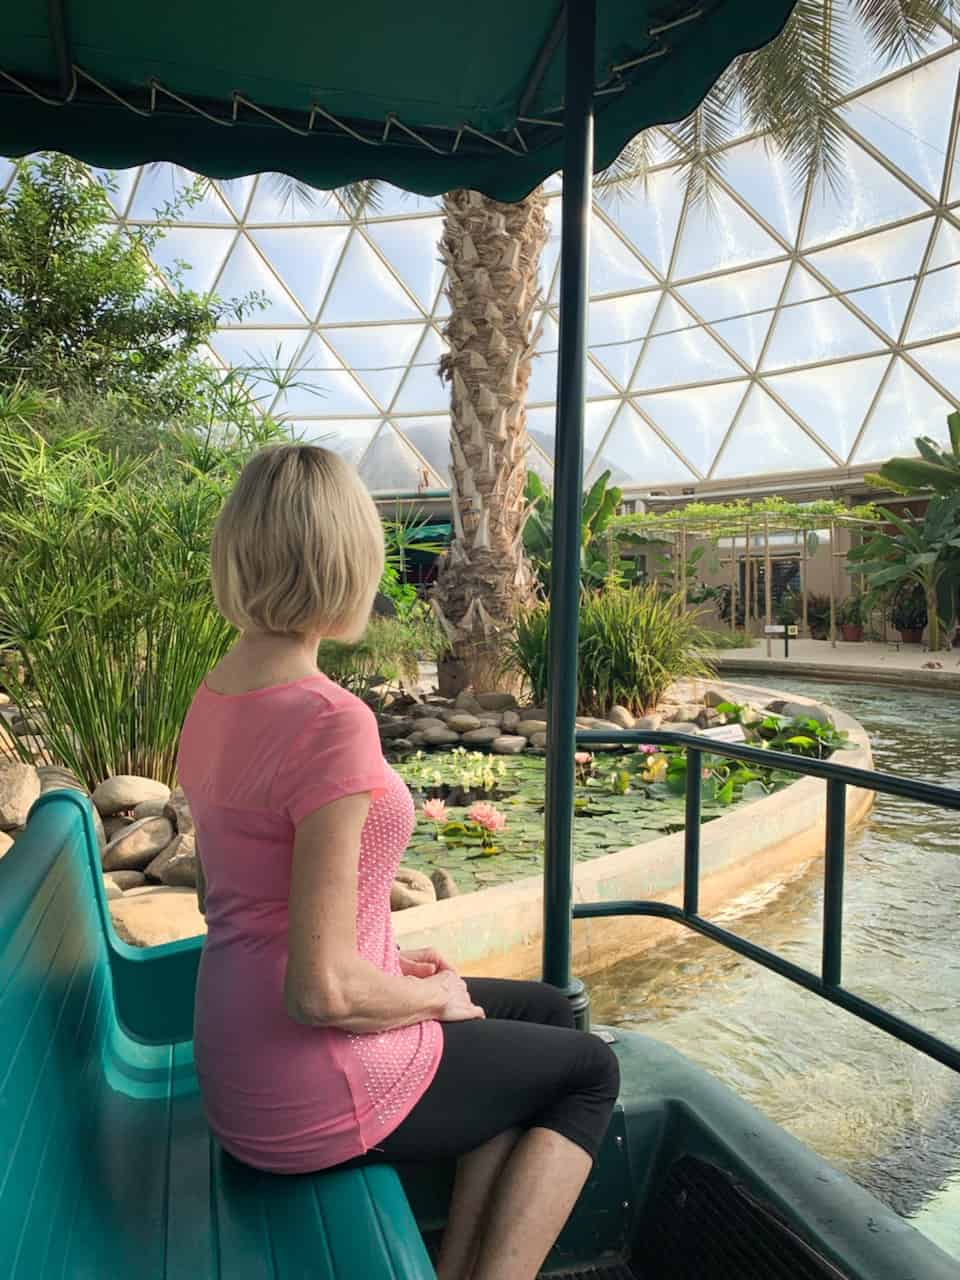
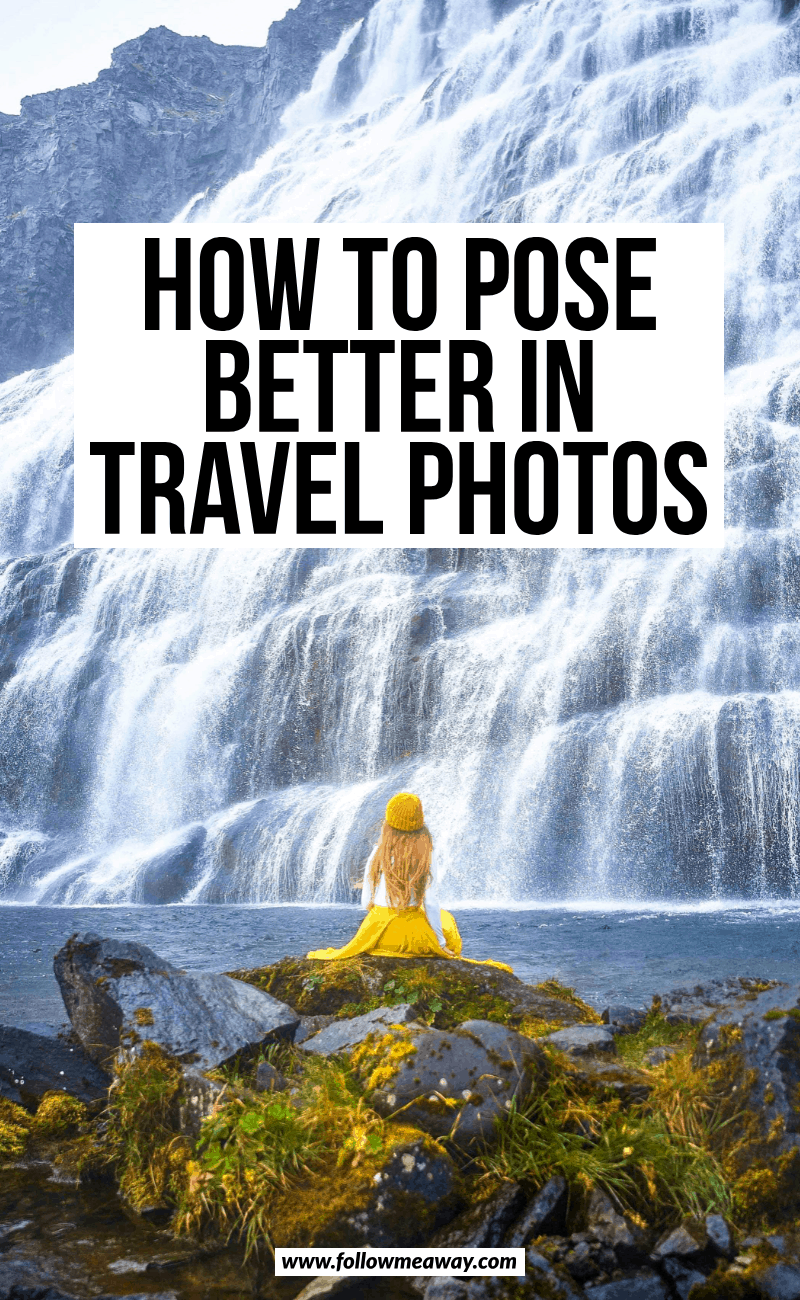
- Bonus: Sitting and looking away [if applicable]
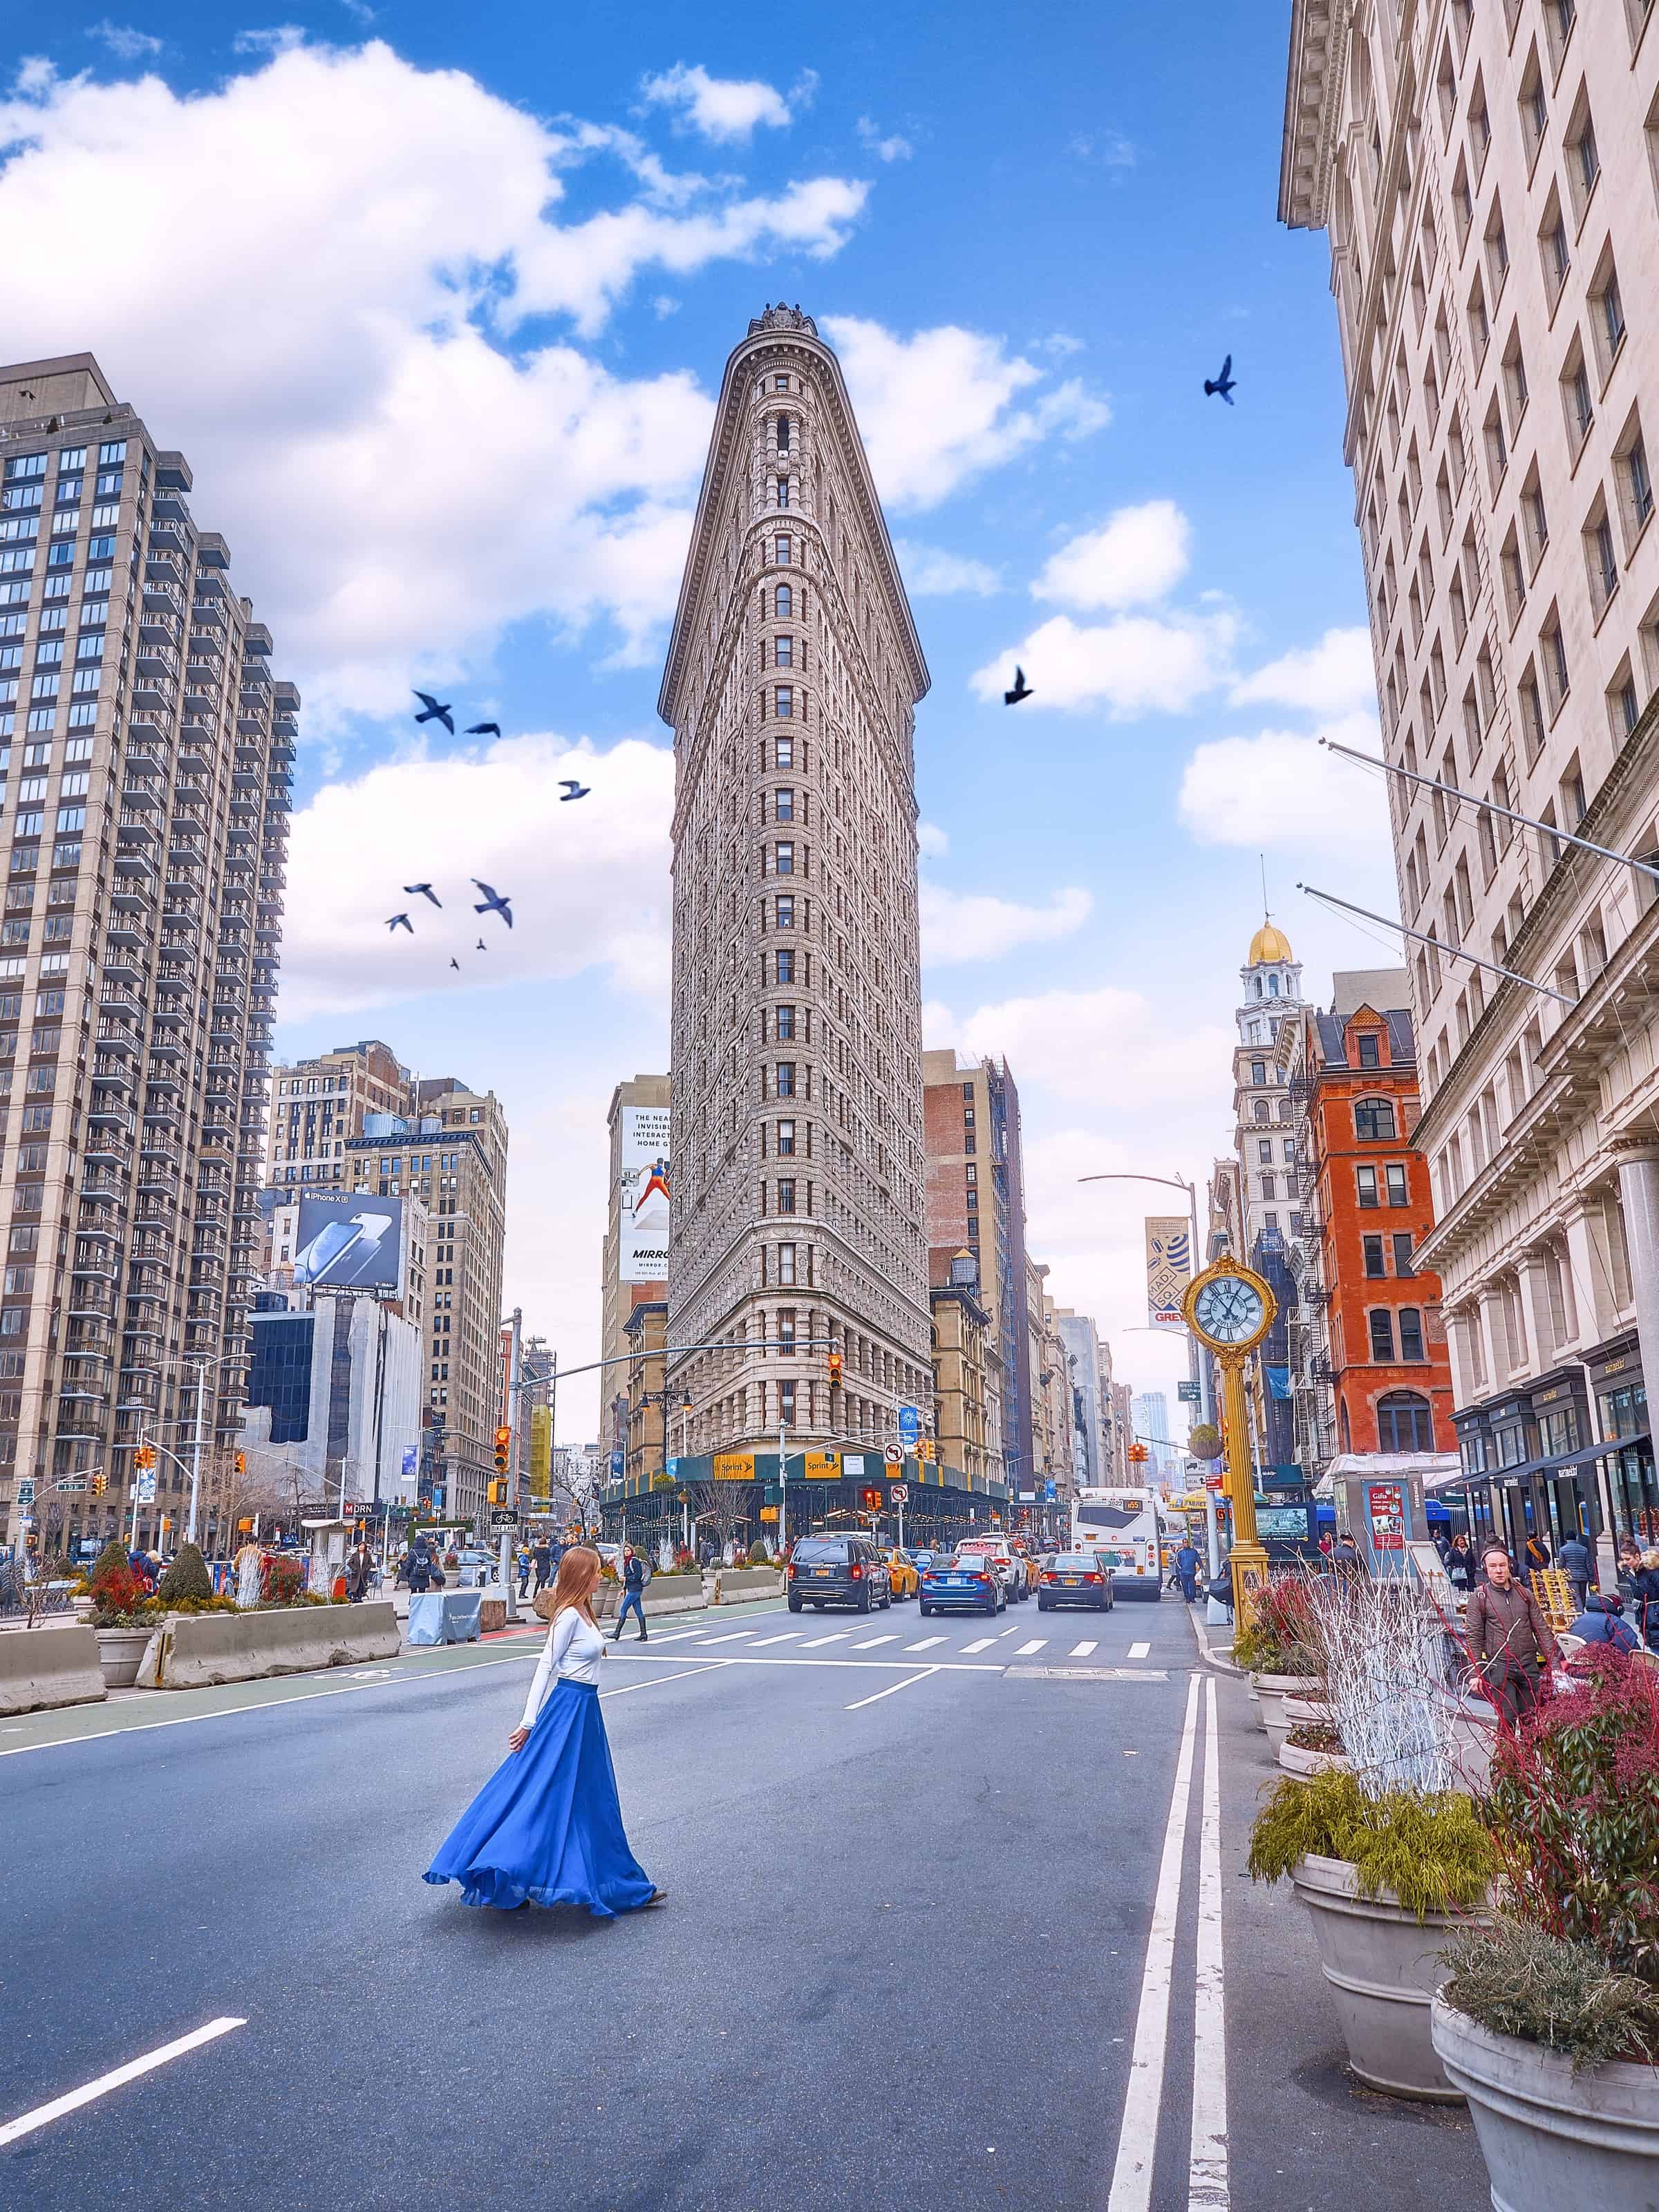
I have over 350 photos on Instagram alone for @followmeawaytravel [a fraction of the photos I have as a whole] and these 5 poses are what I do almost every single time. Doing the same thing over and over again allows you to get really good and really comfortable at doing it. It also allows you to figure out what works for you and what doesn’t work so you can modify each pose for you and your travel photography style.
You want to remember that in the end, the photo isn’t about YOU. It is about the background. You are an asset to the overall artistic nature of the image. You want to be an asset to the photo without taking away from it. You want to try and ADD something without taking anything away. This is why I do really simple poses with minimal crazy stuff going on from my end.
Since we are talking about travel photography I want to be an asset to the location and add an interesting element without it being an entire photoshoot of ME. I want the viewer to see themselves in place of me and imagine that they could travel to this location and see this site too.
A person in a photo allows the viewer to more easily identify with the person in the photo because they can see the scale of the location, the size of the waterfall etc in a way that an image without a person isn’t able to convey.
If you aren’t sure what “your pose” is, stalk Instagram for inspiration. Find someone who looks like you, your race, your build, your hair type, your ability and then see what pose they are doing.
Try to imitate it or take what you like and leave what you don’t like behind. “Save” photos on Instagram into a little gallery and when you go to that spot you will already have a few ideas for how people have posed before you.
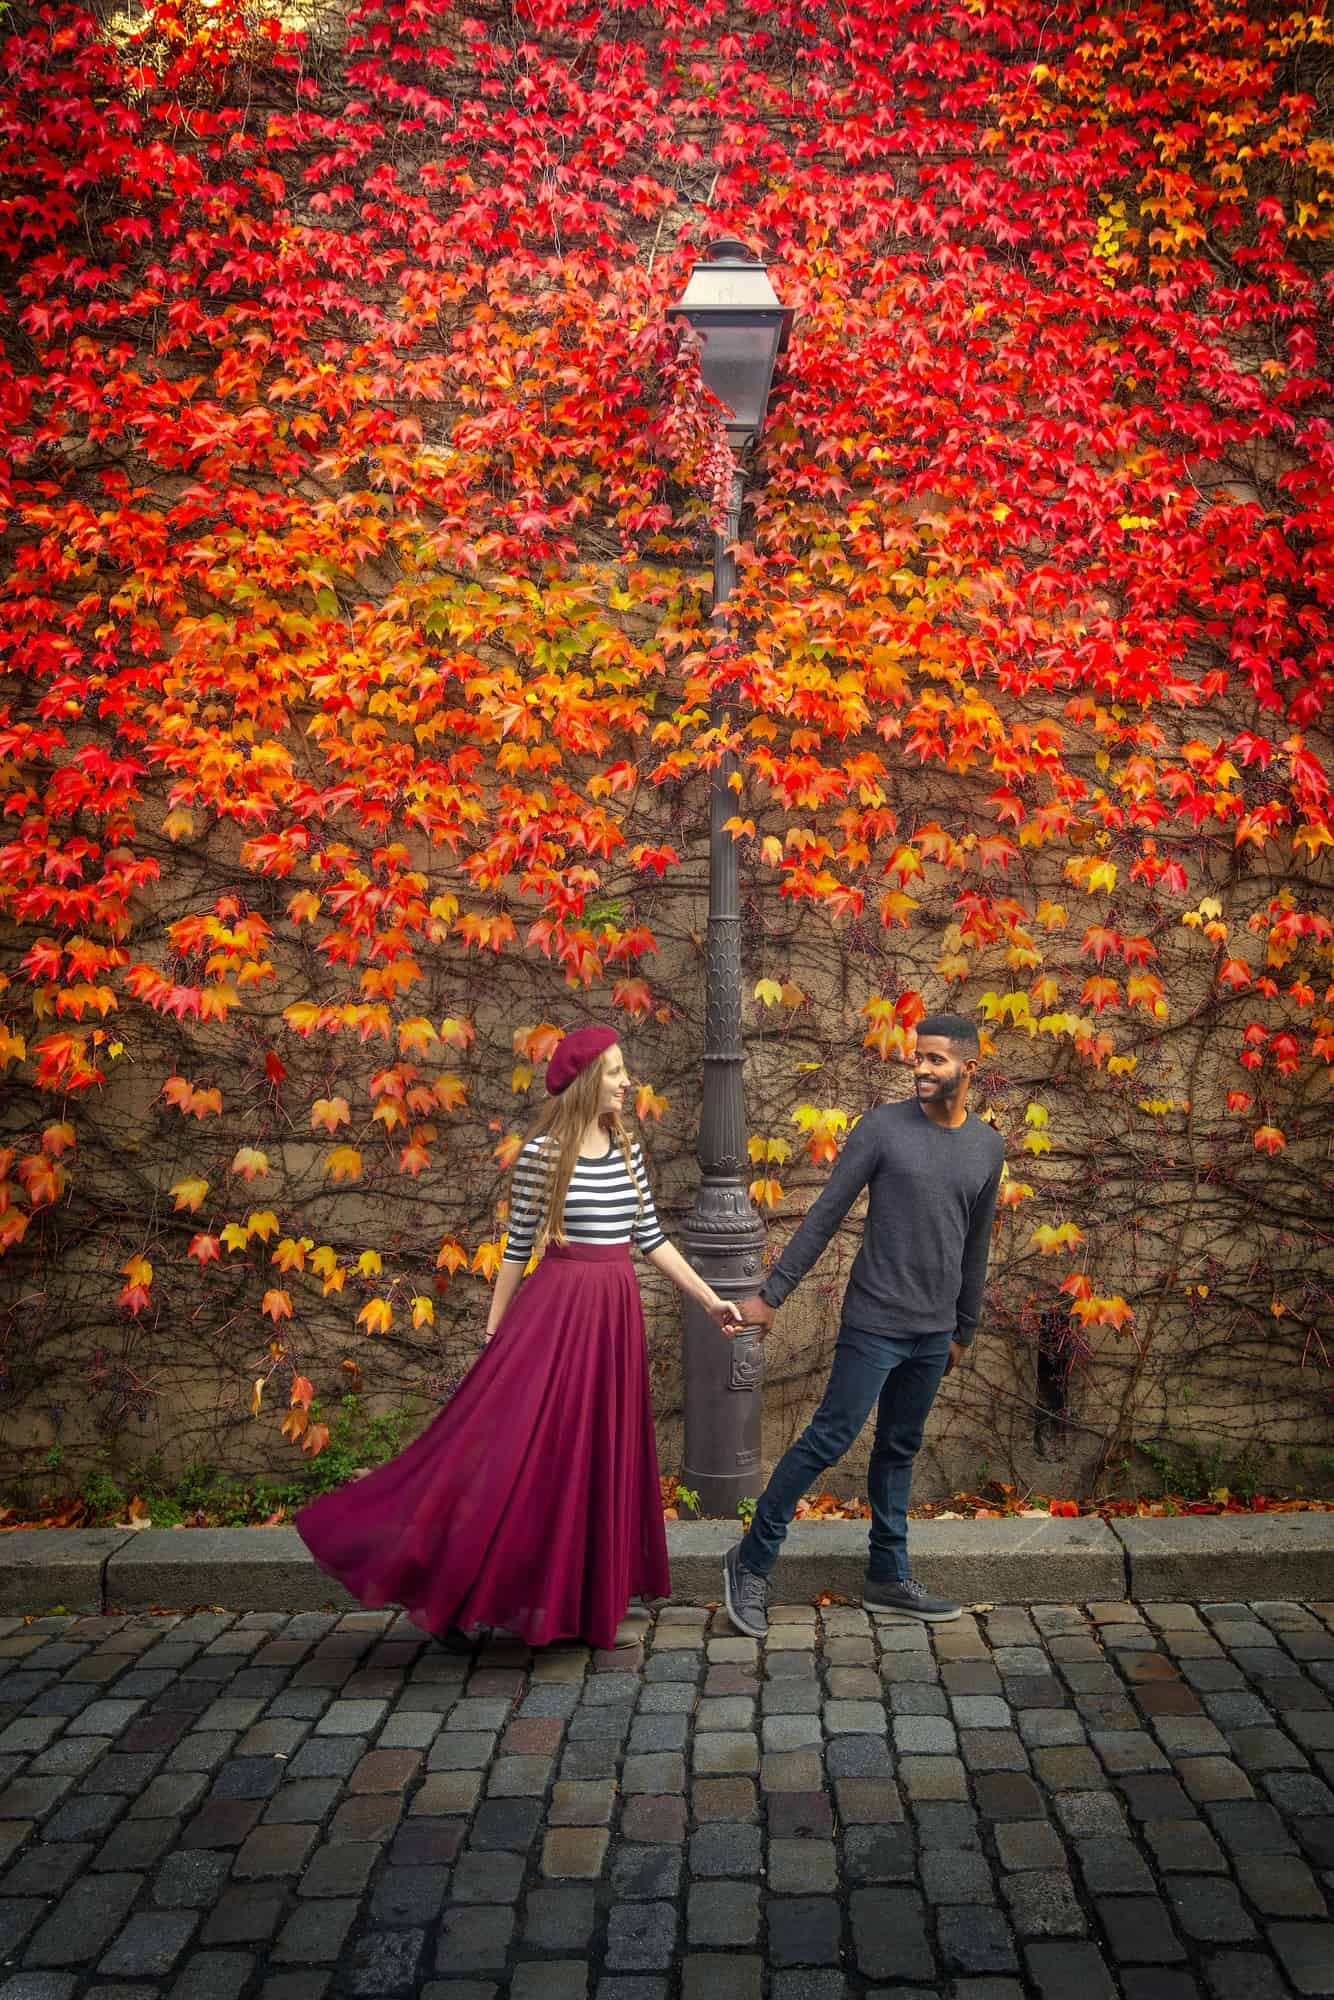
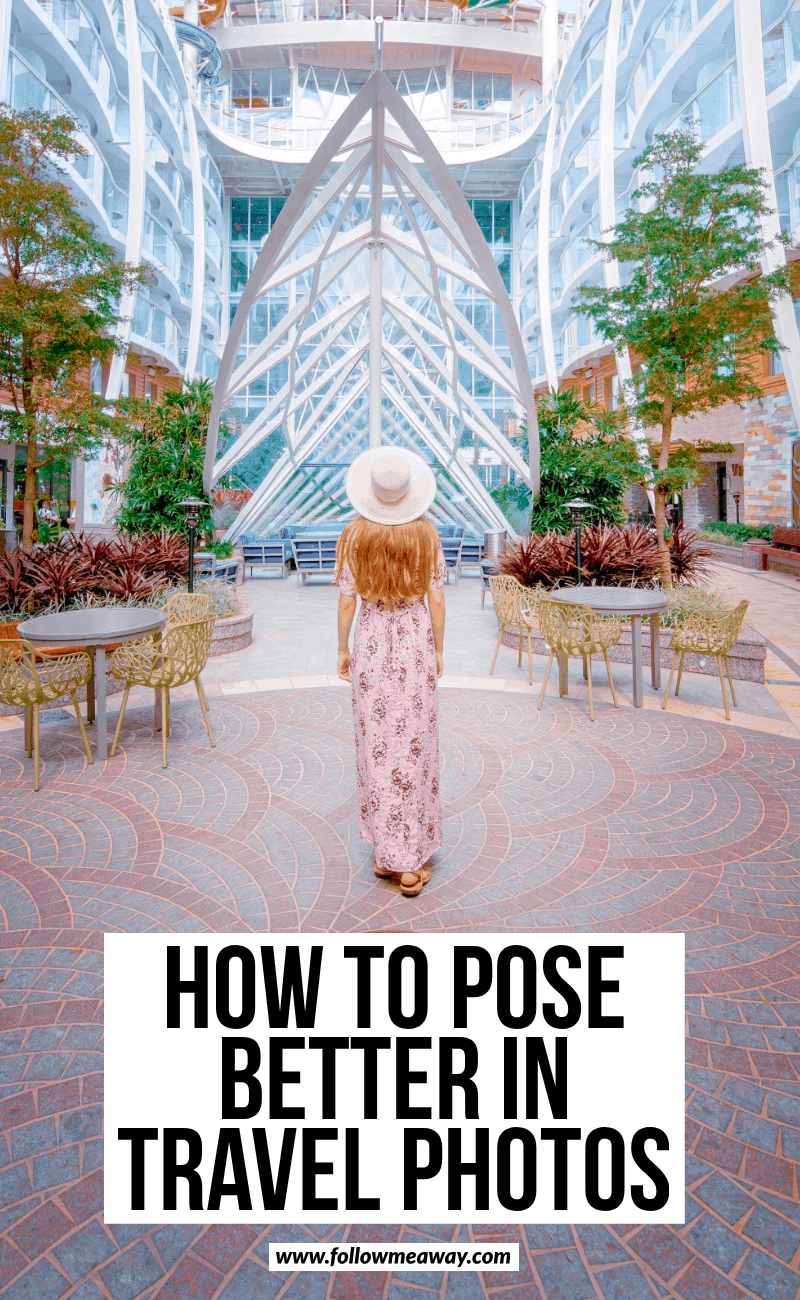
If you still aren’t sure, walking to/away from the camera, looking away from the camera, and facing away completely are all really easy poses to master. Just make sure you have “dreamy” arms that are slightly tense even if you are wearing jeans and a hoodie.
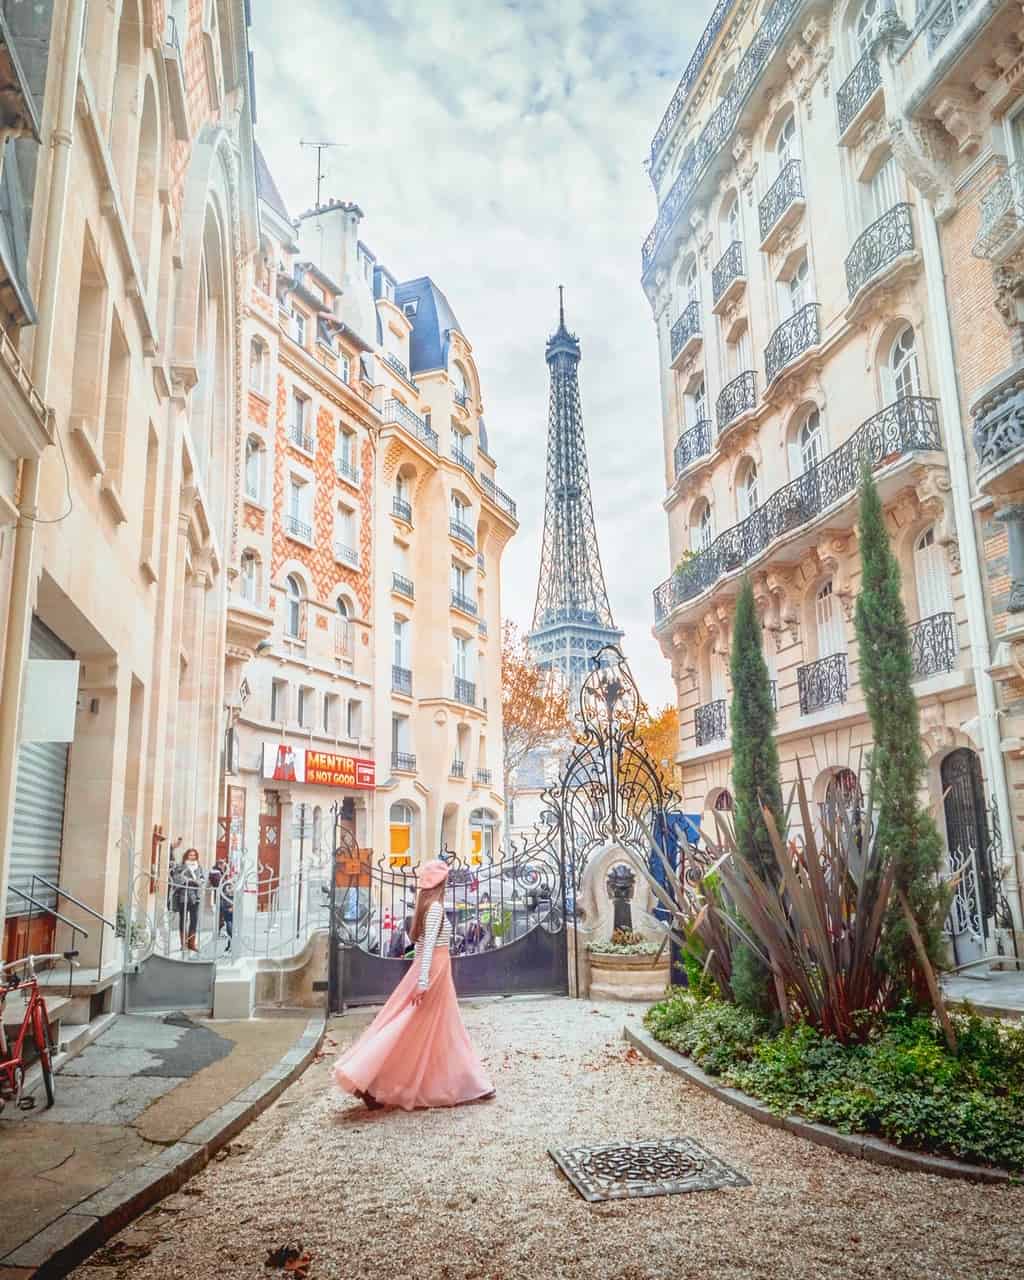
How Do You Get The Skirt/Dress To Swish And Is It A Specific Fabric?
YES YES YES! It IS a specific fabric. Some dresses and skirts are GREAT and some are really crappy. My all-time favorite dress for travel Instagram photos is this Milumia Women’s Button Up Maxi Dress.
I bought three of them for India and now own like, I don’t know, at least ten in different fabrics and styles. It makes for a great “flow” in travel photos on Instagram and is affordable and lightweight. Seriously AMAZING.
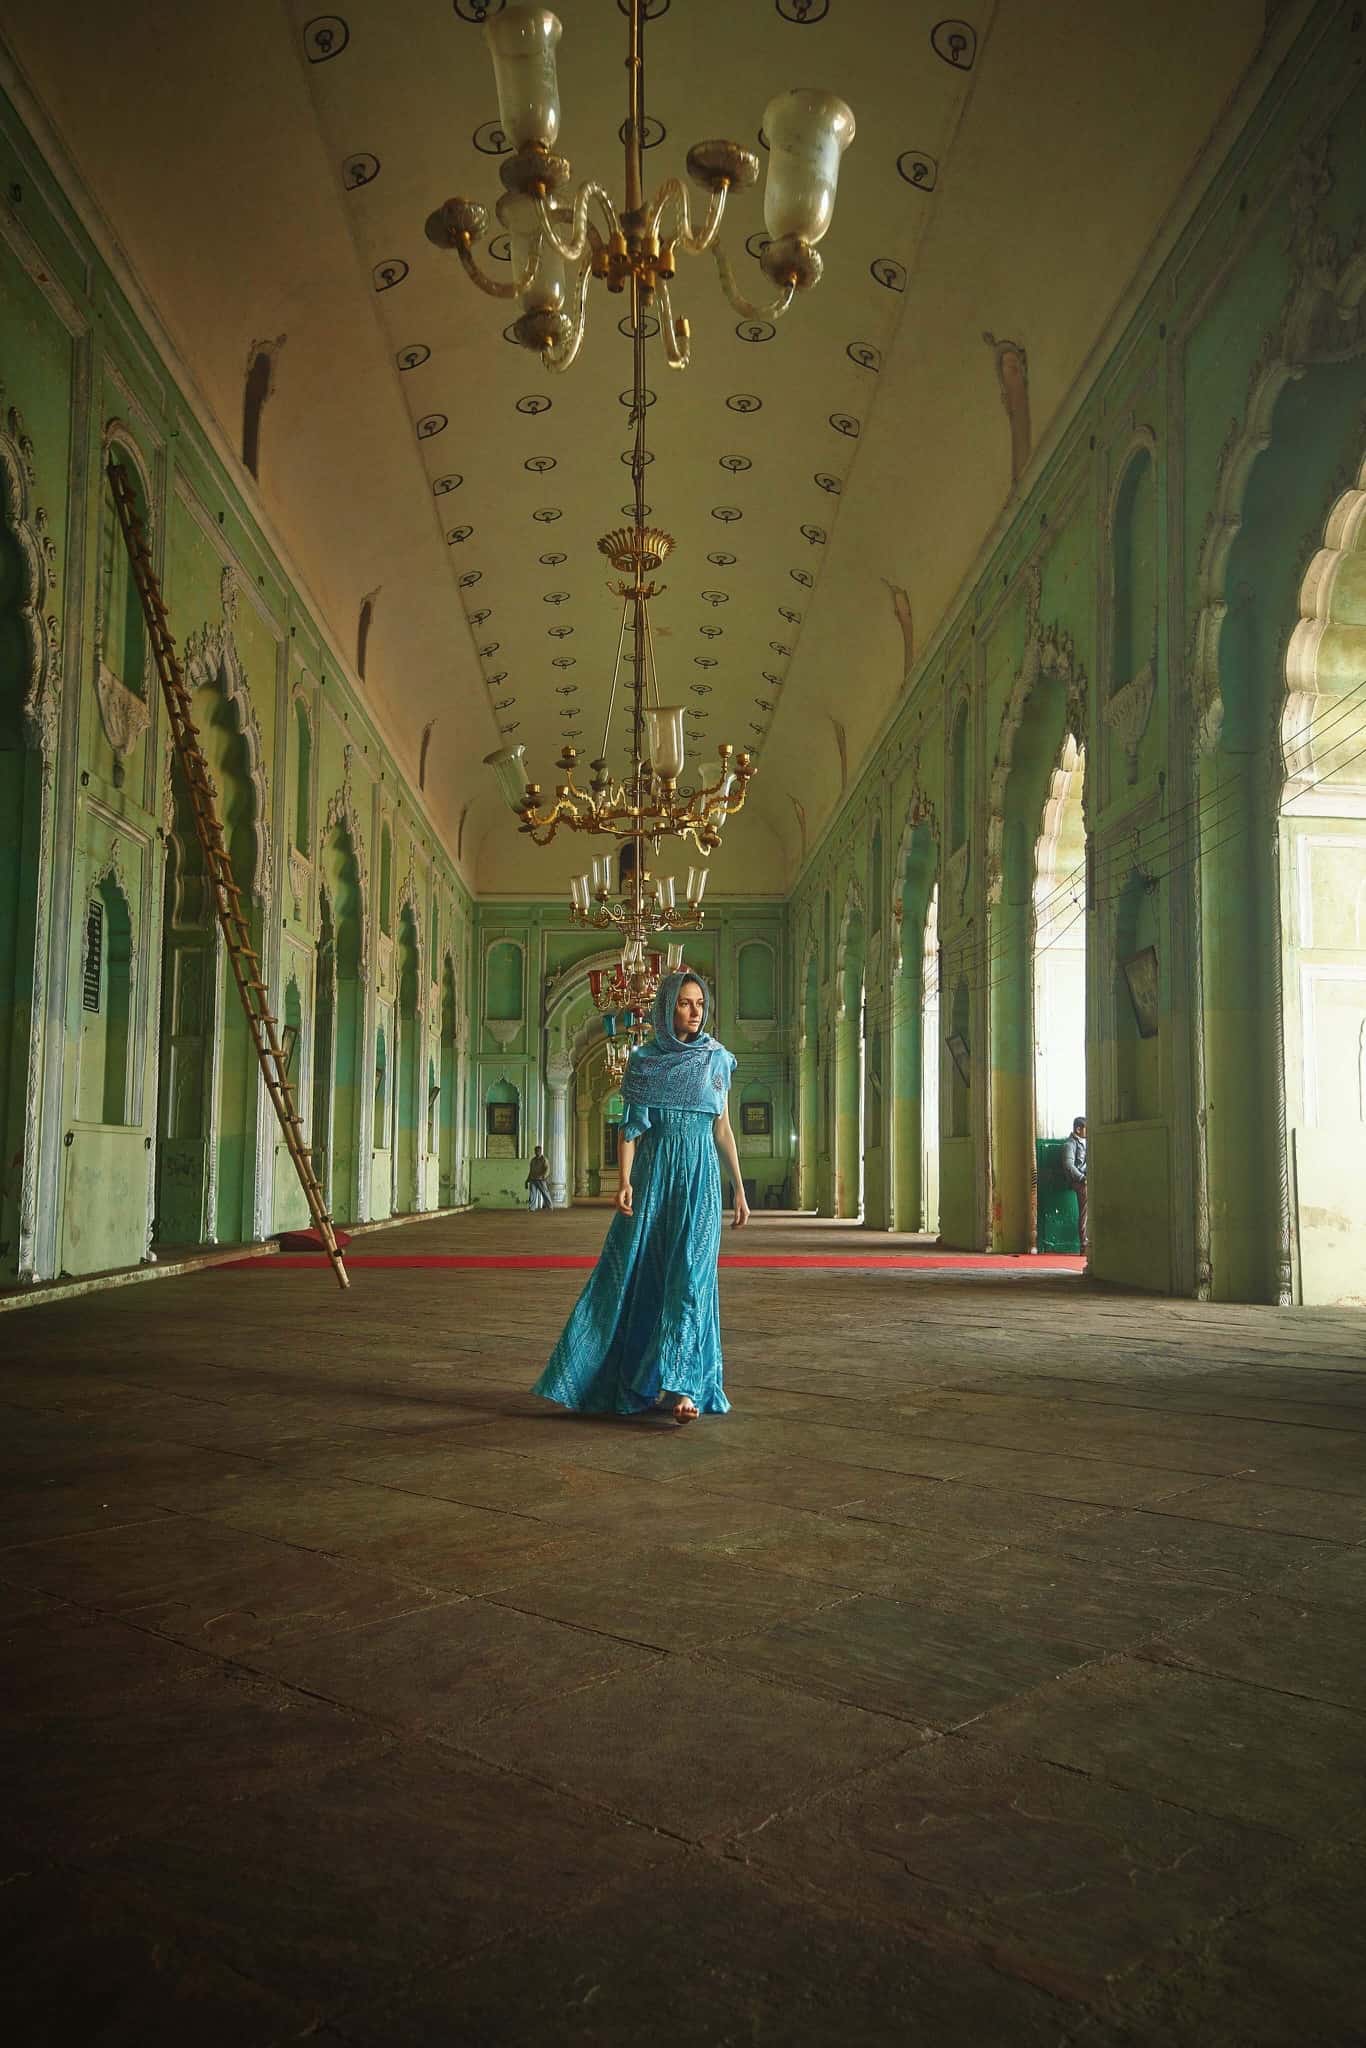
As far as skirts go, I own this skirt from Morning Lavender in two colors [yellow and pink] and had a blue version custom made by a local designer. The material is chiffon and the skirt is hefty in price [almost $100] but it is so worth it because the quality is great.
If you don’t want to pay as much this chiffon skirt from Amazon is used by a lot of photographers and still looks great and flows in travel photos on Instagram.
I ordered it in yellow and a Morning Lavender one in yellow before my trip to Iceland to compare and while it was decent, I went with the ML one because I don’t like a stretch waist [I prefer a zipper].
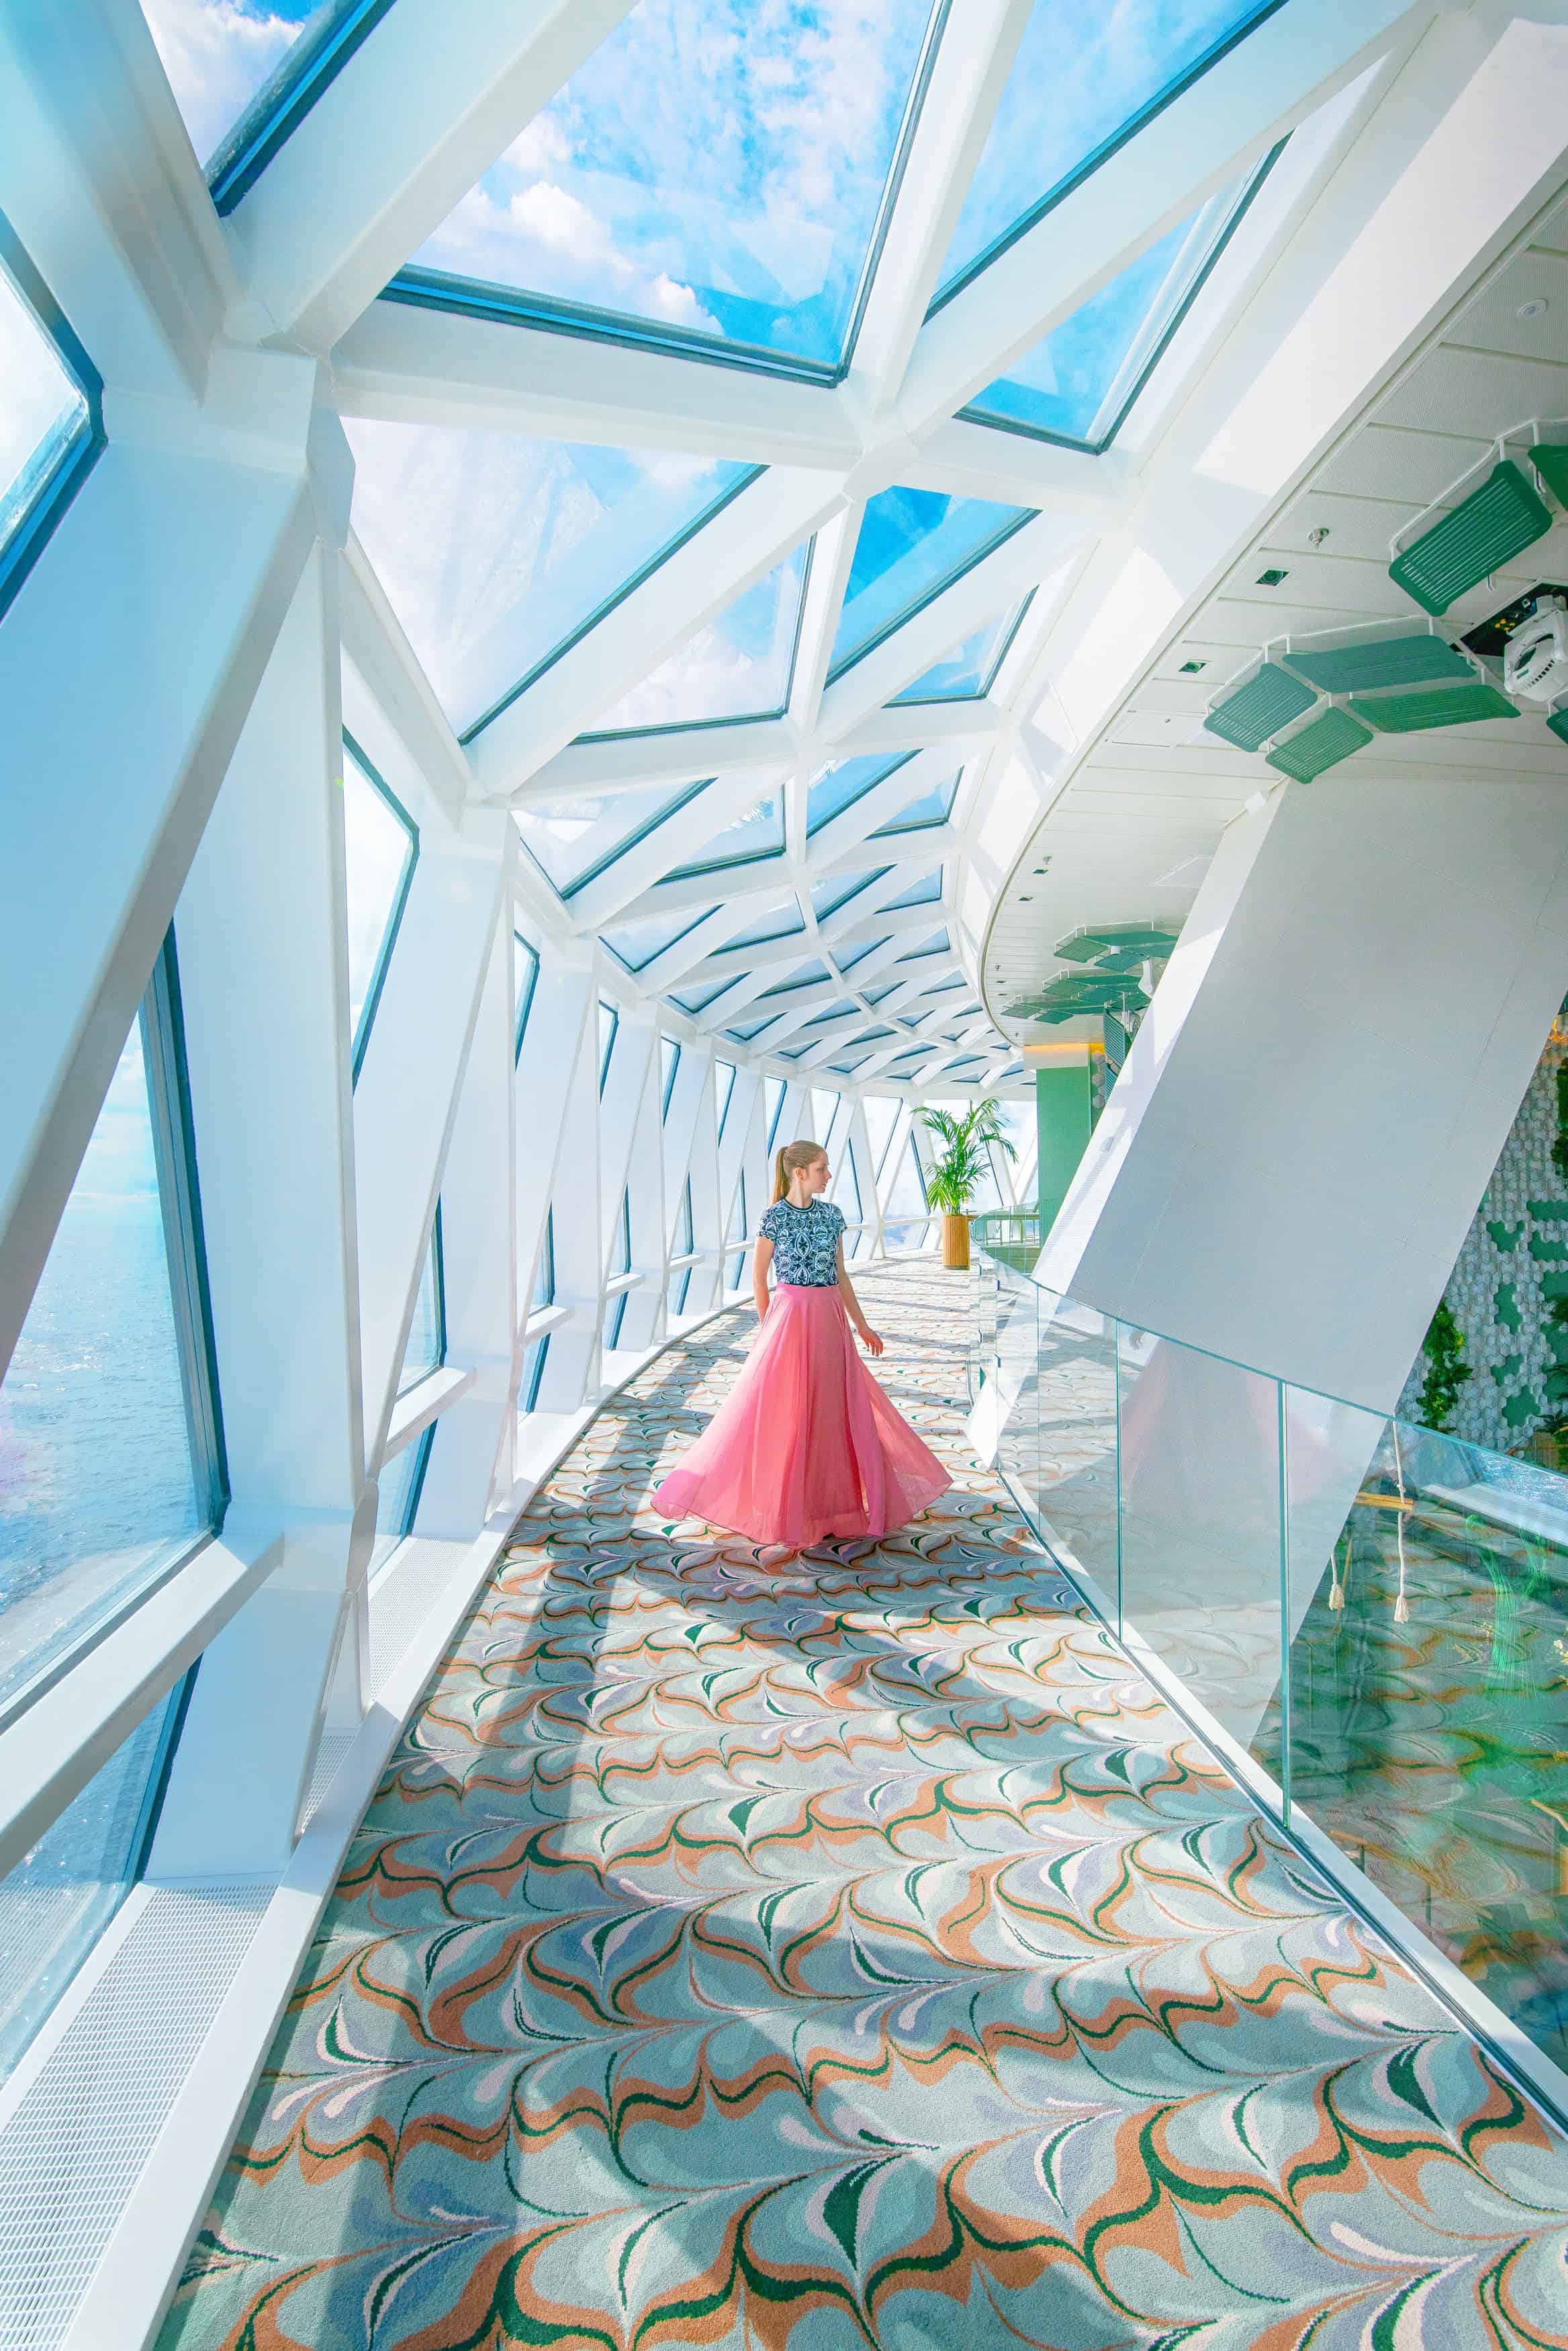
The short answer is YES FABRIC MATTERS when it comes to getting a nice flowy look. You want to make sure that the material is not heavy and chiffon and my original Amazon dress suggestion both tick that box. Since the fabric is “lightweight” it will ‘hang” in the air longer than a thicker fabric.
This means that if you “throw it” or twirl around in it, it will take slightly longer to float back down to earth which is when you want to click the photo.
When choosing a dress for travel photos on Instagram, you also want to make sure that it has A LOT of fabric that is lightweight. If there is only a little bit of fabric and the dress is tighter, you won’t get that dreamy flowy look. You want a skirt or dress that is more billowy with a lot of fabric to achieve that look.
How I Do It:
In order to get a good swoosh in my travel photos, I will grab the front side of my leg and then “throw” the fabric back while quickly putting my hand back in front of me. If you have a dress with a lightweight material that is billowy, this will ensure that the material will “hang” in the air for a split second while you take the photo.
Another way to get a good “swoosh” is to spin around once while holding the dress or skirt out with both hands and then immediately stop and let the skirt still move while you are stopped.
This provides the look of “wind” or motion while there really isn’t any to begin with because all you did was spin once and then stop. My mom was skeptical about this but after doing it once with one of my chiffon skirts she is now a believer.
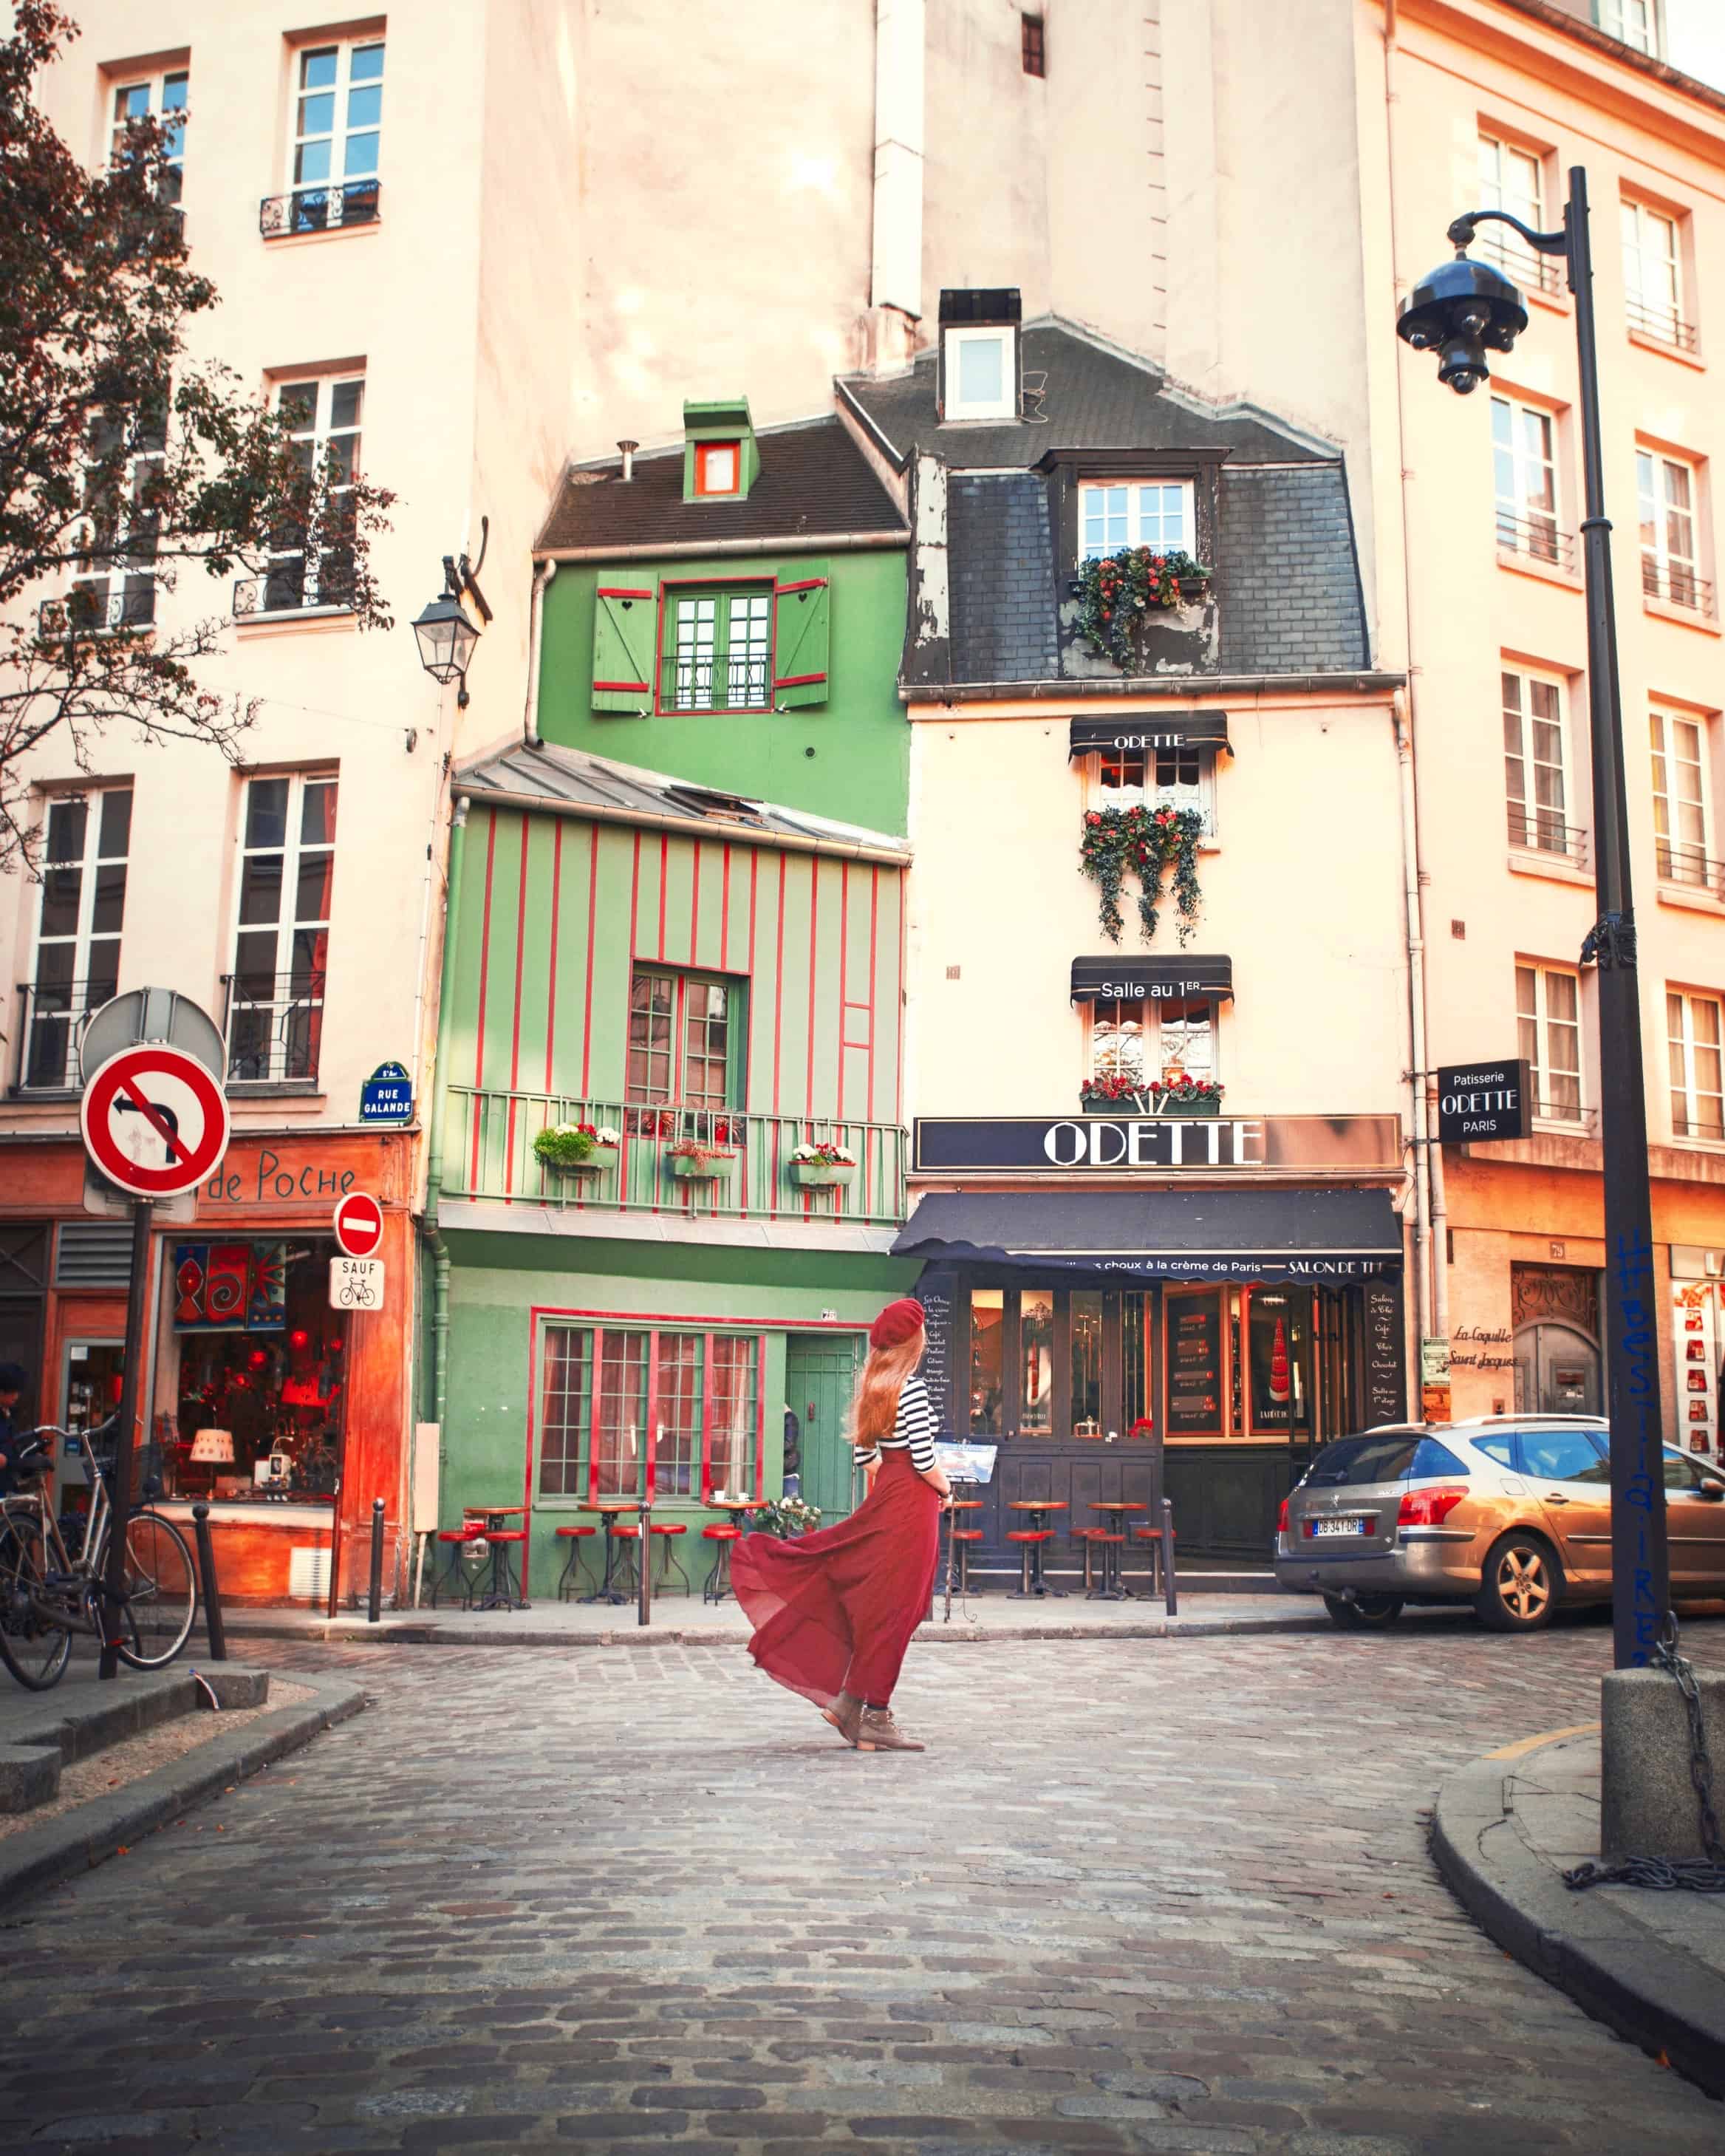
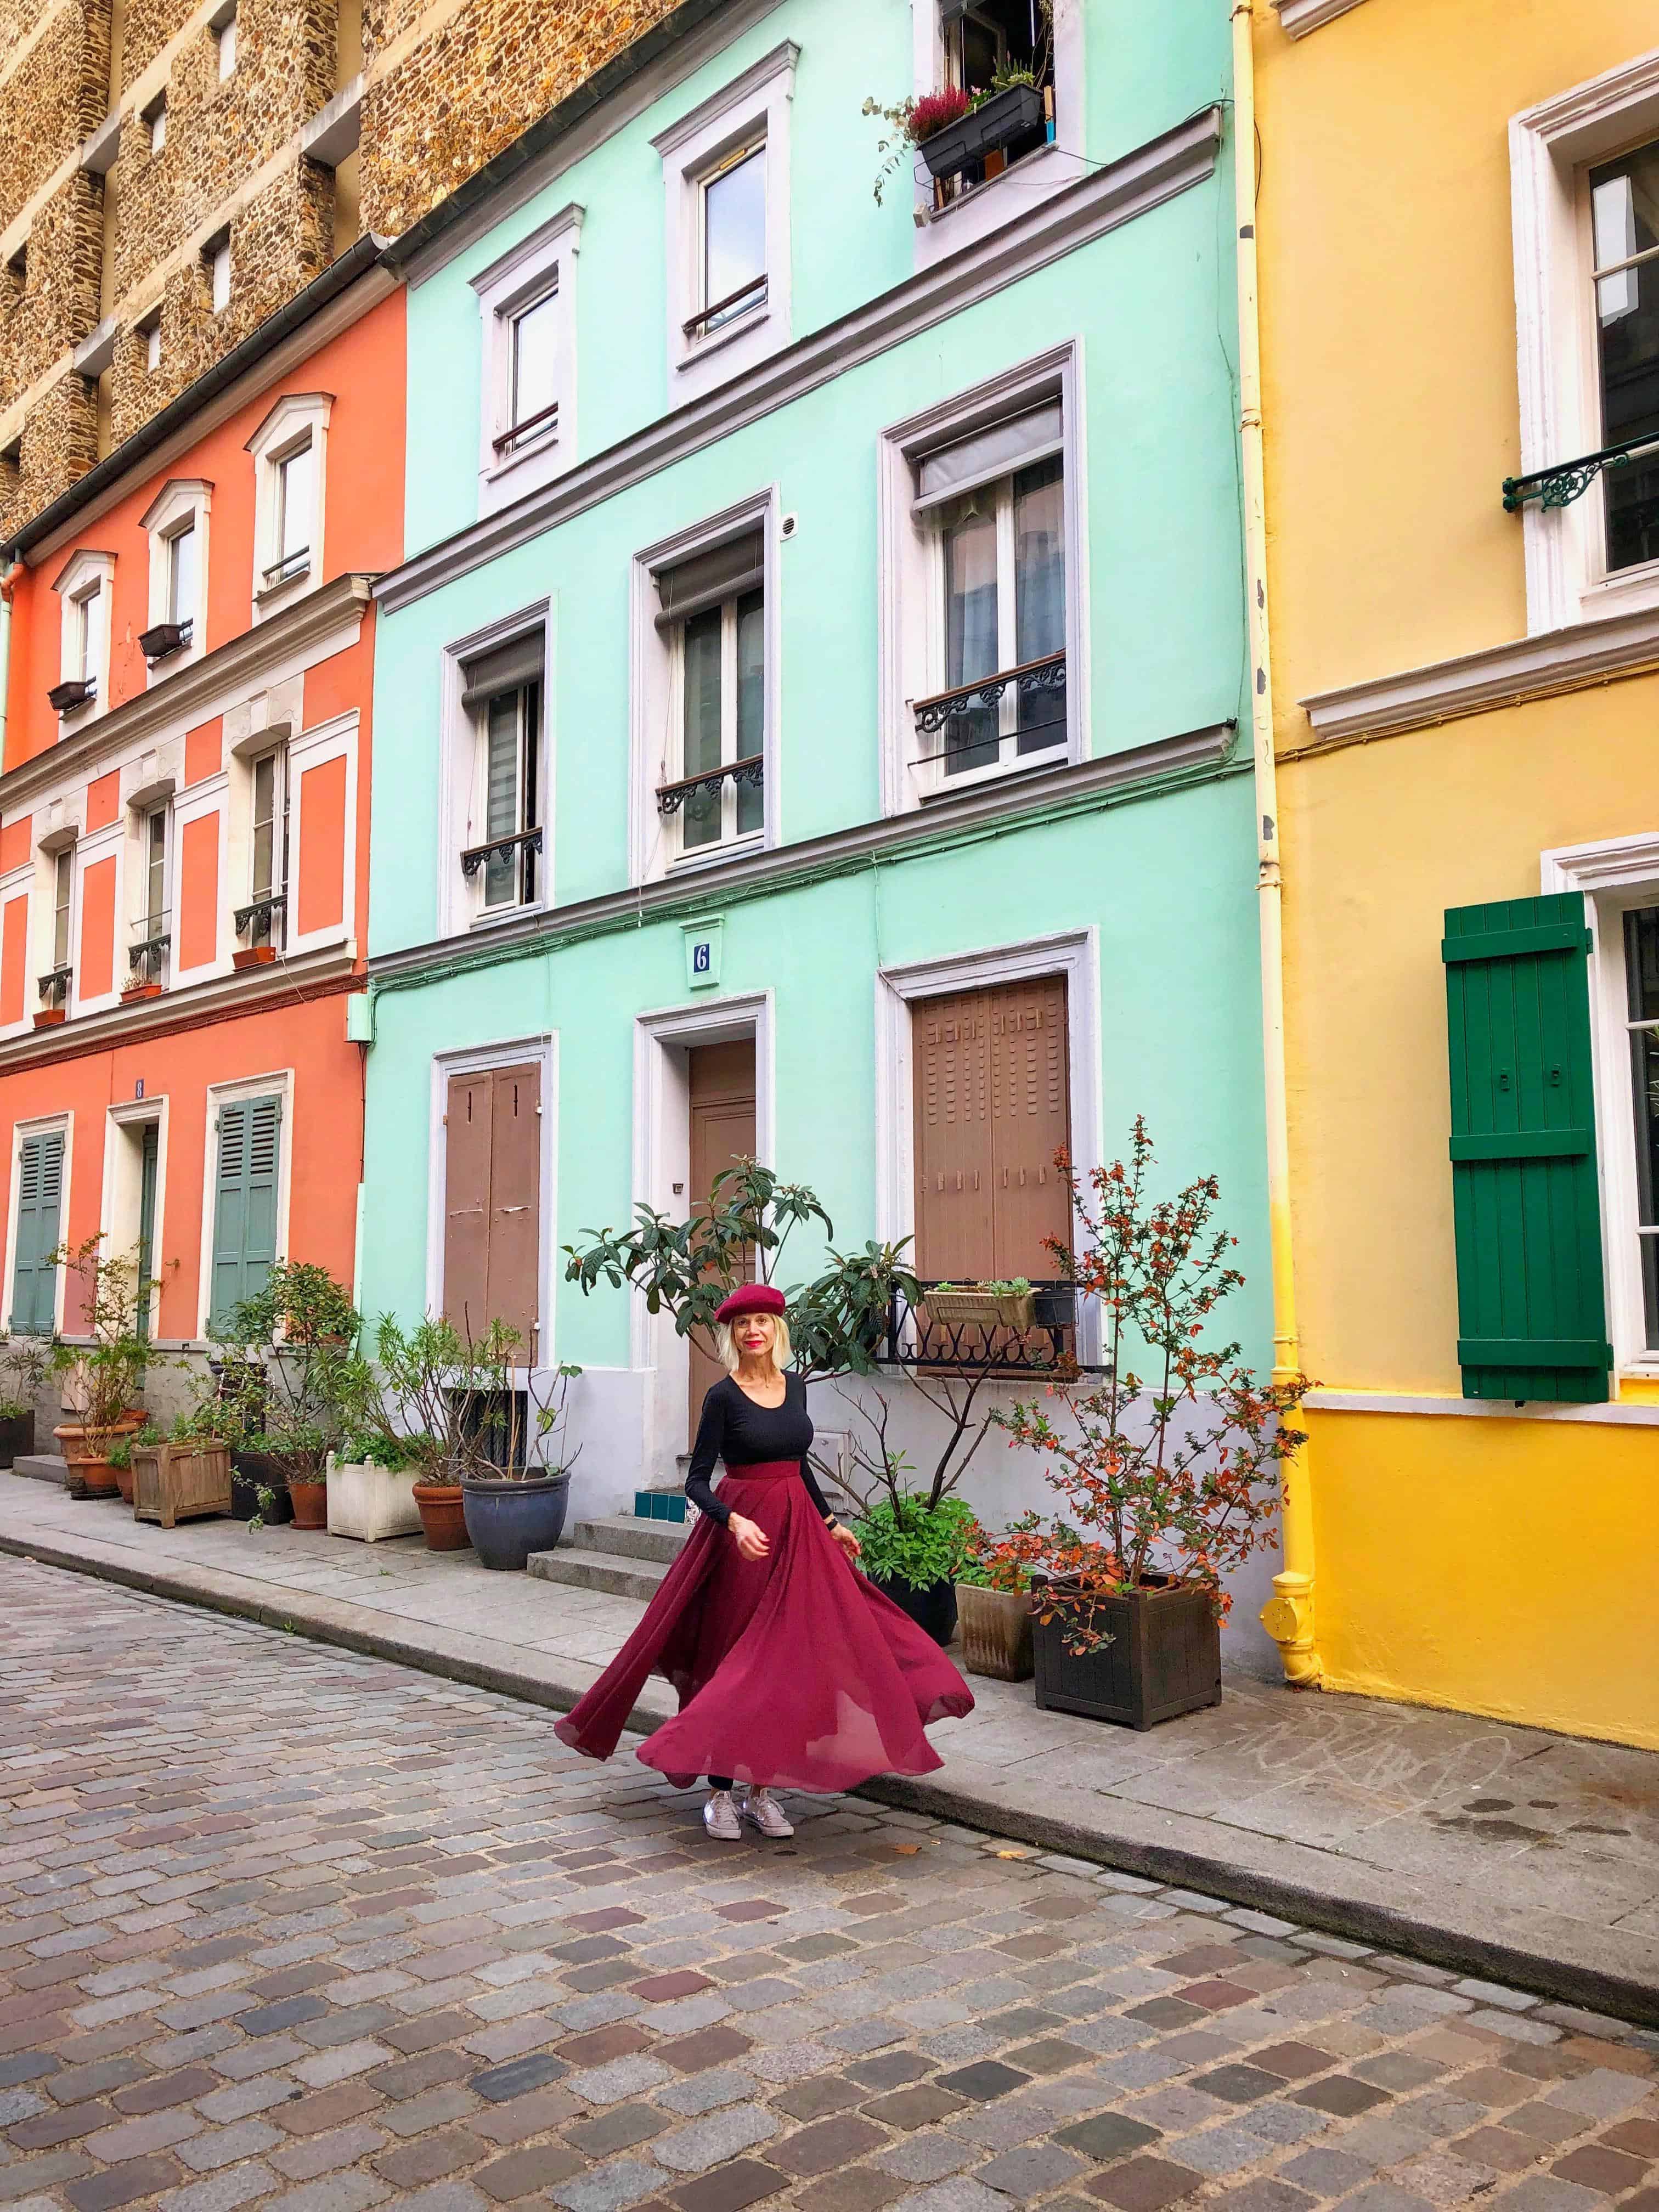
If you want to get a good flowy look while walking, gently pick up the front right or left of the skirt near your thigh and then hold it in the air while you take a few steps and let the wind catch hold of the skirt.
Then drop it and hold your pose so that it falls down while you are stopped. Just make sure to hurry and put your hands in a good pose if you don’t want it to look like this was your tactic.
Finally, make sure your shutter is on burst mode so you can capture every level of the skirt “falling” as you walk or twirl. This will help you have options. Make sure you are smiling or having a natural looking “calm” face when you are doing these movements.
So to recap getting a flowy look in a skirt/dress:
- Fabric matters. You want billowy lightweight fabric. No tight dresses.
- Spinning around and stopping is the easiest way to get a floaty look
- Throwing the skirt out and quickly posing is the second easiest way
- Make sure to have your shutter on burst mode to capture movement
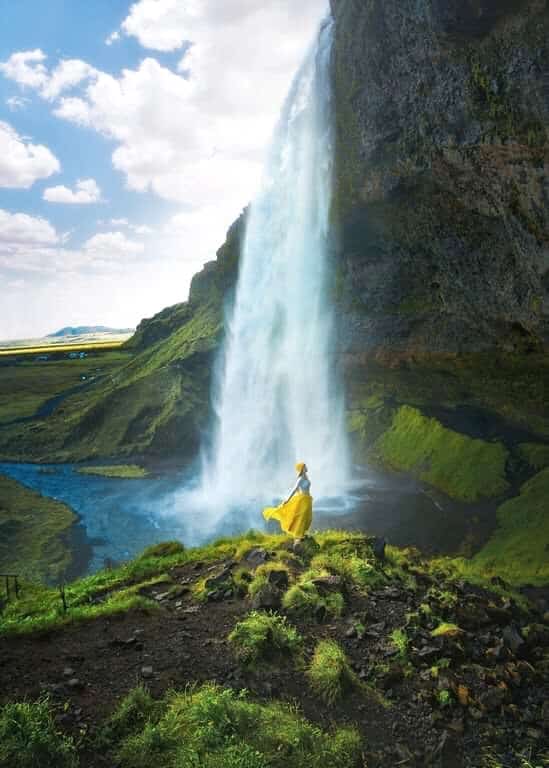
Any Tips For Posing Without A Skirt That Isn’t Looking Away?
Honestly, not really! I do pretty much the same thing I do when wearing a skirt as I do when I am in jeans or pants. Lately, I have worn a skirt for everything possible because I like the look better and it just does better.
That being said, my posing tips for wearing pants run the same! You want to make sure you are looking away from the camera [my preference for myself] and I want to have “life” in my arms and legs.
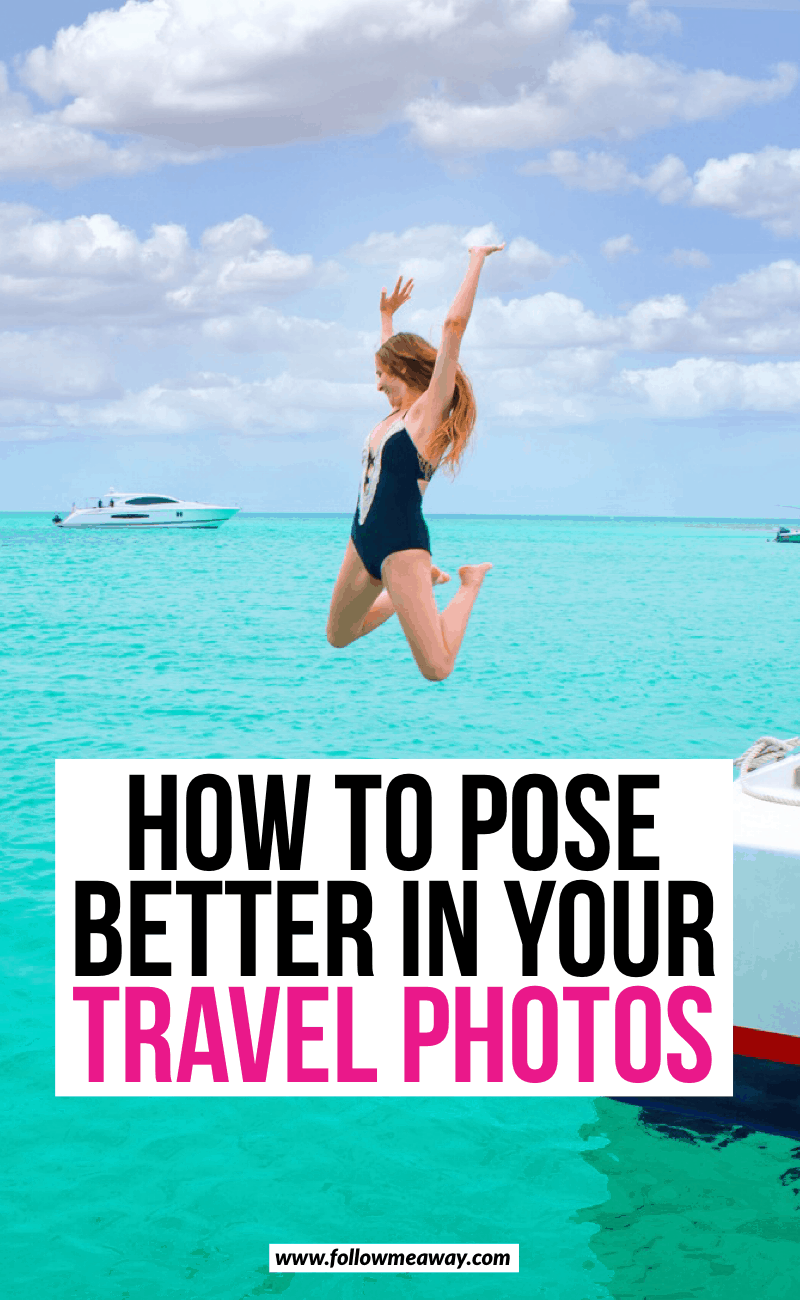
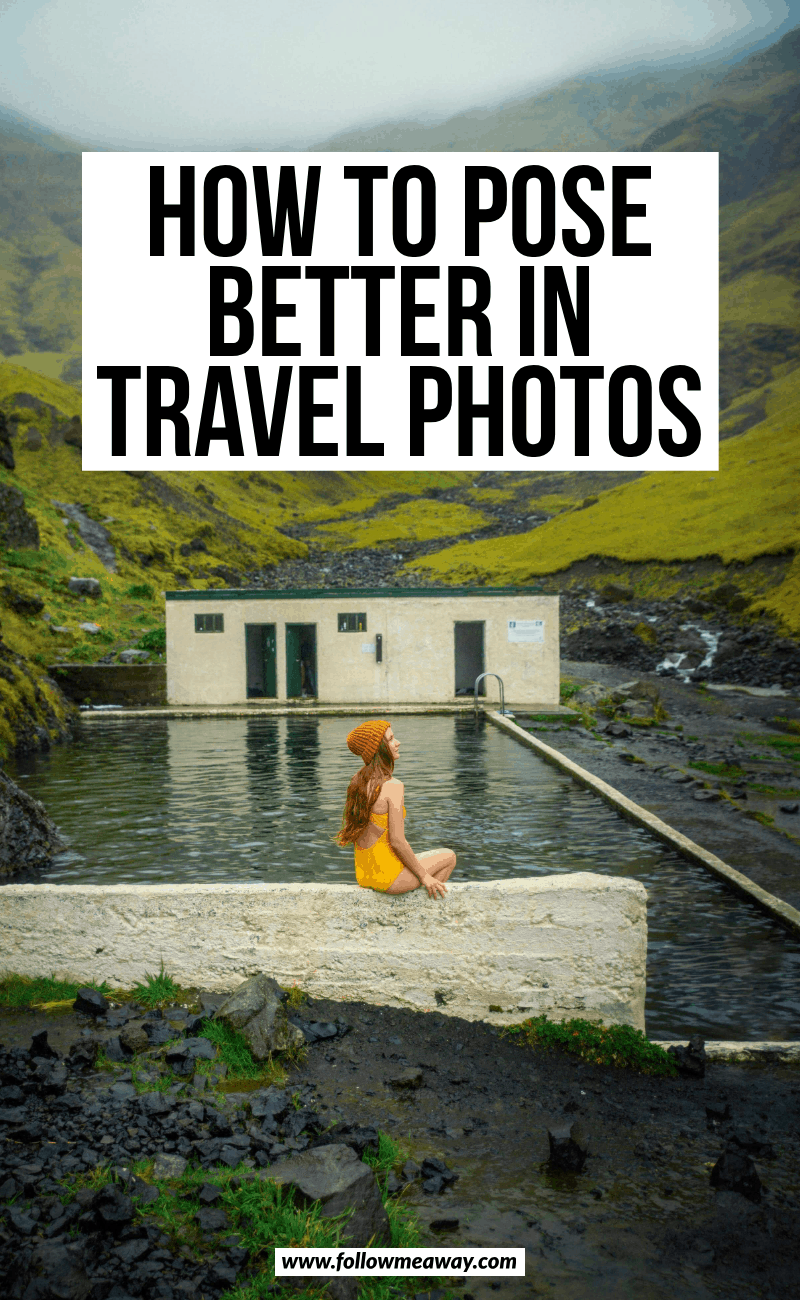
If I am wearing a swimsuit and everything is revealed, I still try and have “life” in every aspect of my body. My legs are slightly tense as are my arms. If you can hold onto something, feel free to do that.
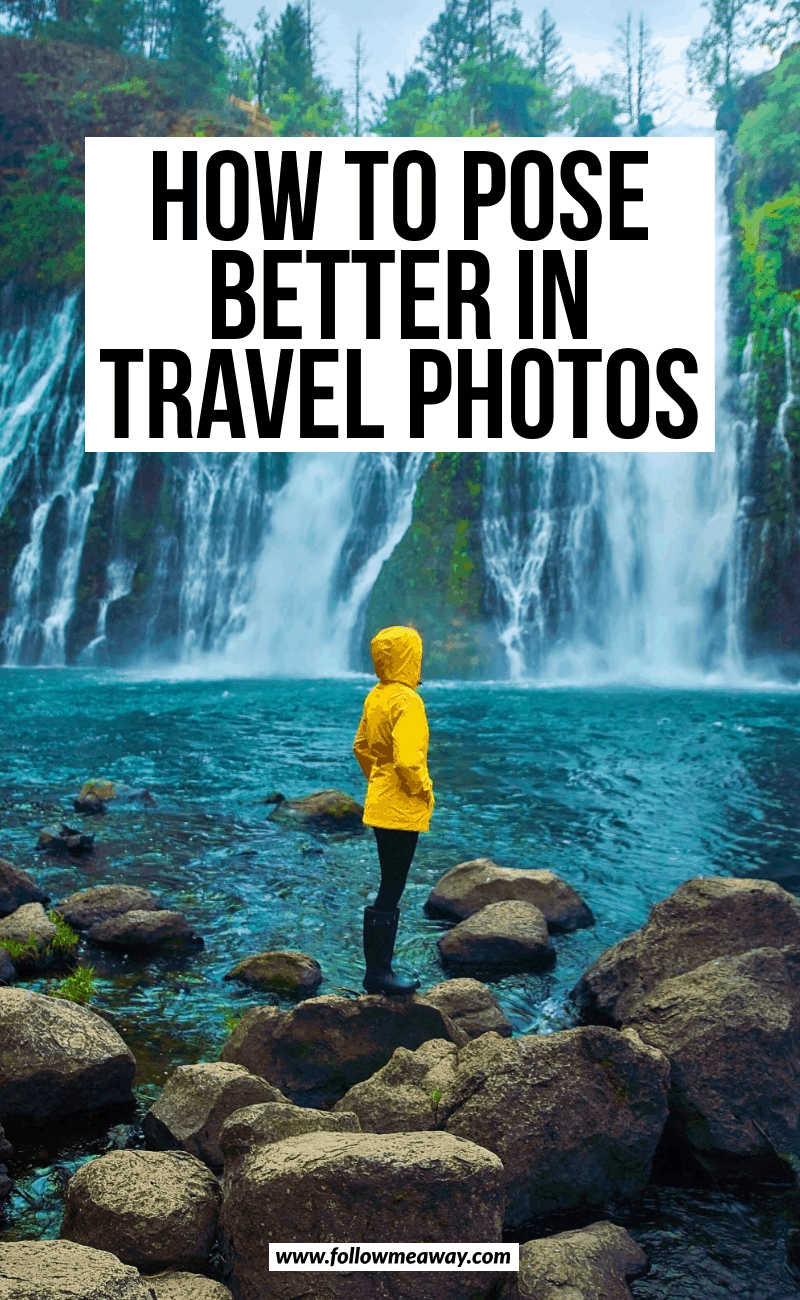
If you are wearing a jacket, put your hands in the pockets. I love putting my hands in the pockets if I am wearing a jacket for travel.
Finally, you can do the “sideways” walking across the frame shot or “walking away” from the camera shot in pants too. Just make sure to not have any dead arms. Or you can simply stand and face away into the landscape.
Angle your body sideways towards the camera [your hip is facing the camera] and then angle your head completely away from the camera. This is a different angle than simply having your back facing the camera and looks good in pants too.
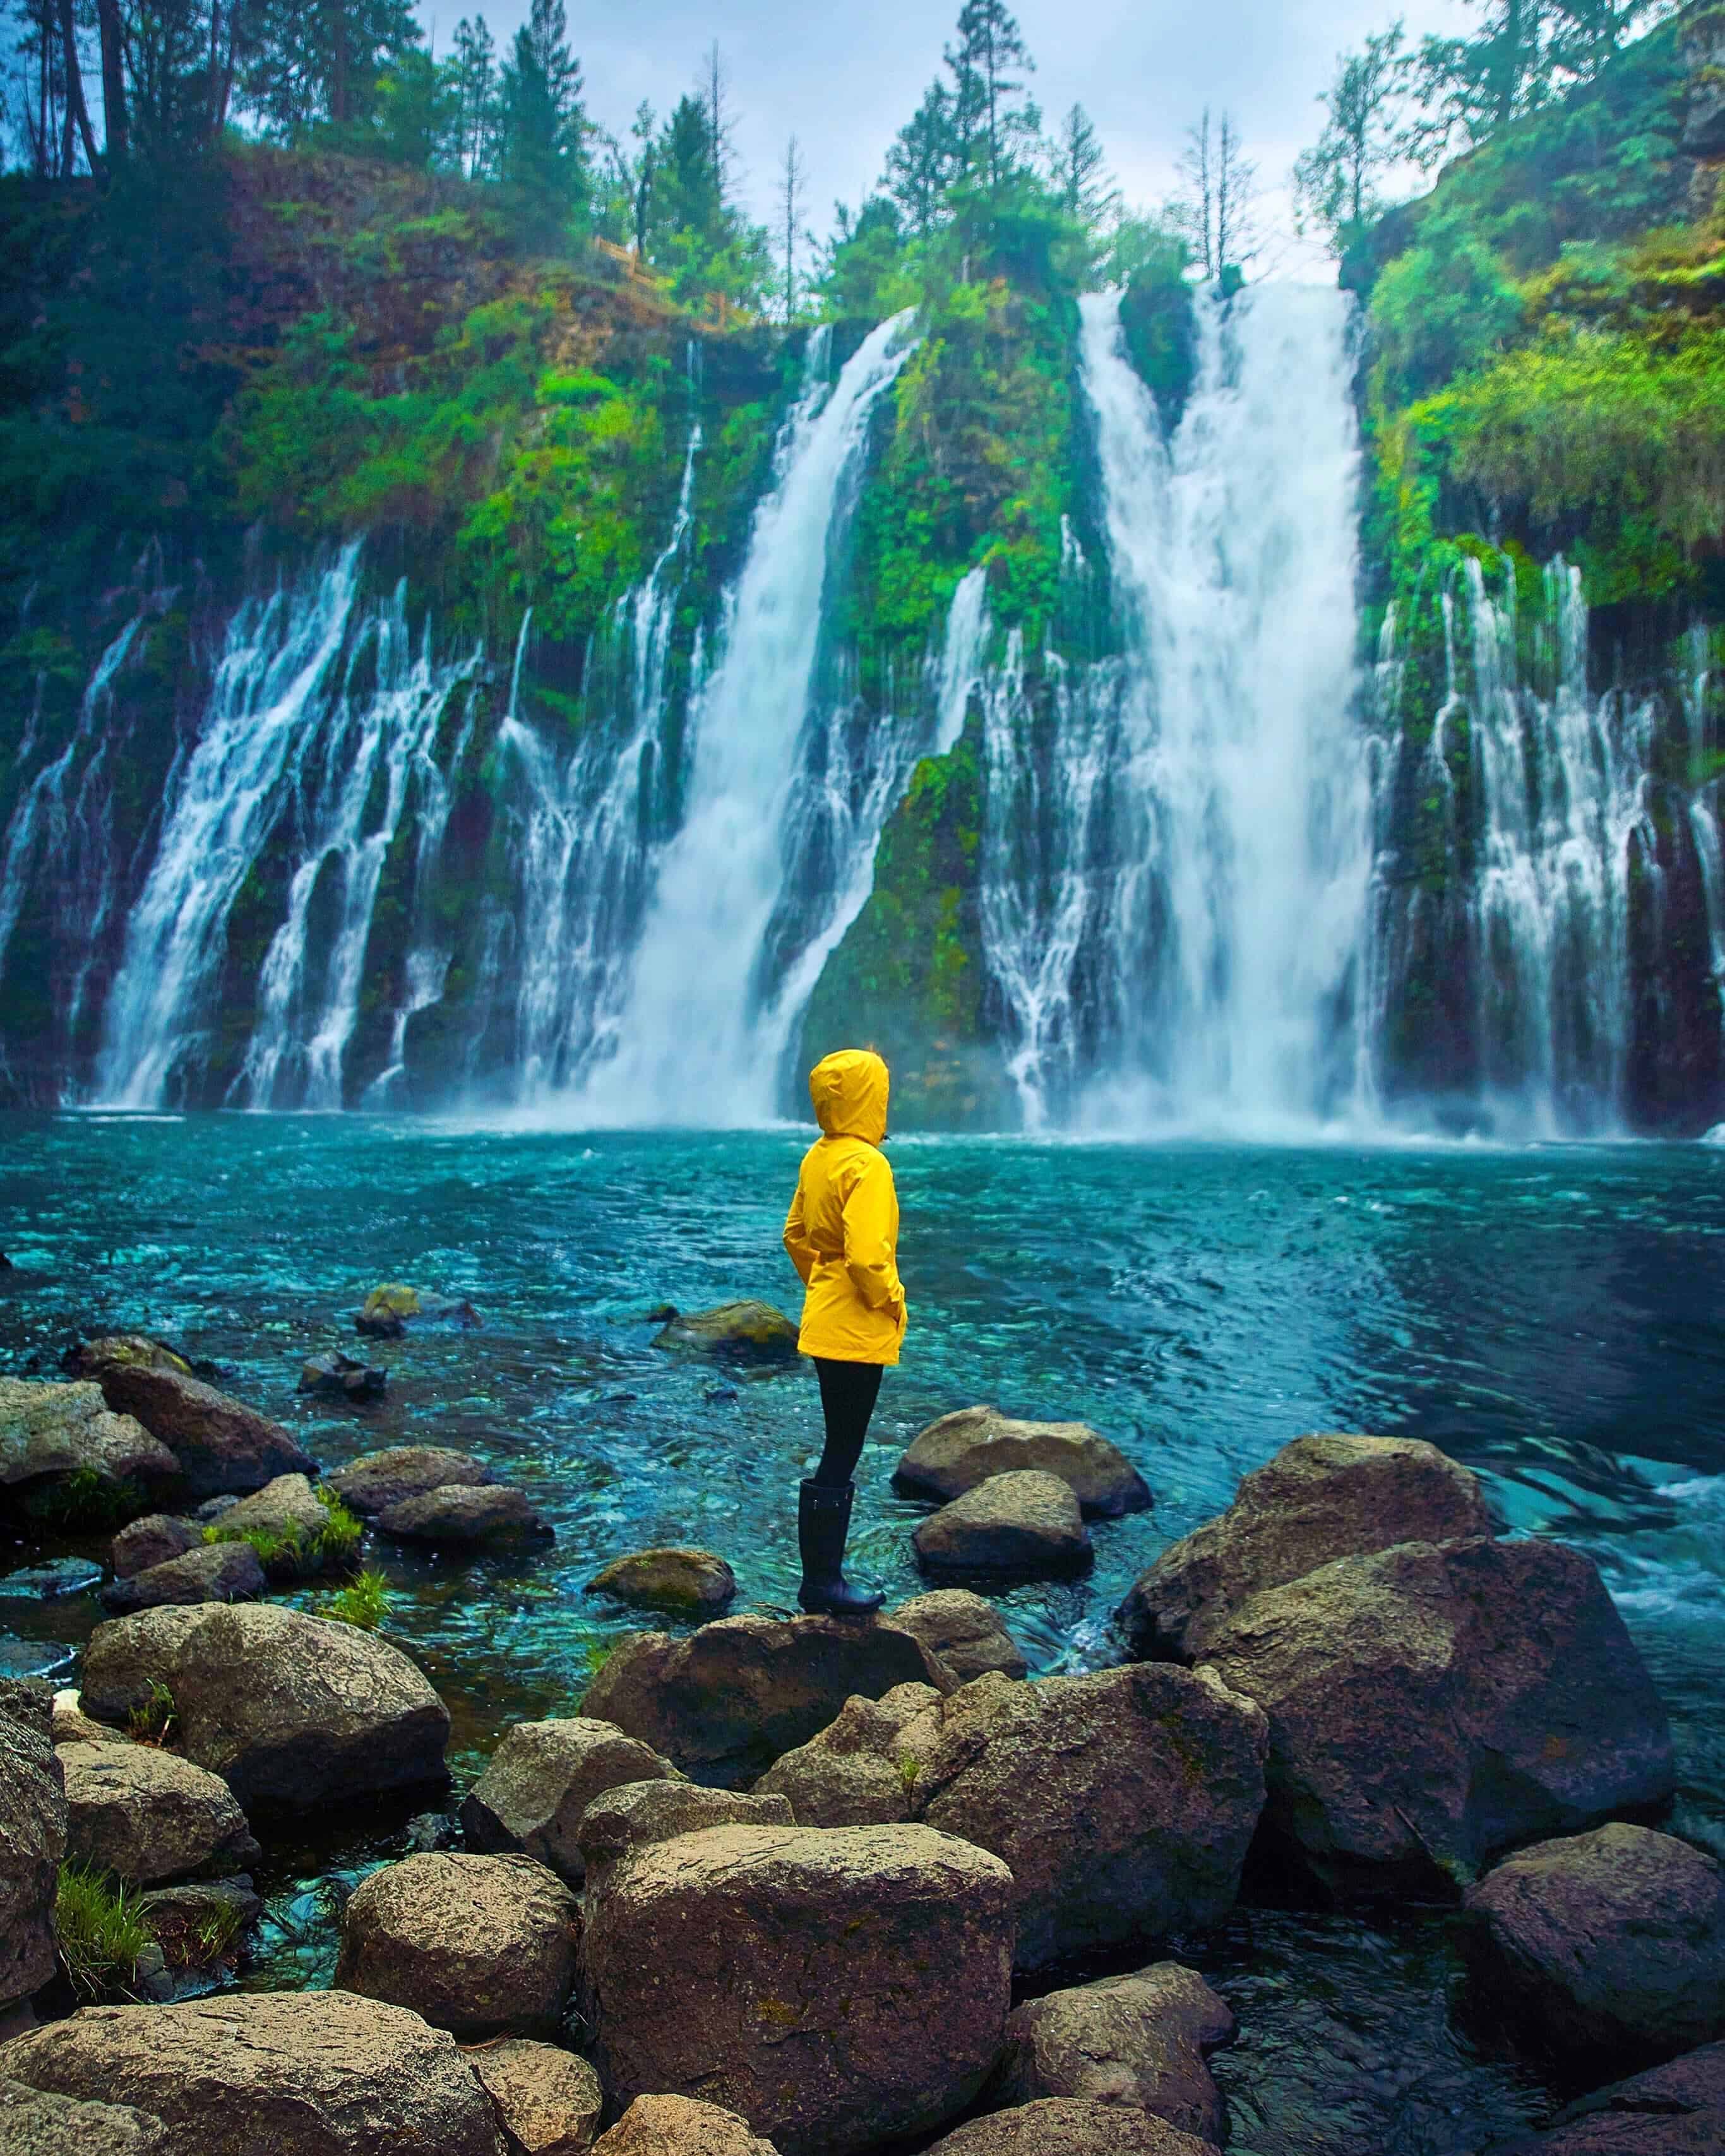
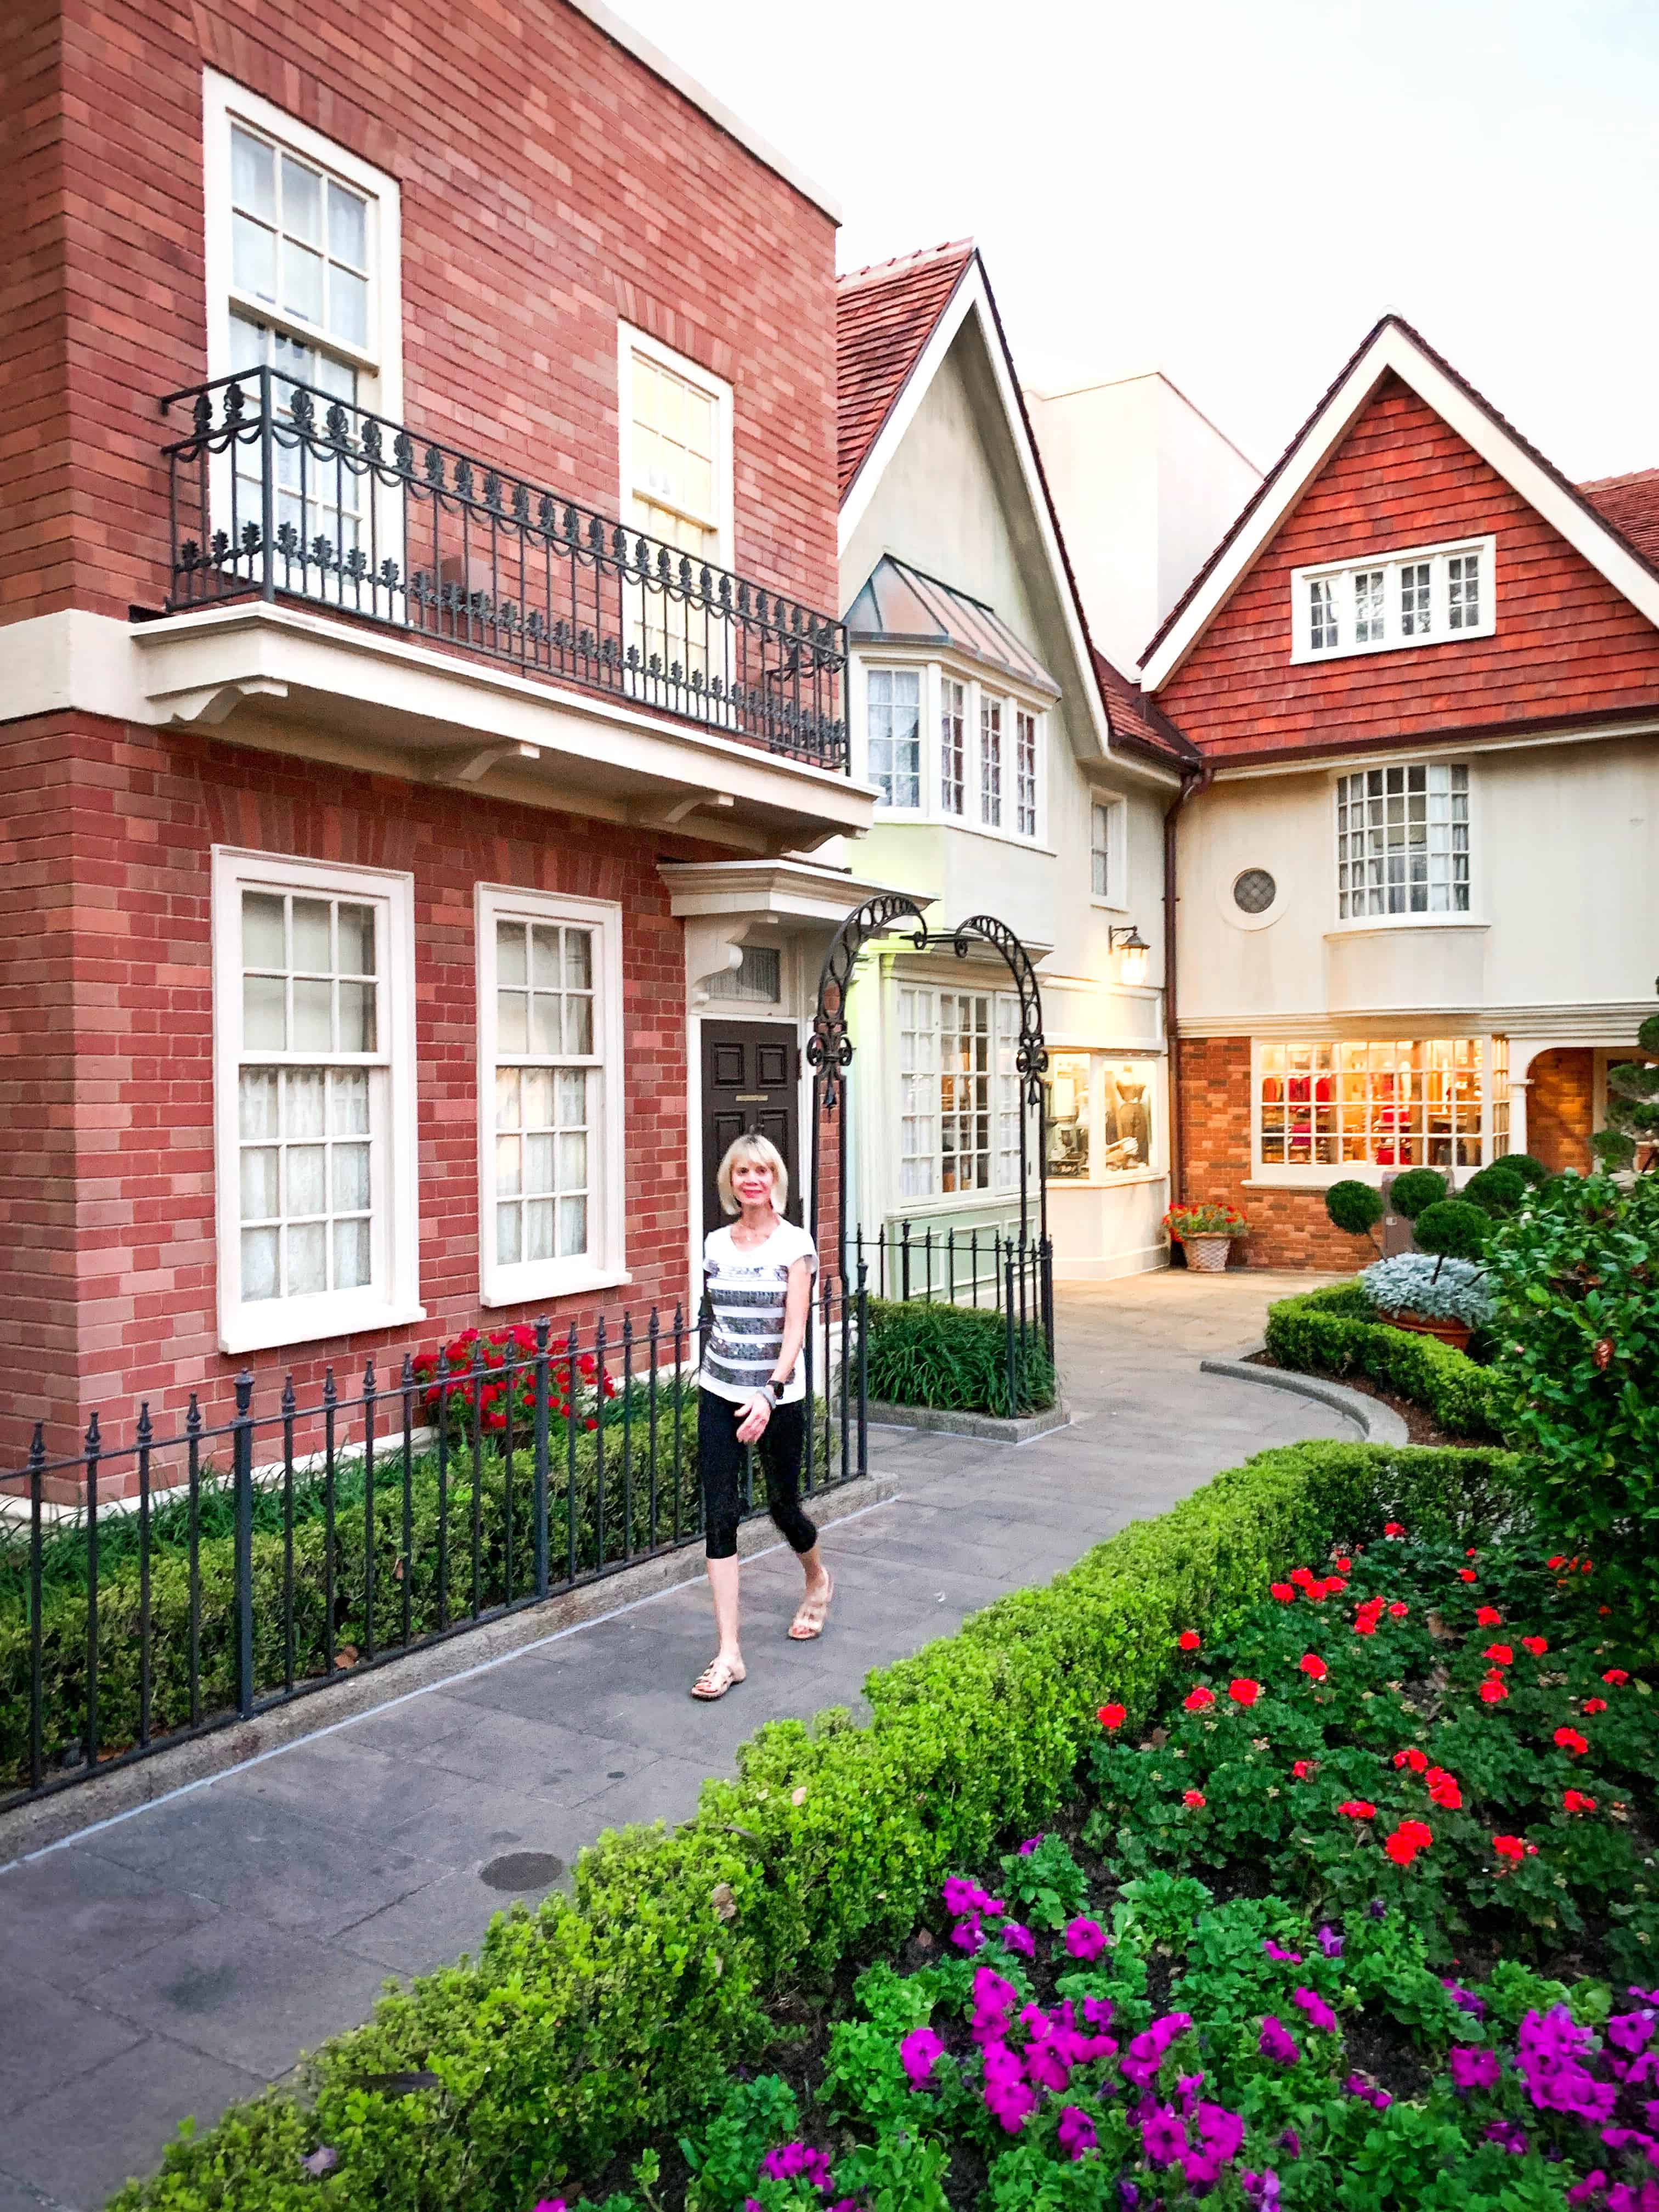
Do You Know What To Do Or Is There Ongoing Dialogue And Verbal Cues?
I highly recommend communicating with the person taking your photo! If we are trying to get a good in-motion shot we will count down and say 3,2,1, GO and then I will do the pose and Terrence will take the photo.
This allows the person taking your photo to be prepared and allows you the highest possible chance of getting the look you want in your travel photos.
Encourage your photographer to provide feedback if something you did looks just terrible for a location and then modify as necessary. Stop and ask to see the back of the camera to see what you look like first and then continue.
If you are taking photos of yourself with a tripod, you obviously won’t need any verbal cues, but you should click the shutter just as you are about to start the move that you want to capture in burst mode and slowly transition during that few-second period.
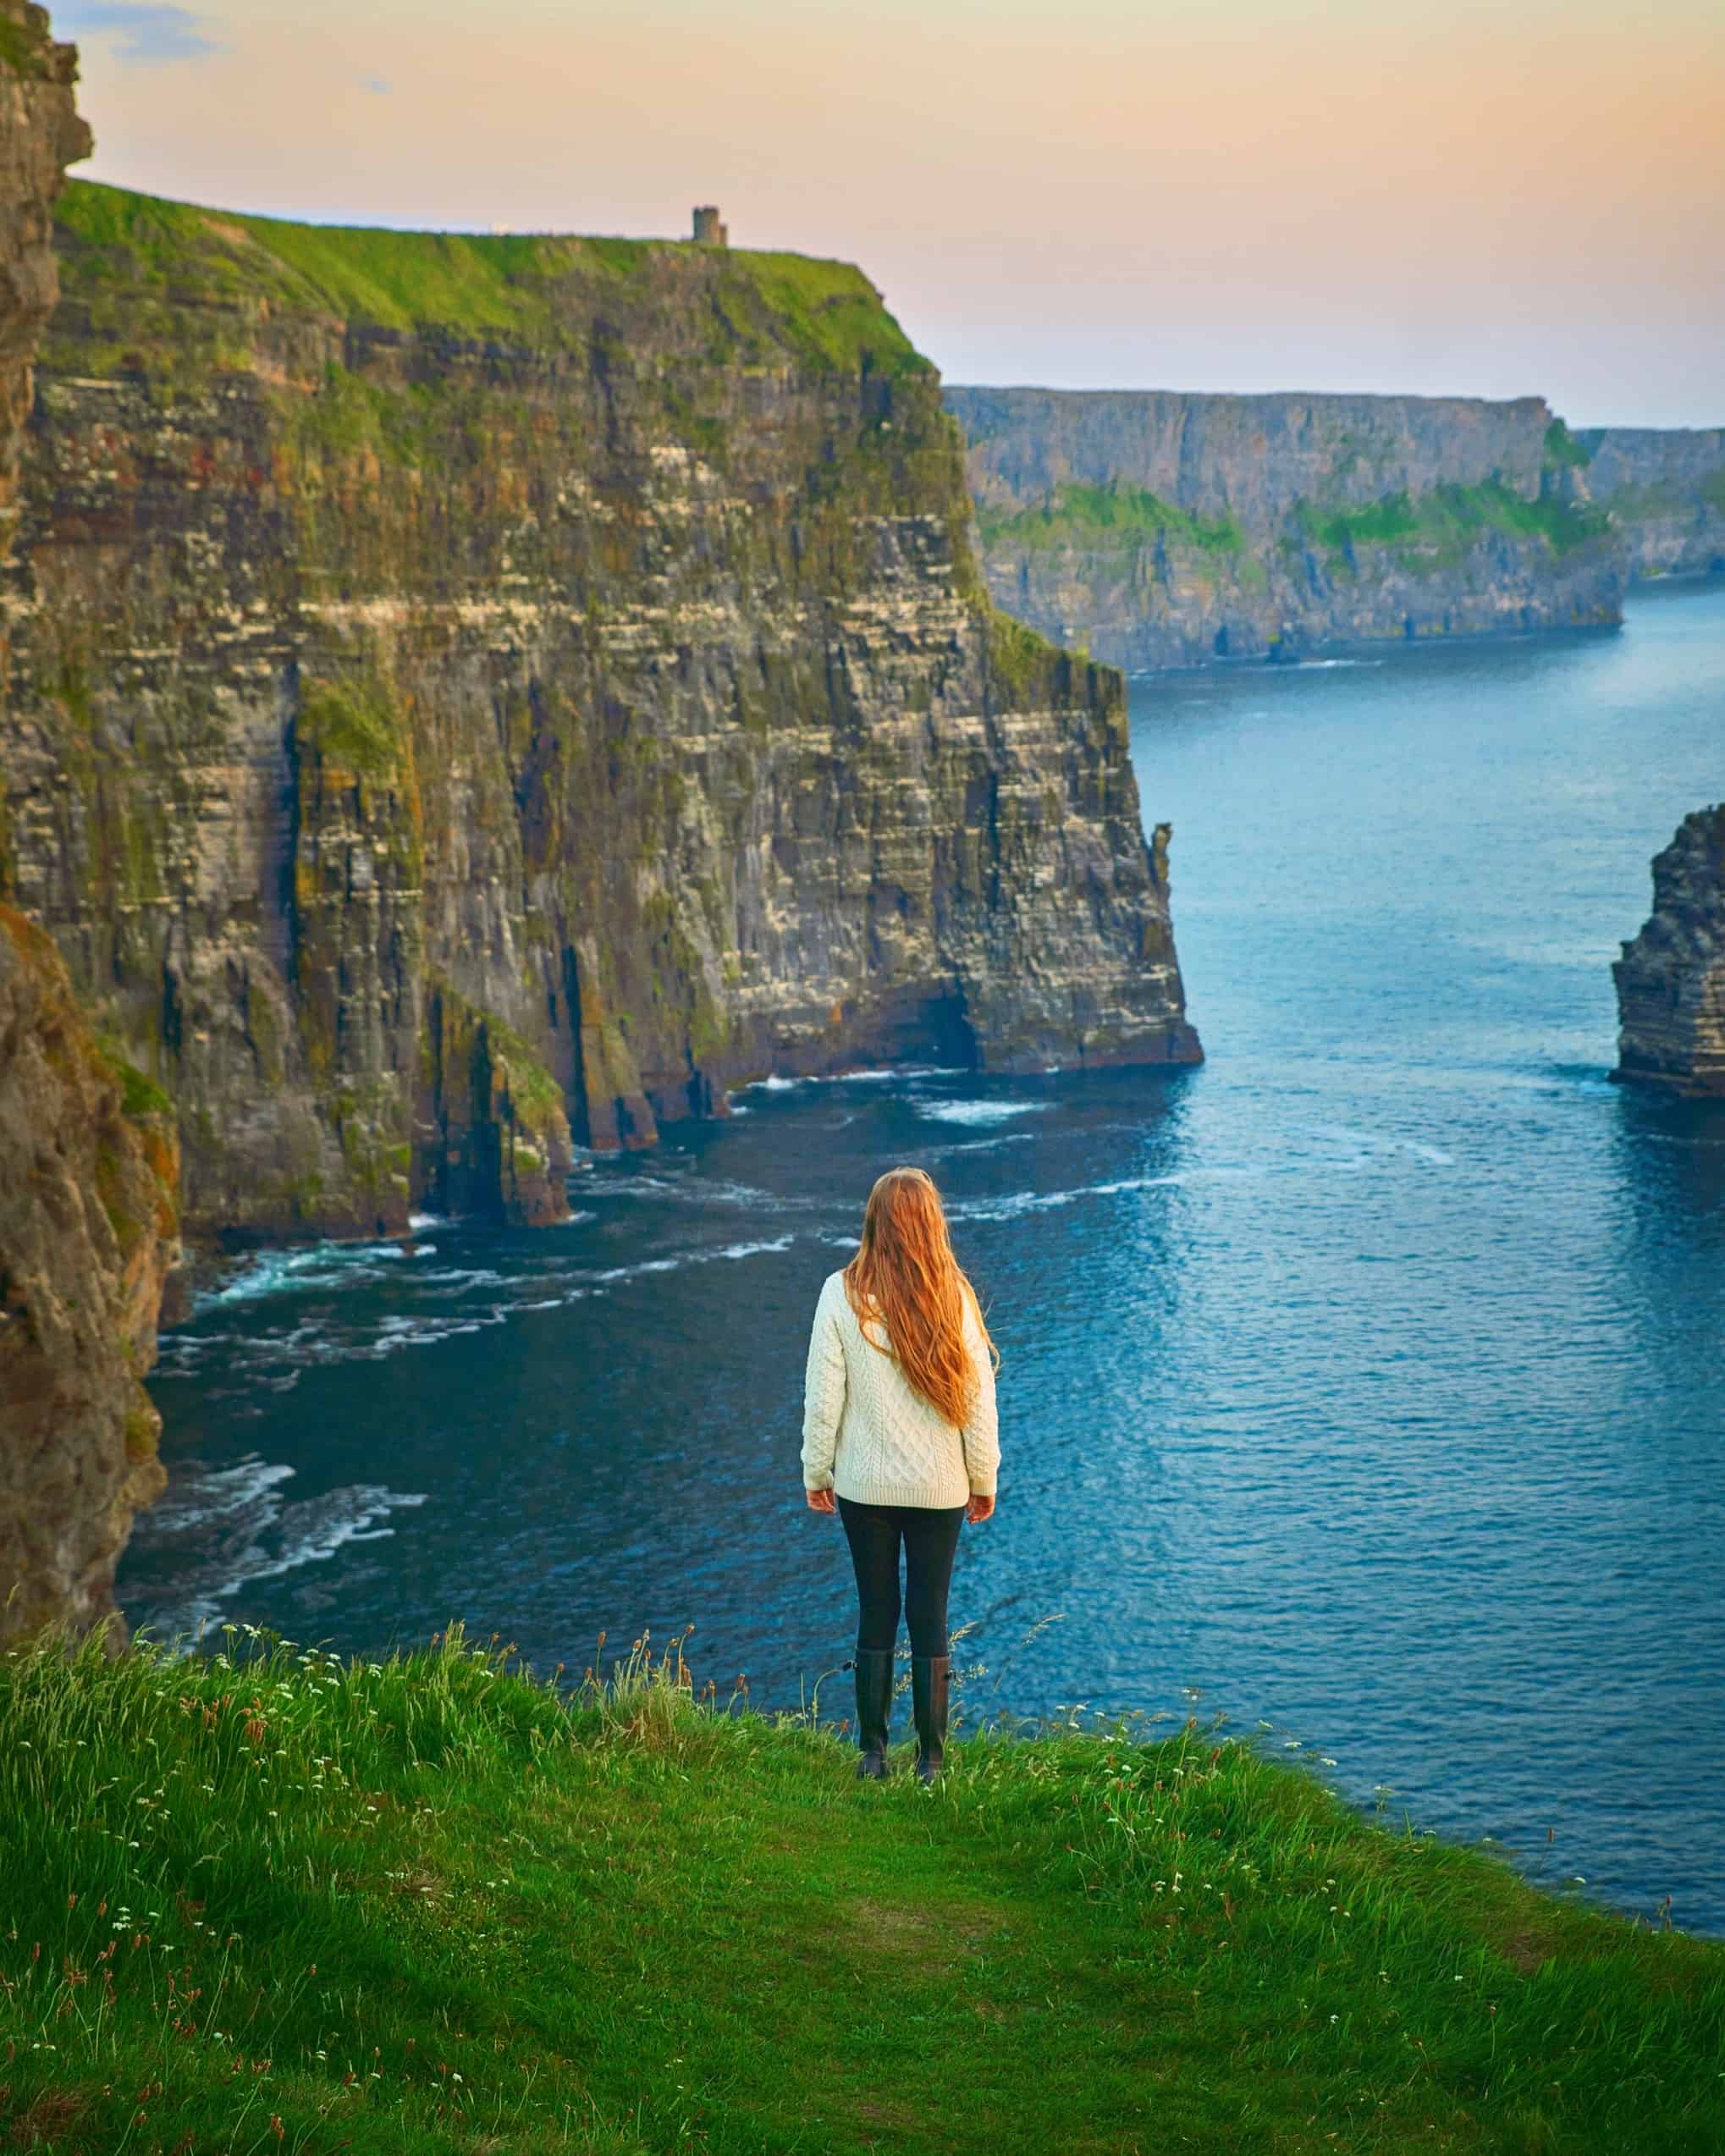
Any Tips On Posing For Travel Photos For Curvy Girls?
I personally think that all women can look good and feel confident in a photo using the majority of the tips shared here. Find a dress or skirt that YOU LOVE that makes you feel great.
There are certain styles I personally hate and won’t wear and it really shows in my photos if I love or feel uncomfortable in an outfit.
If you hate a dress but want the “flowy” look, then grab a scarf or coverup and let it trail behind you. This is an easy way that I add a “flow” to images without wearing a flowy dress.
Simply looking up and away from the camera and “fake laughing” or walking away from the camera or walking across the camera is a surefire way to make your travel photography look good on Instagram no matter who you are.
I prefer dresses that are cinched at the waist with long sleeves or cap sleeves [not sleeveless or strapless] and I think this style is flattering on everyone.
Of course, if you have a body and you want to pose a certain way then that pose is meant for you. You should 100% do it and don’t let my tips dictate what you should or should not do. But since you asked, my suggestion is to basically follow my general tips which I feel can work on pretty much anyone!
View this post on Instagram
Do You Use Props When Posing For Travel Photos?
I VERY RARELY use props. Sometimes I will wear a hat, either a sun hat or a knit beanie for cold weather, but that is pretty much it. I will gently grab the brim of the hat, but I am really not a fan of using props personally. I will hold onto the edge of my skirt or dress and use that as a prop.
If I am sitting down, I gently touch the side of the ledge or chair that I am sitting on with a “dreamy” looking ballet hand. Otherwise, I am usually not holding anything other than my hat, my skirt, or nothing at all.
How Do You Figure Out Which Pose Looks Right For The Scene?
Don’t be afraid to demo multiple poses in each scene. We take A LOT of photos at each location, sometimes between 30-100 depending on where and what. You want variety so you can come back and post your “B” images on Instagram or social media down along the line.
My go-to poses are standing and facing away from the camera or standing sideways and looking away at “the scene.” If these don’t work or I want to try something else then I stand facing the camera and looking off to the side or I try spinning slightly.
But you really can’t go wrong simply sitting or standing in a location and looking away from the camera or off to one side.
I try a few poses and then look at the back of the camera and see what I like the best. If one pose stands out, then I do that pose more. Really, less is more when it comes to posing for travel photos on Instagram!
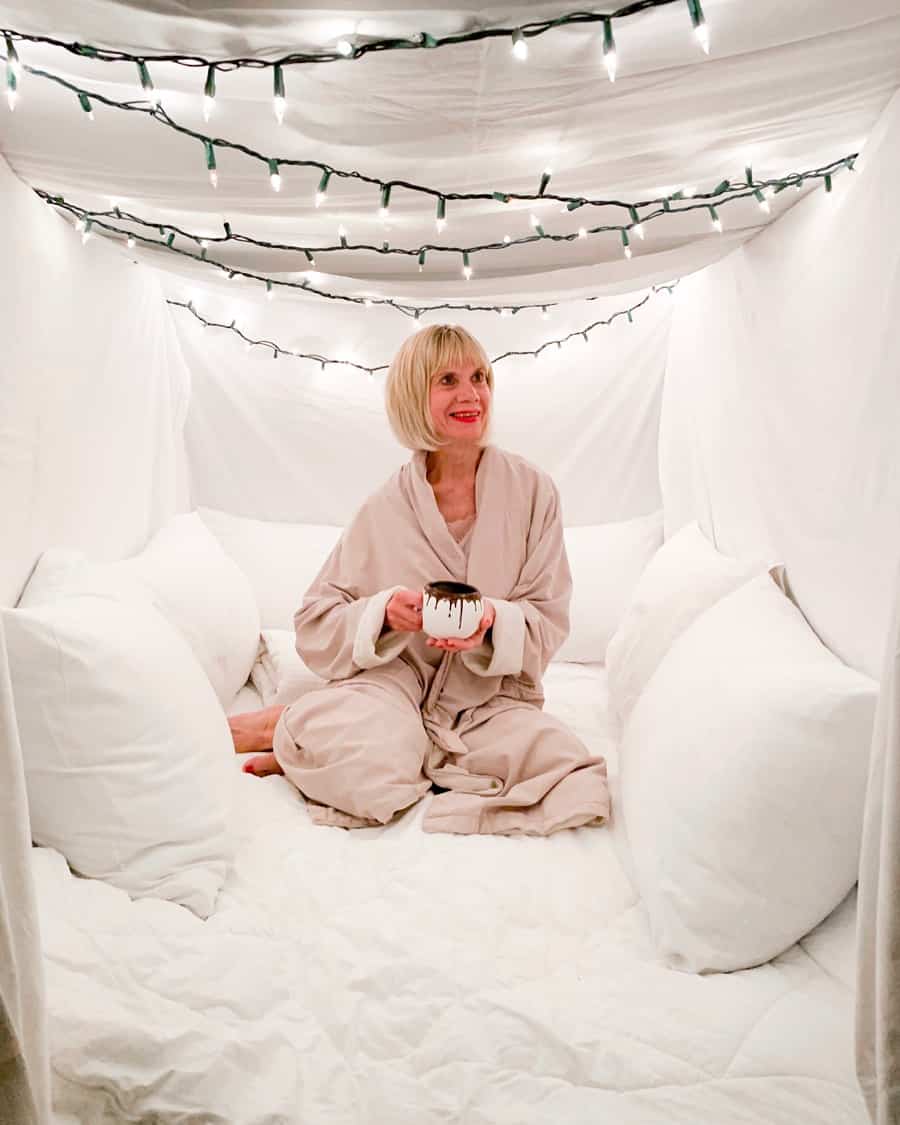
How Do You Choose The Best Color For The Location?
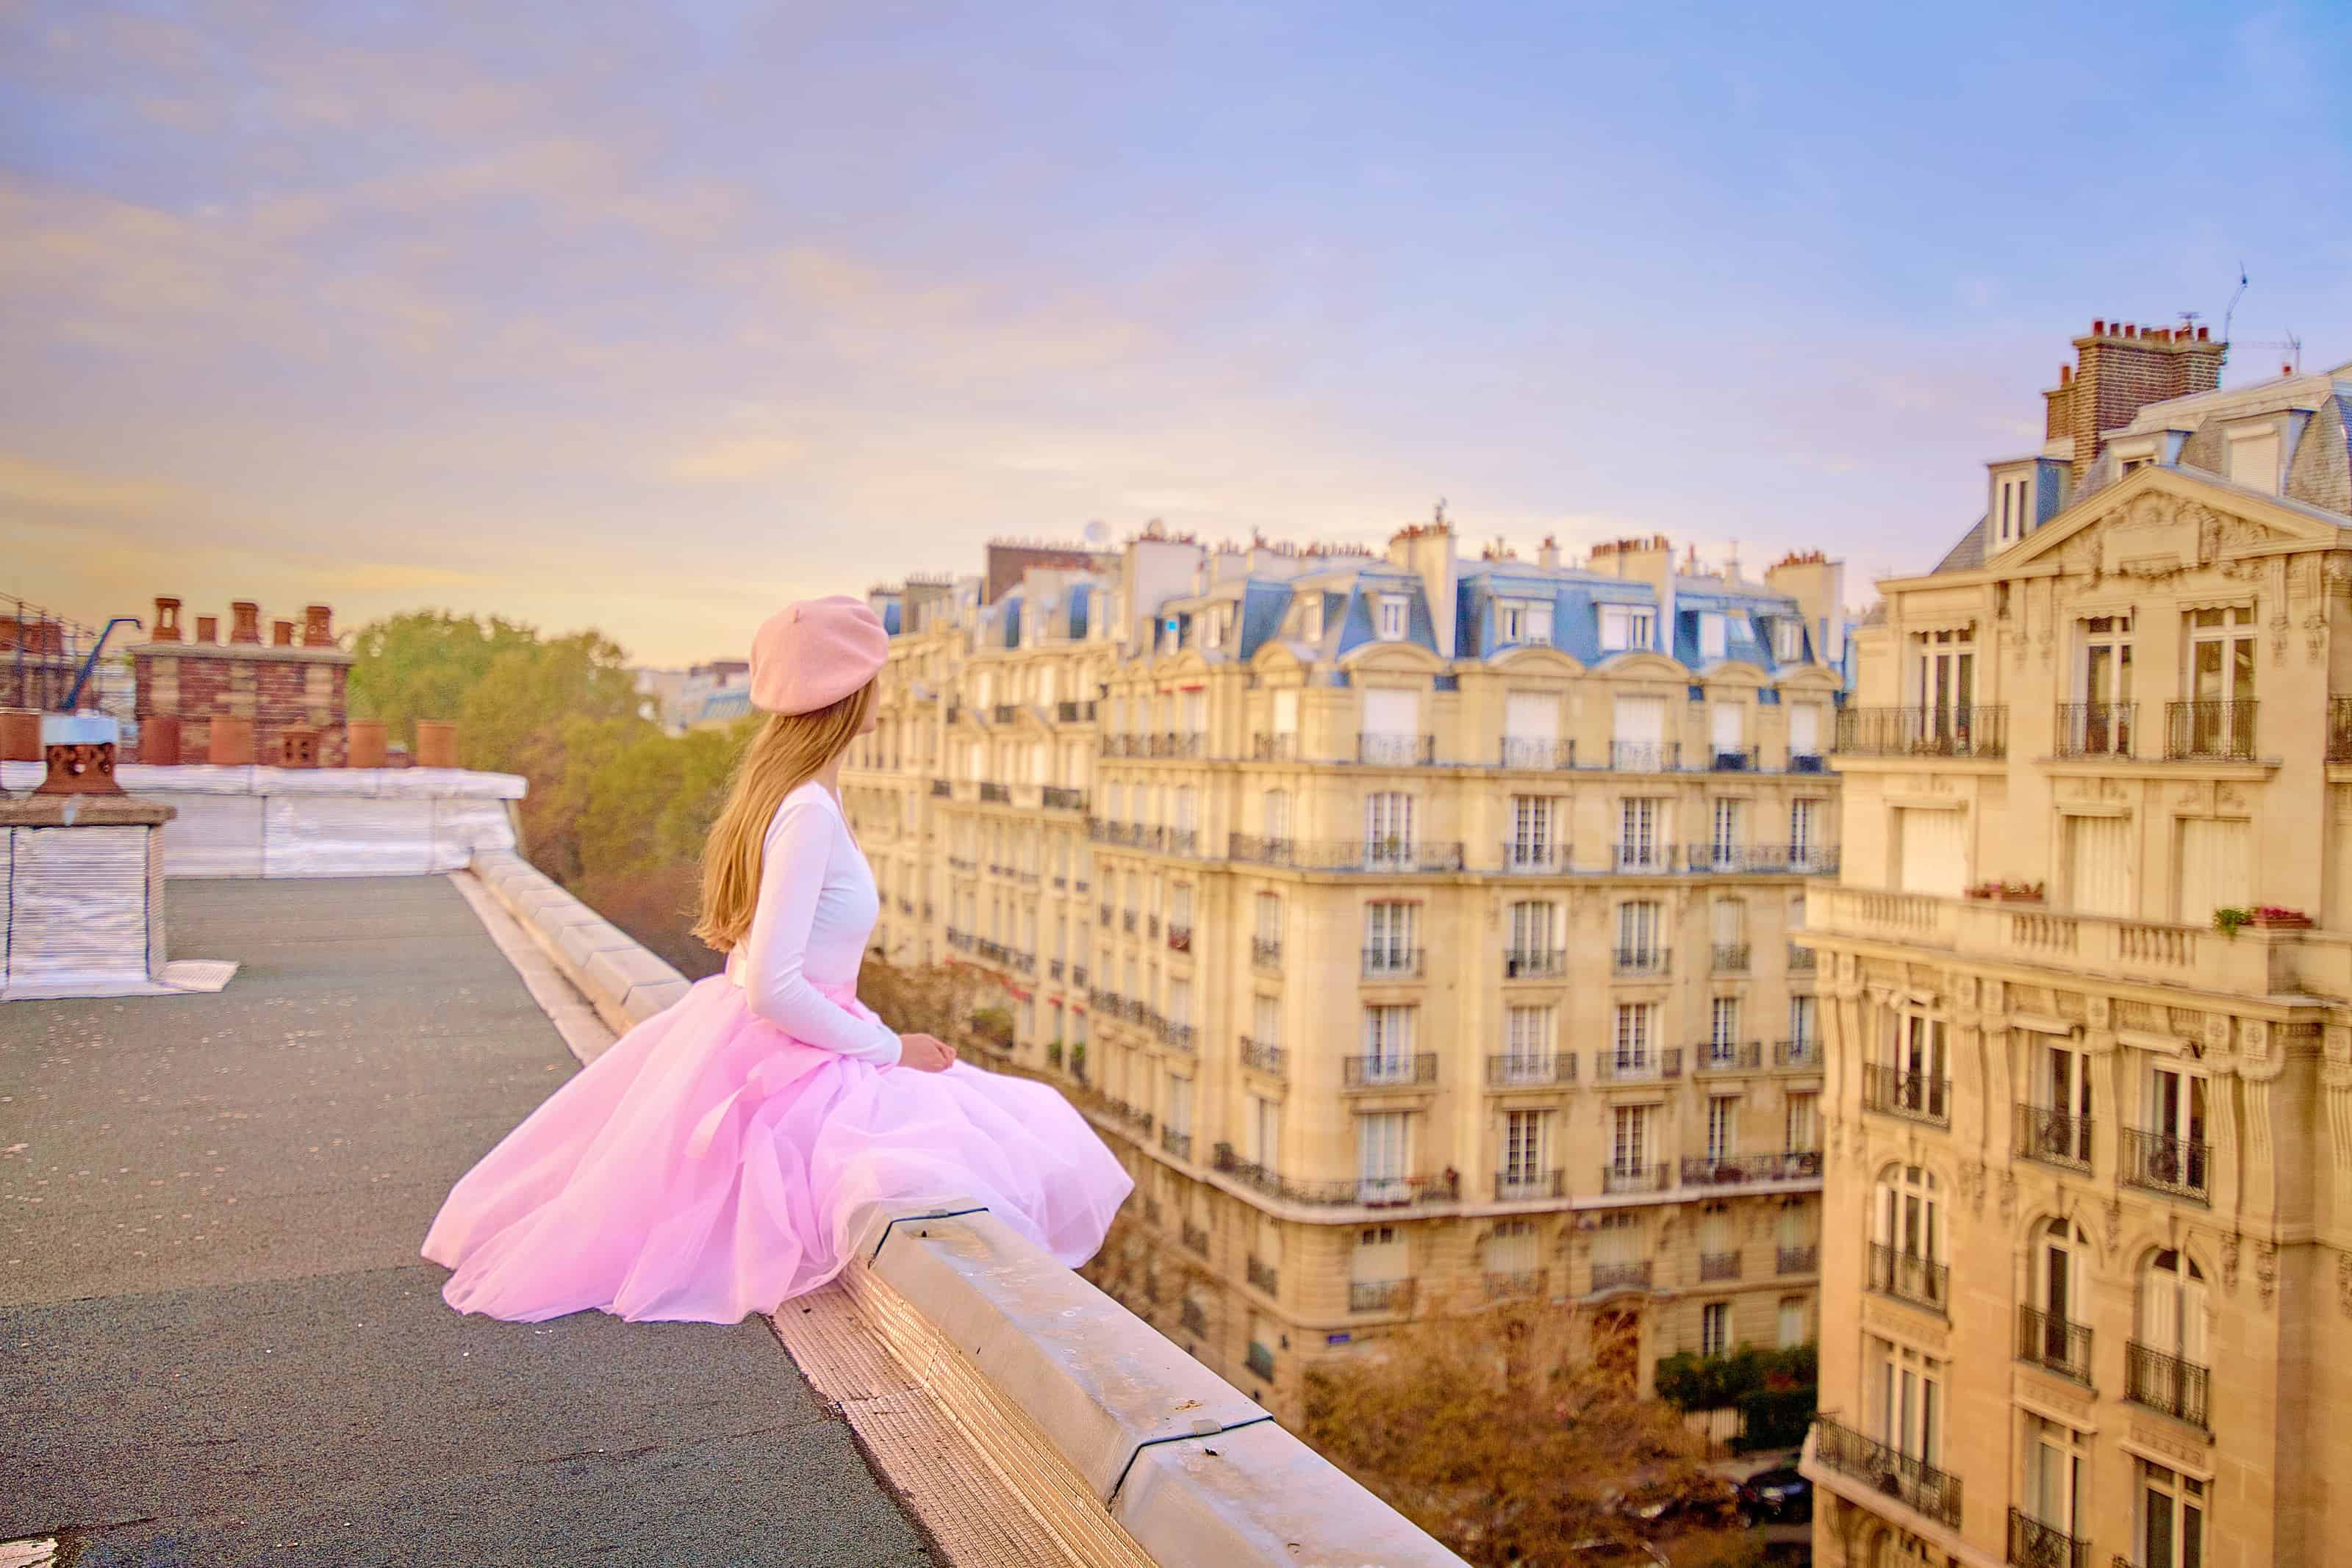
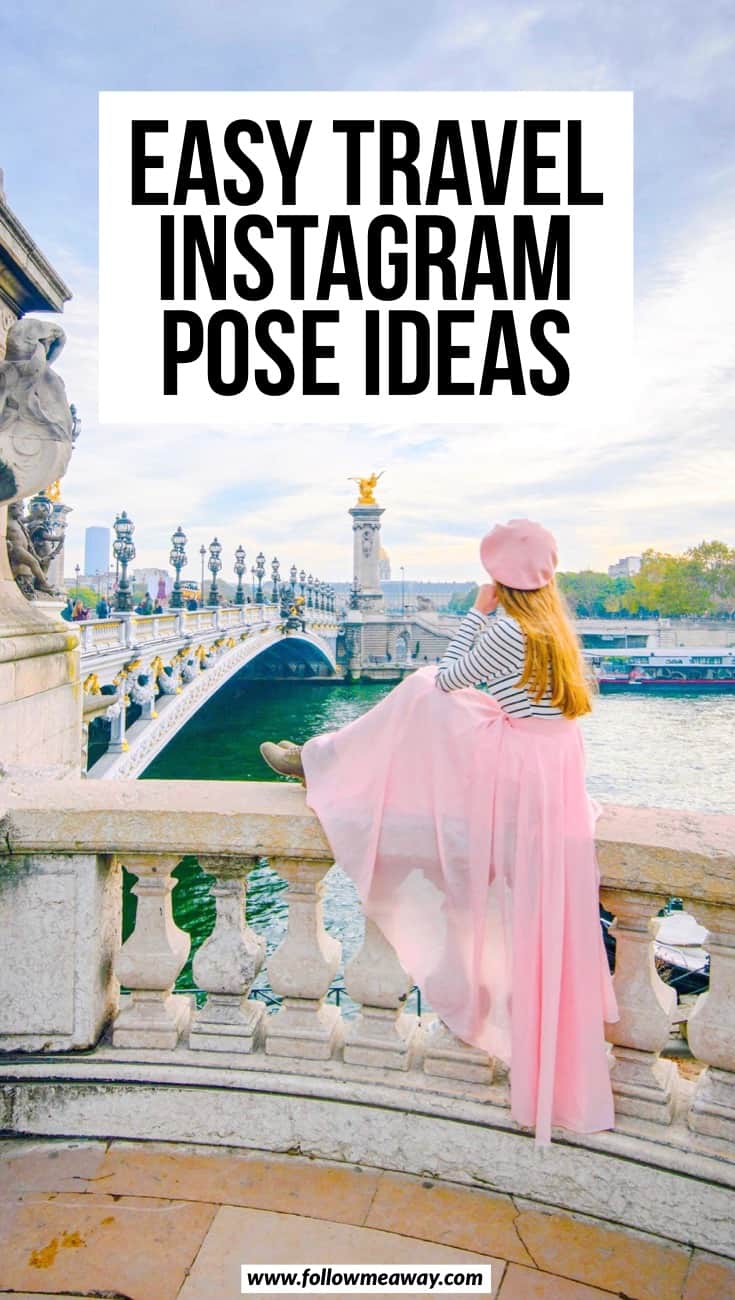
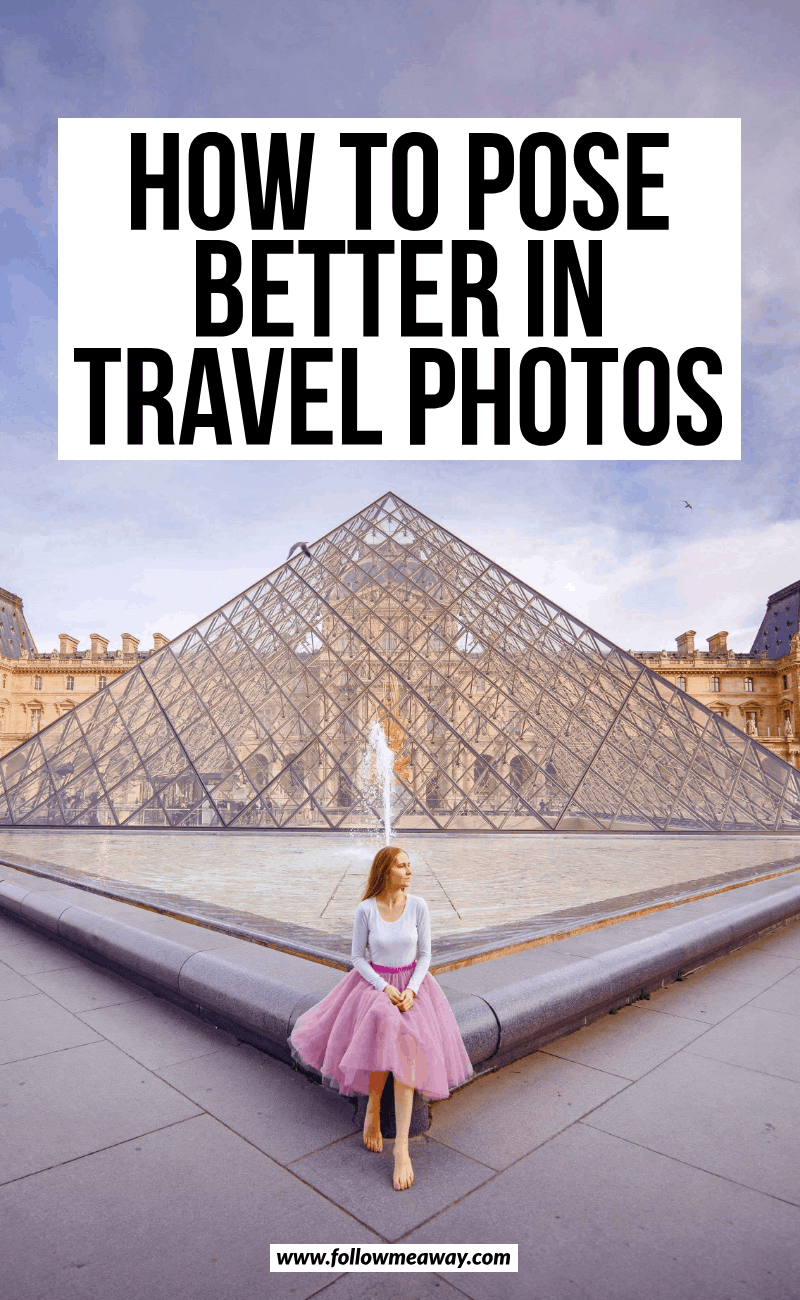
When choosing a color for your travel photos at a certain location, think about what will stand out. For Iceland, that was red or yellow [I had a red jacket, a yellow jacket, and a yellow skirt]. For Paris, I chose a pink skirt because I thought pink=Paris. For London, I liked red because I associate red with London.
If I was traveling to Egypt I would choose blue and yellow because I associate those colors with Egypt and they stand out against the desert landscape.
Before I travel anywhere, I have a good idea what the locations I am going to shoot or at least travel to look like and that allows me to pick a photo that goes with the scene.
If you are going to be shooting Italy and colorful villages, a white or neutral colored dress will work wonderfully.
I used to wear black jackets and dresses in images and have since stopped because you really don’t stand out at all. Think about seeing a beautiful image of the location you want to visit and then think about the colors that stand out and how your color can accent them without being too overpowering.
Also, check out the locations on Instagram and see what colors you like and what colors you hate seeing on other people. Then go with what you like and what you think stands out. For example, I wouldn’t wear red against a desert landscape as I think it would blend in.
Instead, I would wear a vibrant blue, white, or orange for the best variety. If the landscape is super colorful like a village or city, a simple color is often better.
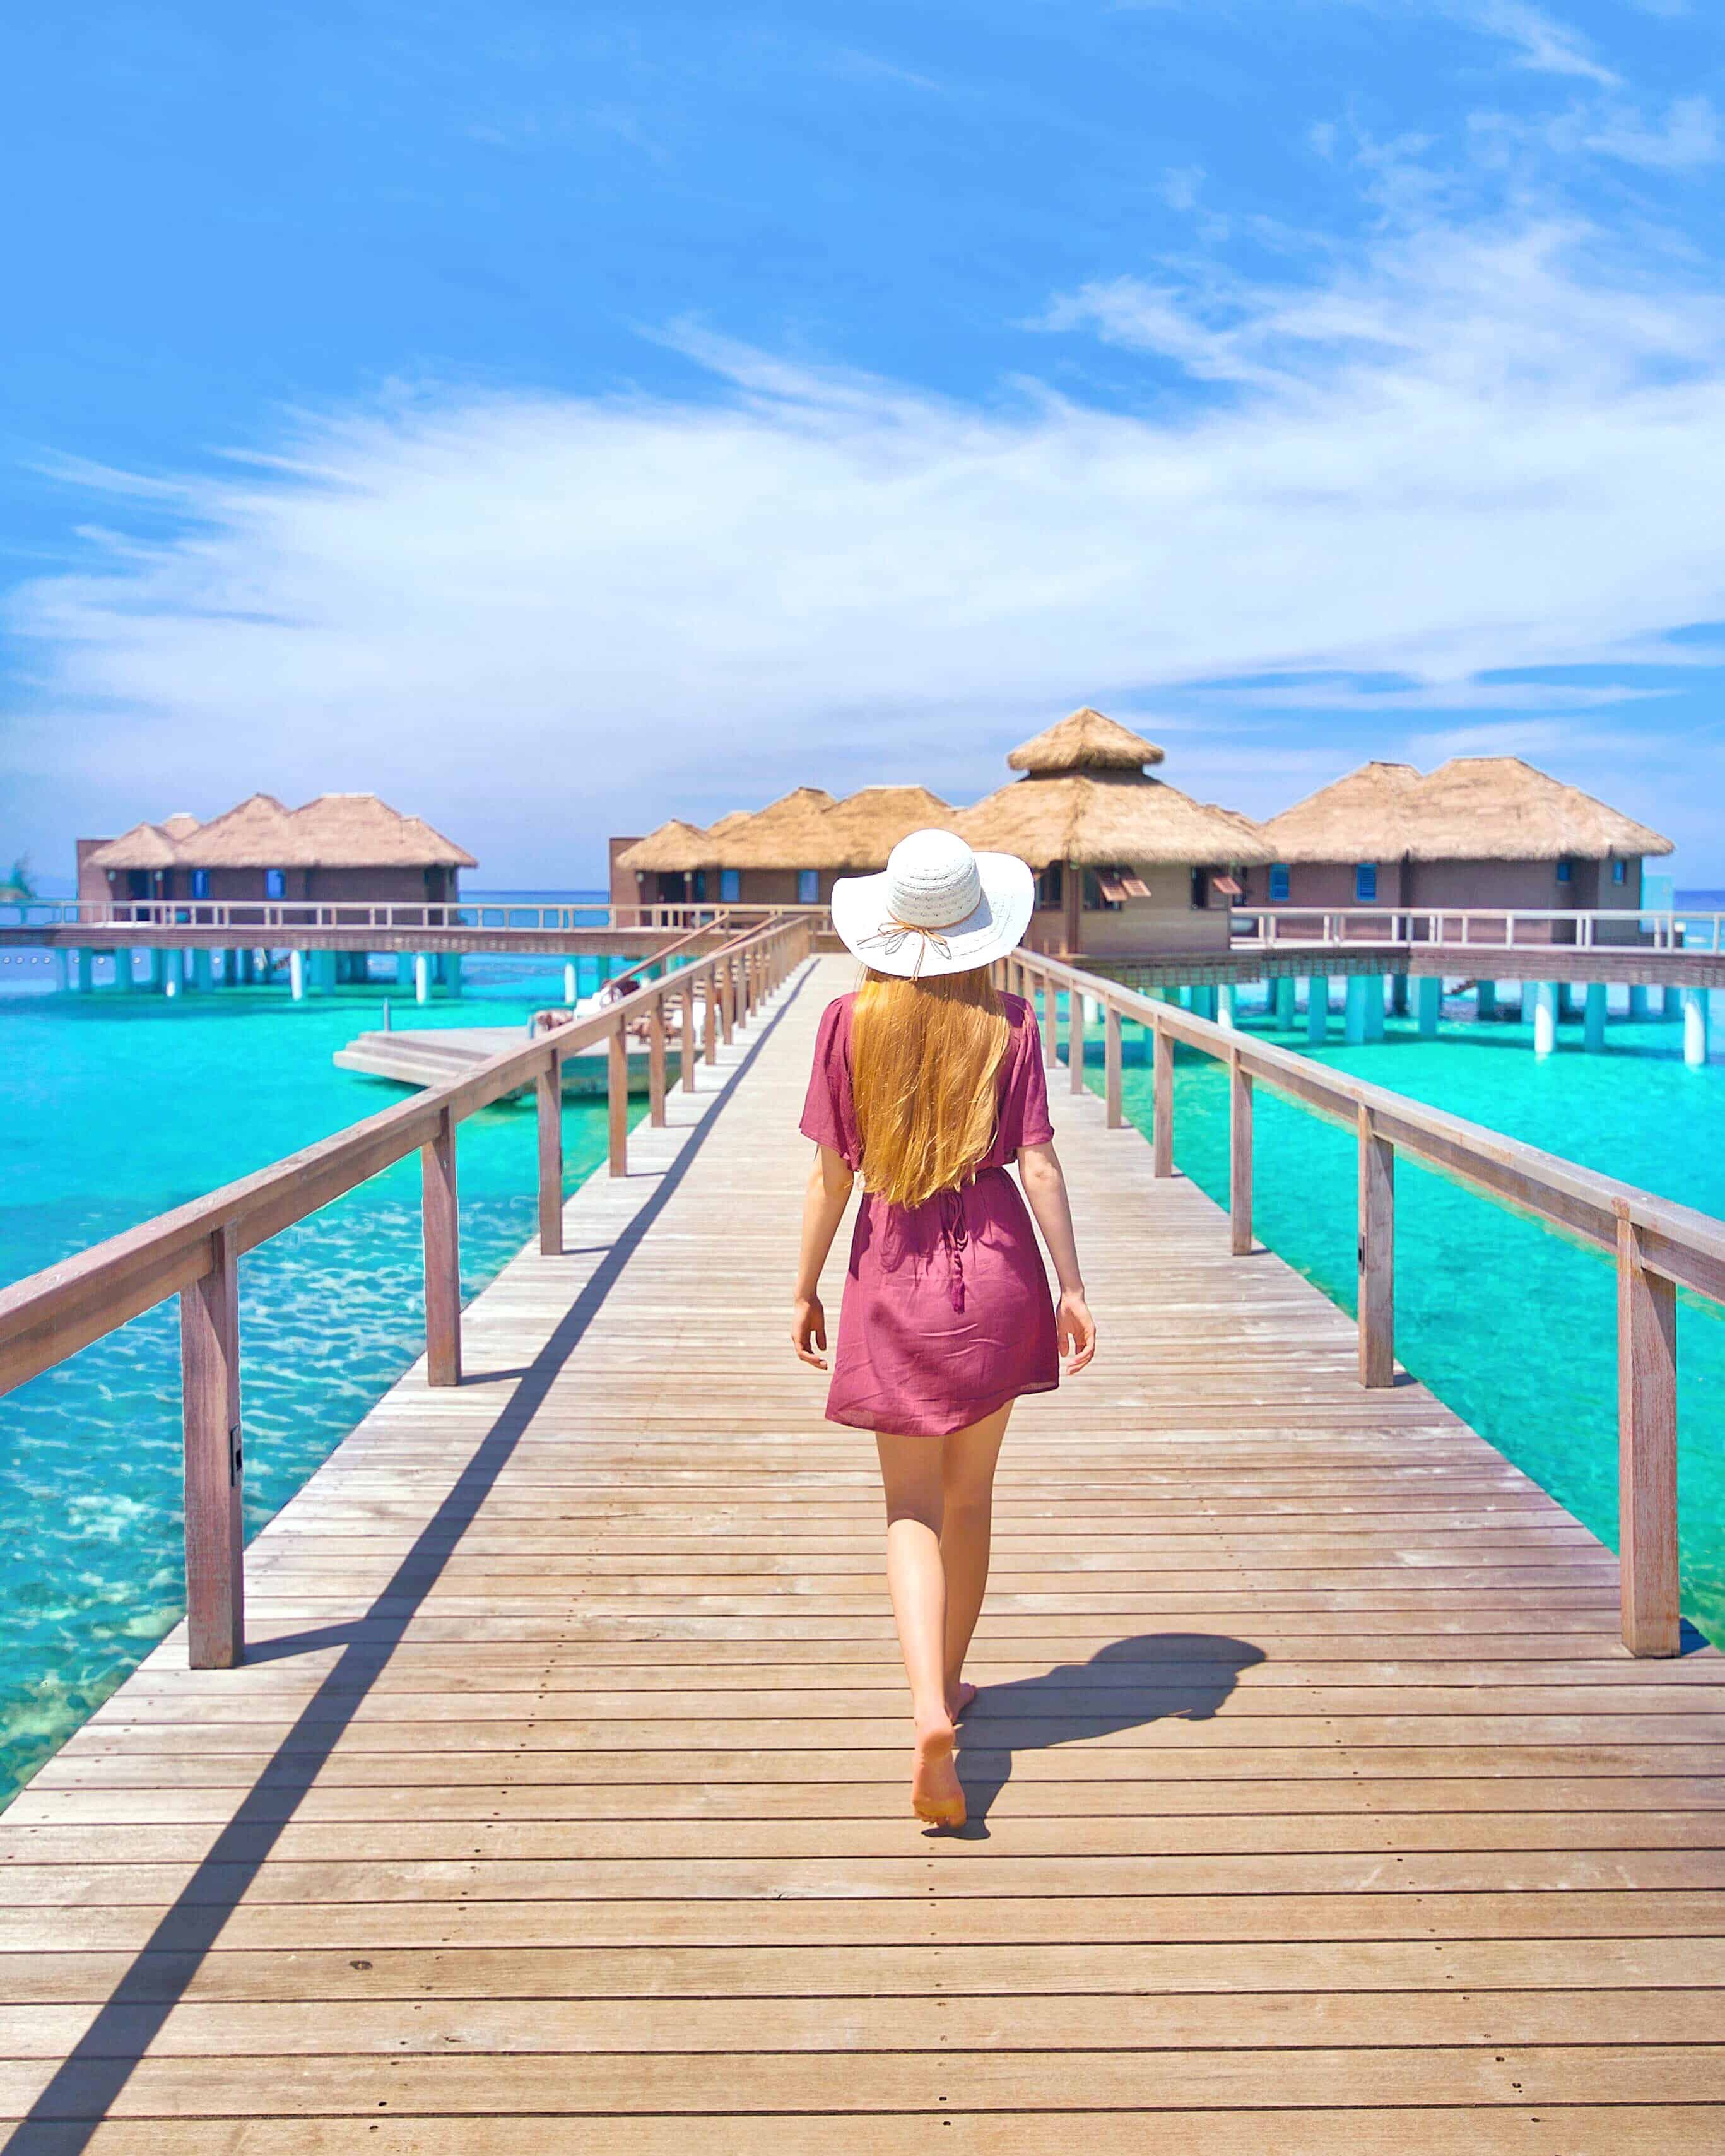
If you read this post this long then THANK YOU for sticking with me! I hope I could help you have a little more confidence when shooting and posing for travel photos on Instagram.
If I could sum up this entire post it would be less is more, you don’t want to have a lifeless arm or body part, and if you want a skirt you need to find one with lightweight fabric for a flowy look. As usual, I am always here to answer any questions you may have!
Pin this post:

 How To See An Opera in Vienna for €3